A little
over a month ago I played a game against the Salamanders player down at our
club. As it was quite a long time ago and I didn't get to write a report at the
time so a lot of details has been lost in the time that has passed, but I'll do
my best to recreate what happened.
The
armies was something like this;
Imperial
Guard
Company
command
2x Vets
in chimera, plasma/melta
5x
Infantry squads
2x
Platoon command, one with plasmaguns and one with meltas
3x Heavy
weapon squad, 2 with ML, 1 with AC
3x Scout
sentinels
2x LRBT
Manticore
Salamanders
Space Marines
Master of
the Forge with Thunderfire cannon
2x Sternguard
squads in Rhinos
2x Scout
squad with SR
2x
Vindicators
Storm
talon
2x Land
speeder
Ironclad
dreadnought in Drop pod
The
mission was Big Guns Never Tire with a Vanguard Strike deployment.
I got
three objectives to place on my side, and my opponent got two, we both placed
them in our deployment zones.
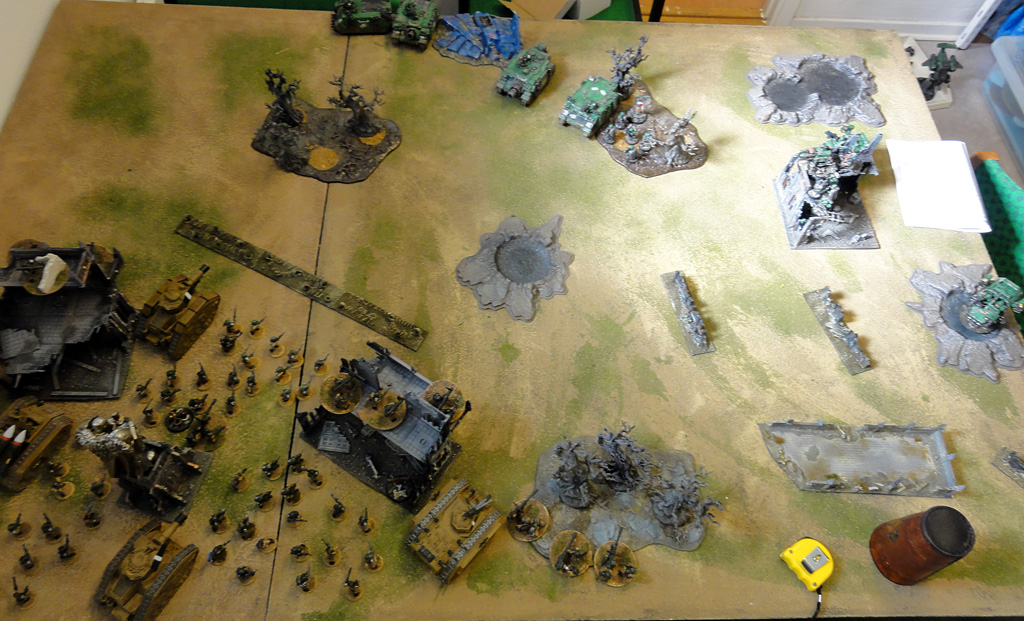
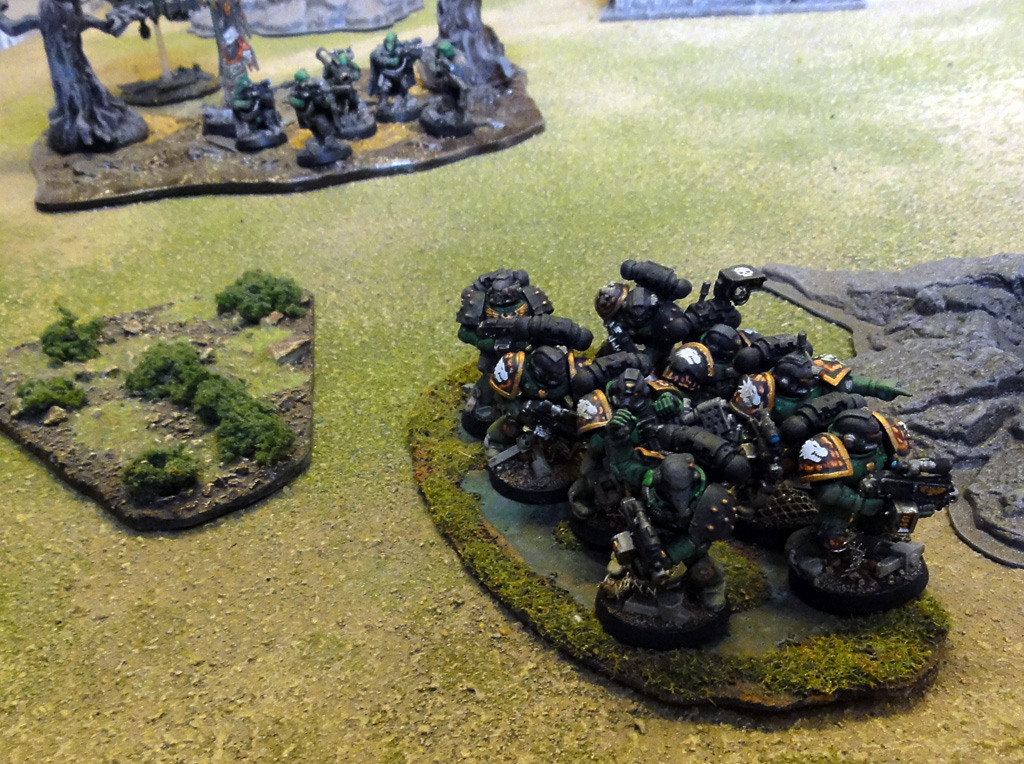
The Space
Marines deployed first and spread out mostly all over the battlefield, with the
heavy guns on my right flank supported by infantry in rhinos and on the left
scouts, thunder fire cannon and the land speeders. Each scout squad setteled in
on a objective.
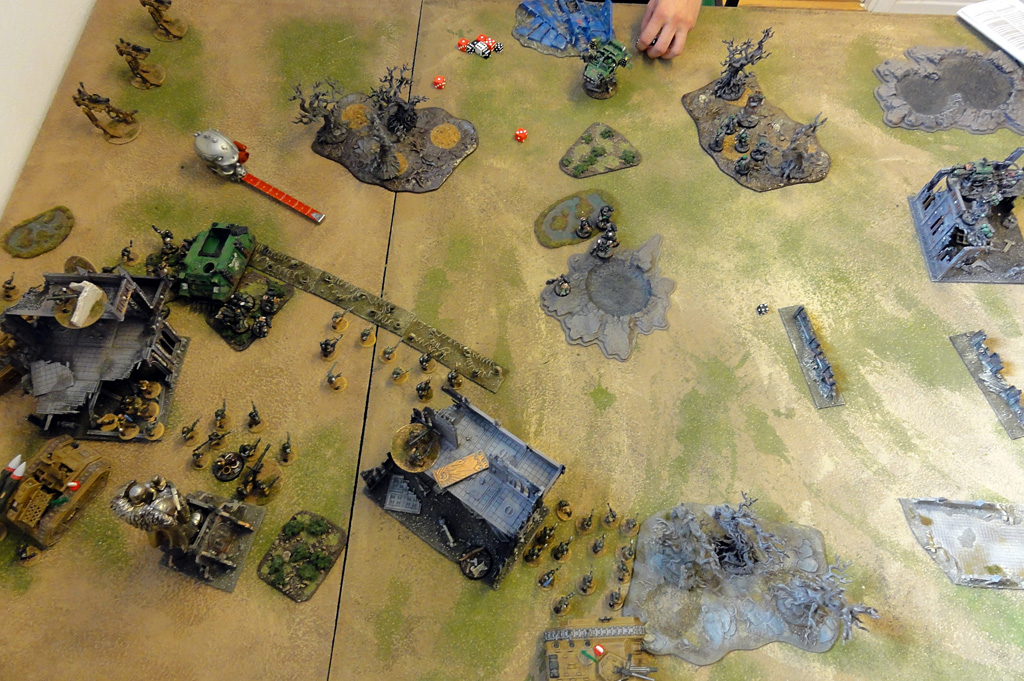
I
deployed all over the place, on each flank I placed some heavy weapons and a
veteran squad and in the center most of the infantry was placed and I hit my
manticore the best I could behind some ruins
Salamanders
turn 1
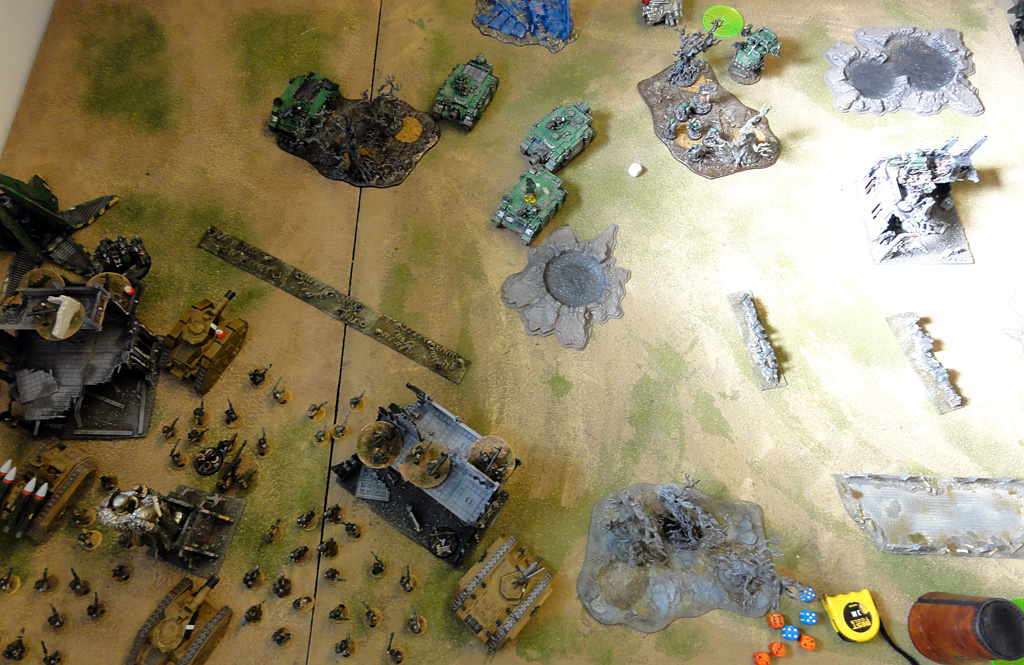
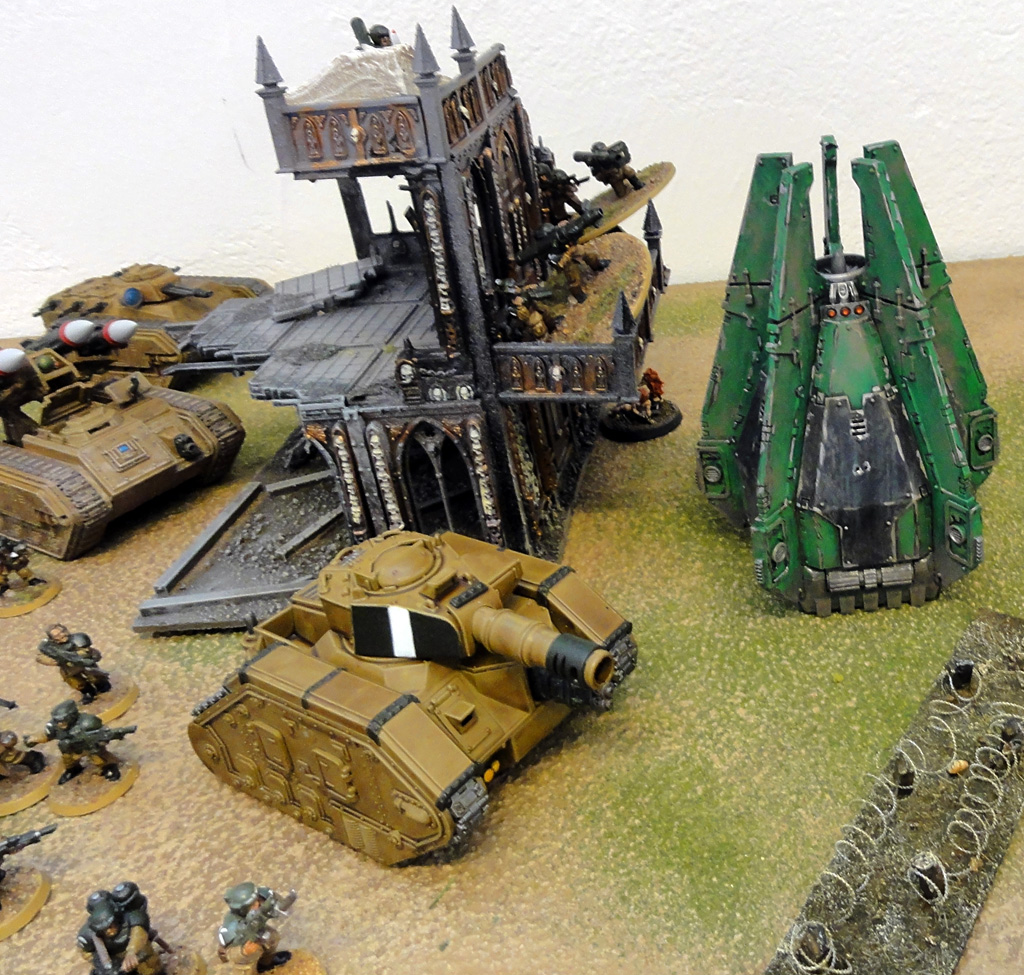
The first
thing that happened was that a drop pod landed right next to my Leman russ
tank, and from it spilled a big and rather angry looking dreadnought. While
this was happening the rest of the army surged forward, ready to pour some fire
into my lines.
Fire from
the thunderfire obliterated my auto cannons on the right, earning the first
blood objective to the marines, the dreadnought fired of its hunter killer
missiles and everything else it got into the side of my russ, but only
succeeded with taking a single hull point from it. To get some more fire into
the tank, both the vindicators opened up on the russ and the infantry squad
right next to it. But only killed a handful of guardsmen.
Imperial
Guard turn 1
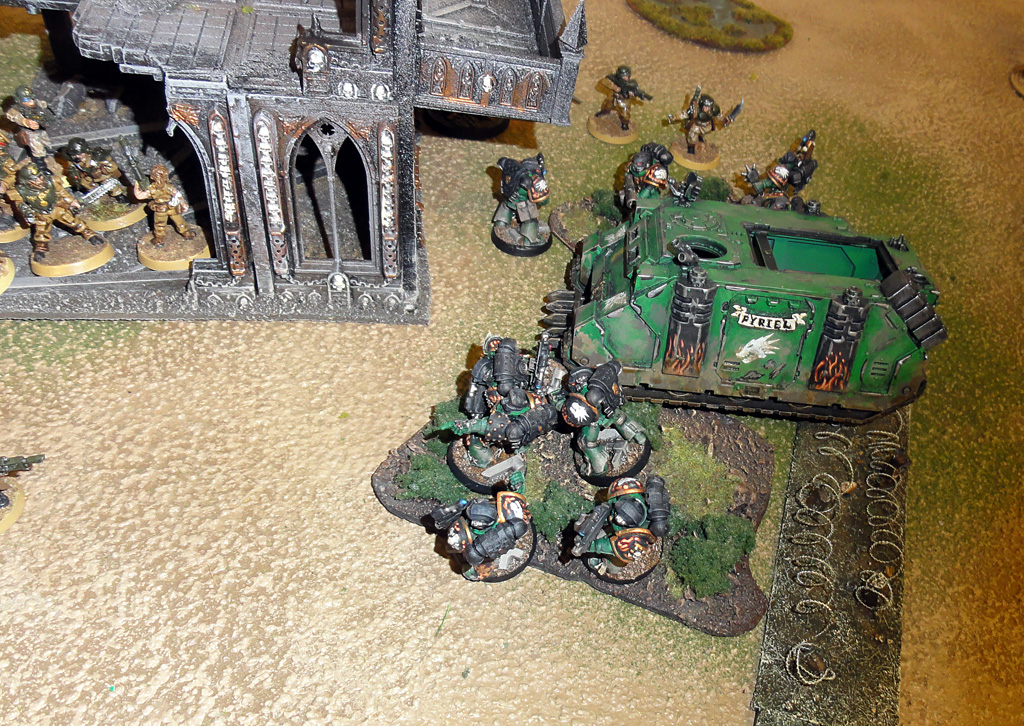
It was
the guards turn to bring the hurt to the marines. There wasn't much movement,
but the front infantry advanced up to the razor wire, gaining a bit cover at
least and the veterans on the left moved up and disembarked so that they could
bring the meltas to the dreadnought. The veterans on the right wanted to get
closer to one of the speeders that had moved down that flank, but they only got
a few inches before the chimera bogged down in the forest.
The
shooting was a bit more eventful with both my russes opening up on the
rightmost vindicator and rhino, successfully exploding them both even killing a
few marines as they climbed out of the wrecked rhino. The veterans took good
aim and blew the dreadnought up as well, it did however cost them a few losses
in the resulting explosion, and took out a missile launcher team as well. Those
teams remaining took aim on the last rhino, but failed to cause any damage at
all. Then the manticore fired, for the first time since I got the model
painted. It took aim right in the center of the rhino, but scattered of a bit,
towards my foremost russ, but fortunately it did not scatter so far that it hit
it, until i remembered that it does 1D3 templates, rolled two of them and the
other one landed square on my russ, blowing it up, taking a few infantry around
it in the explosion… The rhino was hit as well, but only got a glancing hit…
The
imperial guard is apparently more proficient in killing itself than marines
are..
Space
Marines turn 2
The
second turn saw the introduction of a Storm talon for me as it came swooping
in, setting its sights on the manticore. Other than that, the Land speeders
shuffled around a bit, the remaining rhino darted forward into the guard lines
and the remaining Vindicator took refuge in a nearby forest
The
shooting started off with the storm talon letting it rip into the manticore,
but by some miricle it only did one penetrating hit, and that only immobilized
it, very luchy for me. Other than that the thunderfire cannon obliterated
another unit and the vindicator got the last russ to explode.
Imperial
Guard turn 2
I did not
like the thought of a flyer in my lines, but my AA capabilities was somewhat
lacking, so I moved forward with my melta squad, disembarked my plasma vets and
made ready to kill marines or try a shot at the flyer. Also my sentinels walked
into the board on the left side, getting the remaining rhino in sight.
The
shooting started with some missile launchers blowing up the rhino and the
sentinels firing into the marines that came out, but not making much of a dent
in them. What was effective this turn was the manticore that landed a shot
right on top of the remaining vindicator, blowing it up. My melta command
outdid itself by not only hitting the storm talon, but also blowing it up,
showering the battlefield with debris . The opened up the opportunity for the
melta vets to shoot some of the marines that came from the first rhino in the
center. Killing all but one of the front combat squad.
Fire from
the immobilized chimera got the land speeder on the extreme right to crash into
the ground.
Space
Marine turn 3
The
marines third turn saw the marines getting into position to get into HtH next
turn, with the squads from the leftmost rhino moving forward and the ones in
the center creeping forward another few inches, trying to get out of the
difficult ground. The rearmost squad had now moved a total of 5" in two
turns...
The
marines in the center fired on the plasma vets, killing all but tree of them
that then tuned and fled of the board, with a little bit of help from the
thunderfire cannon. The marines punching into the guard lines on the left shot
a few of my HQ members, but the shots did not get into my commander. On the
other side of that ruin a few infantry men died, and the squad started to flee.
The remaining land speeder shot my sentinels, blowing the gun of one of them.
In
assault the squad shooting my commander missed a charge of 3", not getting
into combat, the same happened with the lone marine in the center that tried to
get my melta command AND the same happened to the marines by my melta vets. All
failed charges, and none of them was over 5". An incredible roll of bad
luck for my opponent. He even lost a marine or two trying to get my melta vets.
Imperial
Guard turn 3
I now had
the oppertunity to contain the rampaging marines in my lines, so most of my
army turned to face them. What did not was the remains of my plasma command
that went into hiding ontop of the objective, my melta command that was
determined to kill that marine right in front of them. And the sentinels that
moved up to take on the land speeder.
The
shooting started with my meltavets on the left killing all remaining marines,
with the help of the now rallied squad and the chimera, in the center my
commadn, AC squad and flamer squad all opened up on the marines there, killing
most of them. My melta command did what they was supposed and killed the lone
marine in front of them, melting him into a pile of goo.
When the
assault came around my HQ charged the remaining marines, killing all but one,
but loosing one wound on the commander and my officer of the fleet.
Space
Marine turn 4
With not
much left on the board, the last few marines in the center advanced a bit, and
that what that.
The
shooting saw the snipers finally killing something by taking down the last
missile launcher on the right, also the center marines killed all of the melta
command again with some thunderfire help.
Assault
saw tha last marine go down, but not before he put another wound on my
commander.
Imperial
Guard turn 4
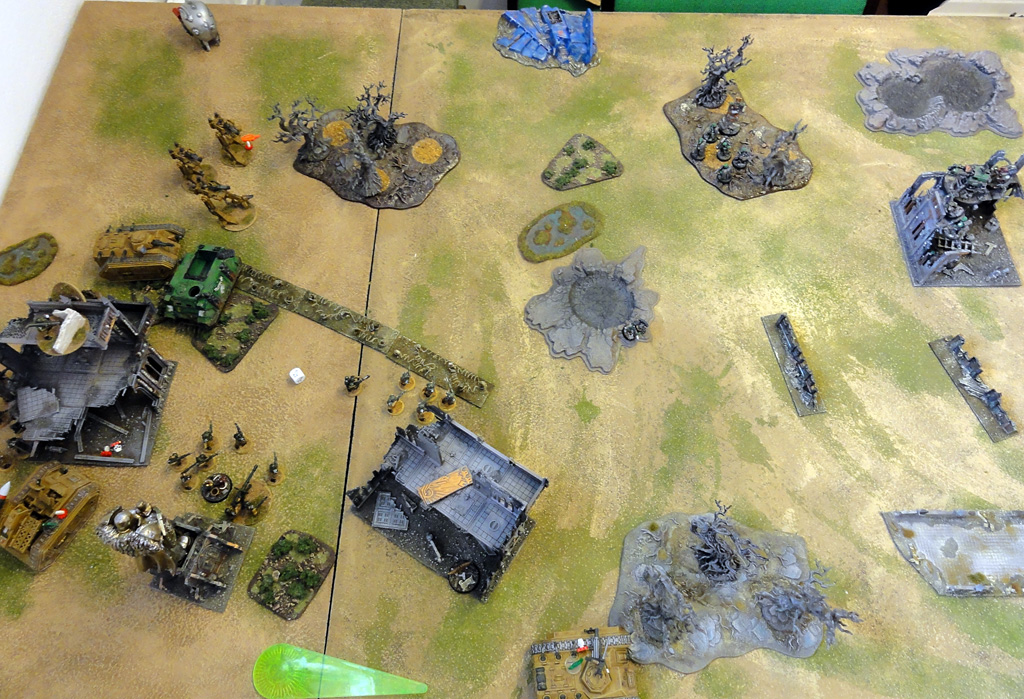
Not much
hapend this turn, the sentinels moved to get a shot on the center marines and
my other squads consolidated a bit to get objectives more secure and if
possible get in LoS of the marines.
After the
shooting phase not a single marine remained in the center (the one on the
picture has not been removed yet) and we decided to end it there as there was
no chance for the marines to get another objective away from me, or take one
more for themselves, so we ended it here with an Imperial victory!