Showing posts with label terrain. Show all posts

2012-07-19

Table building - part VIII - A new beginning

So, summer has come, and with it my vacation has come and now gone. There hasn’t been much hobby time during the last weeks as we have been involved in traveling to relatives, going to concerts and on top of that trying to paint the last few things on our house.

But in-between I’ve had a few moments to start building a new gaming table. I got into it after my last game at home (you can read about it here) and my current table is not really suited for games such as 40k. So a about 4’x6’ table is what I’ve stared.

I have made the table in 3 parts so far, each being about 2’x4’, they are really 122x56cm, based on the pre-cut MDF board I found in a semi local lumberyard. On these I glued down some 1” foam to use as the foundation of this whole thing.

I decided to make this as simple as possible, and not worrying about modularity to much or that I “had” to make it fit into any future more modular boards. This is something to get going, and having a table of good size for the occasional game that might arise around the house.

I have however not been that good at taking pictures of my work so far, mostly since it has been made in 5-10 min chunks stretched over three weeks now, but I took a few last night as I finished the painting on the first board.

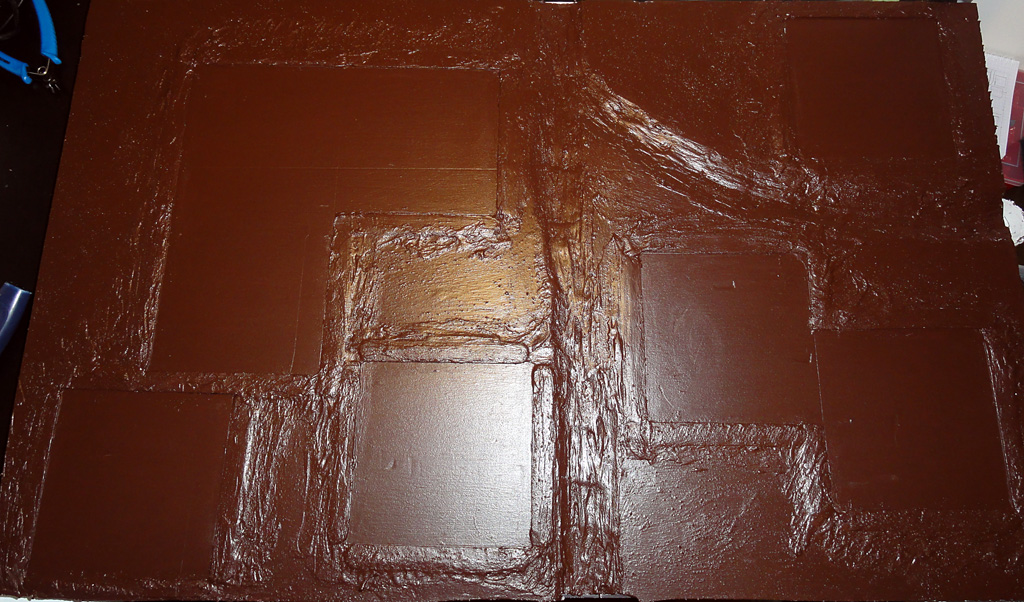
Here is it after the first three layers of paint


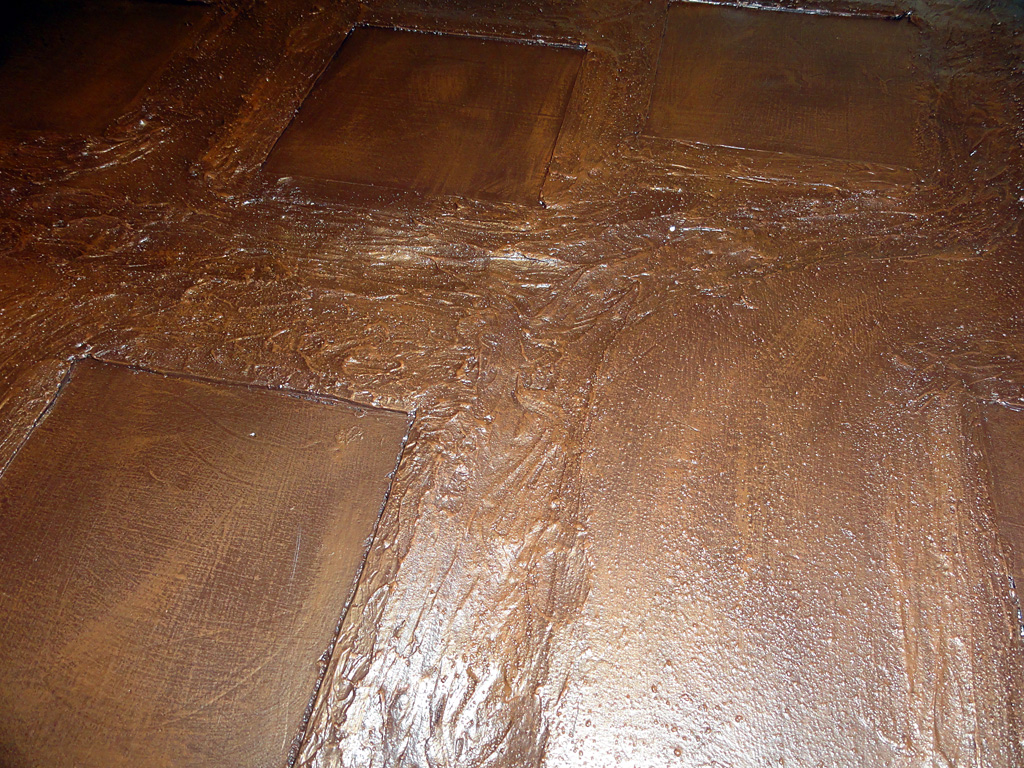
Here it is after I got the last few layers of paint on it
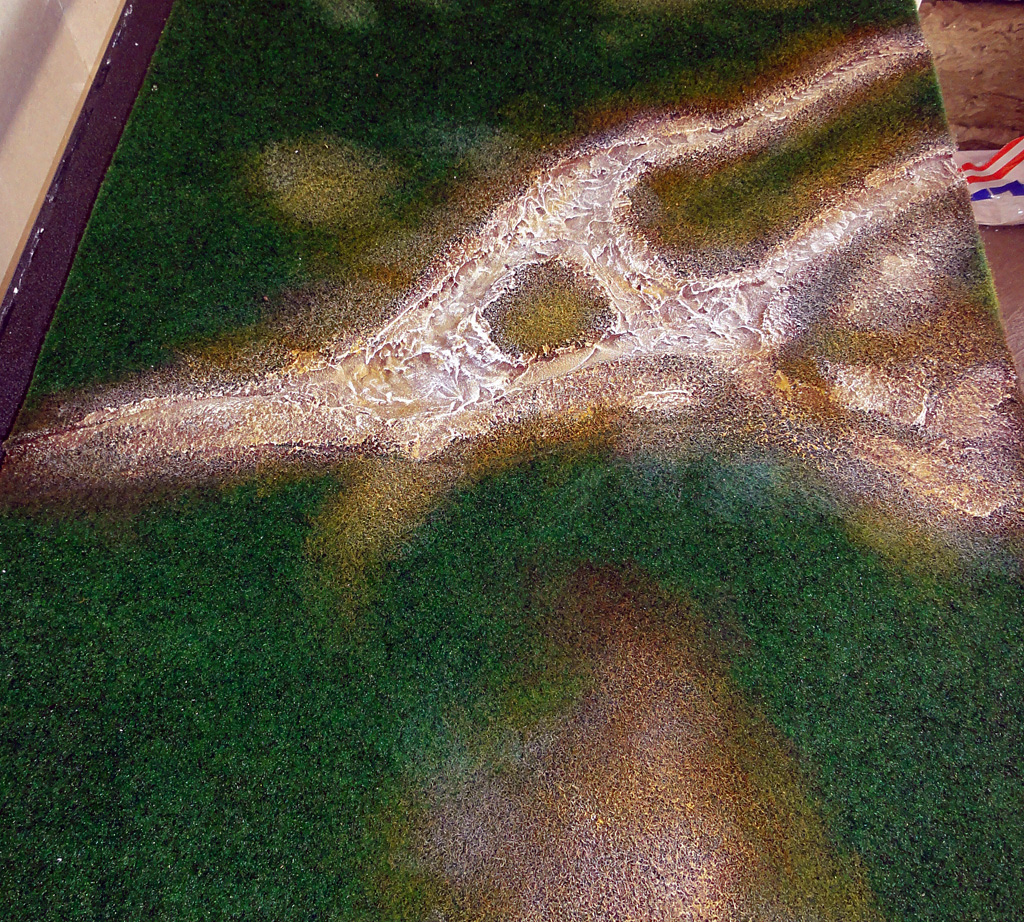

The green felt mat I have is something they call fake grass in one of the stores around here (Rusta for you that has one close by) it comes in a roll that’s 120x200cm large, and if you look at the mesurments above that’s a bit less than what I would need to cover the whole board in one piece so I have had to do something to get it together. On this first table I made this marsh/river kind of thing, my thoughts are to stick some random plant-like things in there and cover it up with water effects. We’ll have to see how that turns out…

One of the other tables I made a hill on, nothing fancy at all, just something to break up the battlefield with.

This last one I haven’t done a lot to, but the thought is that I’m going to do a small lake/pond on it, and then a small stream leading to and perhaps even from it, I haven’t decided yet how I’m going to do it, I might end up doing nothing at all and just leaving it flat and green. 
To show some scale of the grass and the board I got hold of an old Ork scorcha models that I had in my garage, it would have to do =)


I still need to do the edges of the board, so far I have't decided if I should just take some tape and just paint it, or if I should get some thin wood and make a frame all around it. I have to think about that for I while, and I still have lots of work to do before I have to really do it.


2012-03-22

Terrain for TYW

As inspiration hit me and I started to paint again on my TYW army, I also started to think about what terrain I would like to have for my army, and the idea of a village of some kind sprung to mind, so set out to create a test piece to see what I could do, and if I should do something at all.

The house I have put together is a rather large one, I wanted something that could be the center of the town, perhaps a house for the local lord or something similar.

The whole thing measures about 22cm long, 12 wide and 14 to the apex, I also added a little front portico just to make it a bit more interesting, and challenge myself to see if I could get the roofs together.

The basic of the house is foamcore with balsa and matchsticks to create the beams and in between I've thrown on some filler with a bit of paint mixed in.
The roof is made out of lots and lots of paper strips that i cut to a width of 5mm and then glued them on a card base with a little overlap here and there and with different length.

Overall I'm quite satisfied, but I'm not sure that this is different enough from my Spanish terrain to make a whole set, the look is not extremely different but it's a lot of extra work.

But until I decide to make more or not, here's a few pictures;


2012-03-16

Adobe buildings - Part III

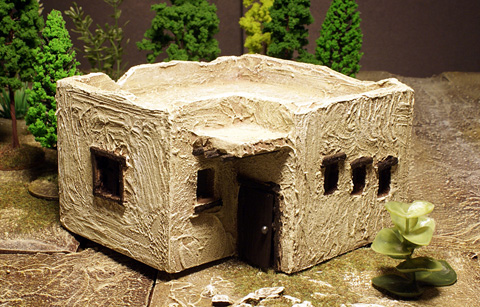
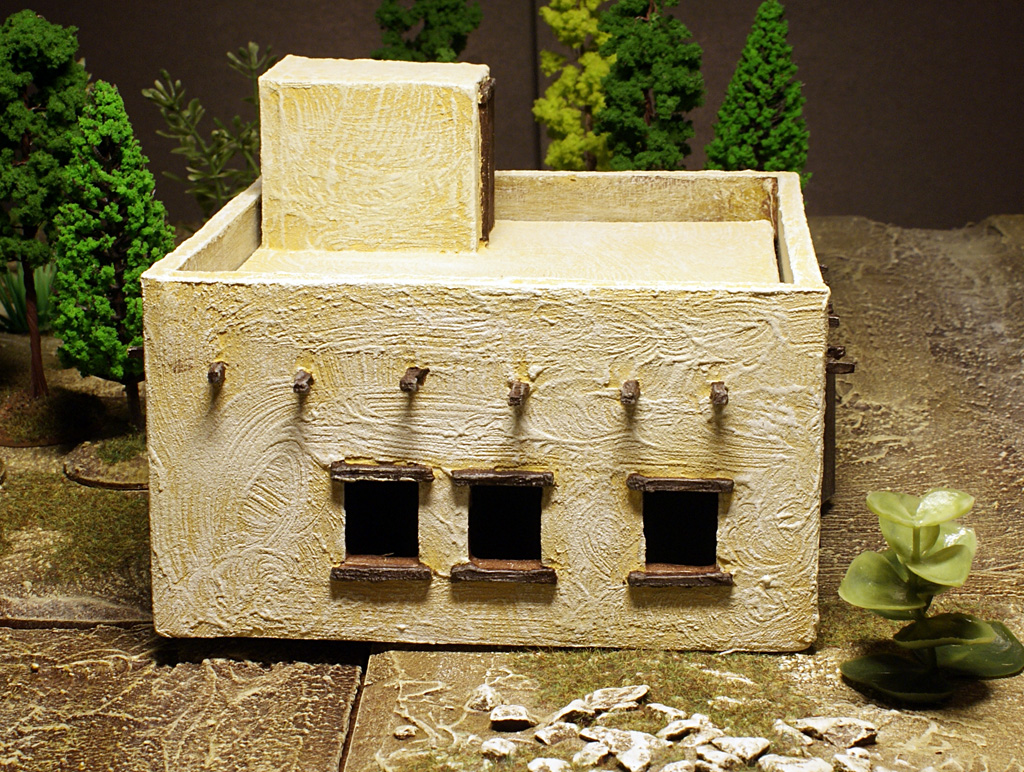
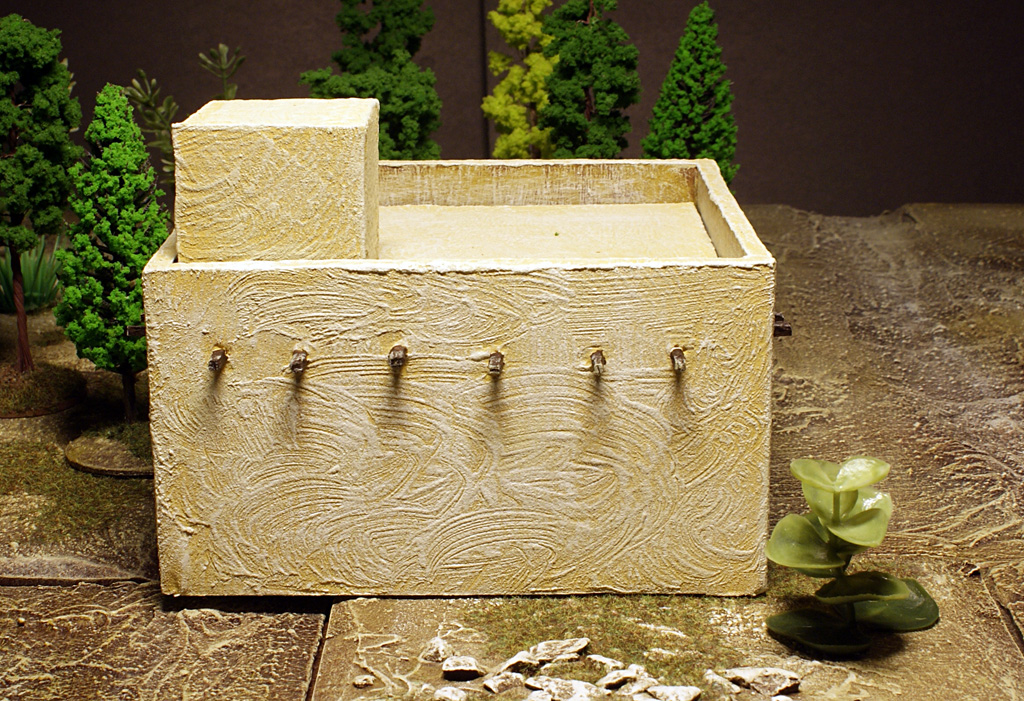
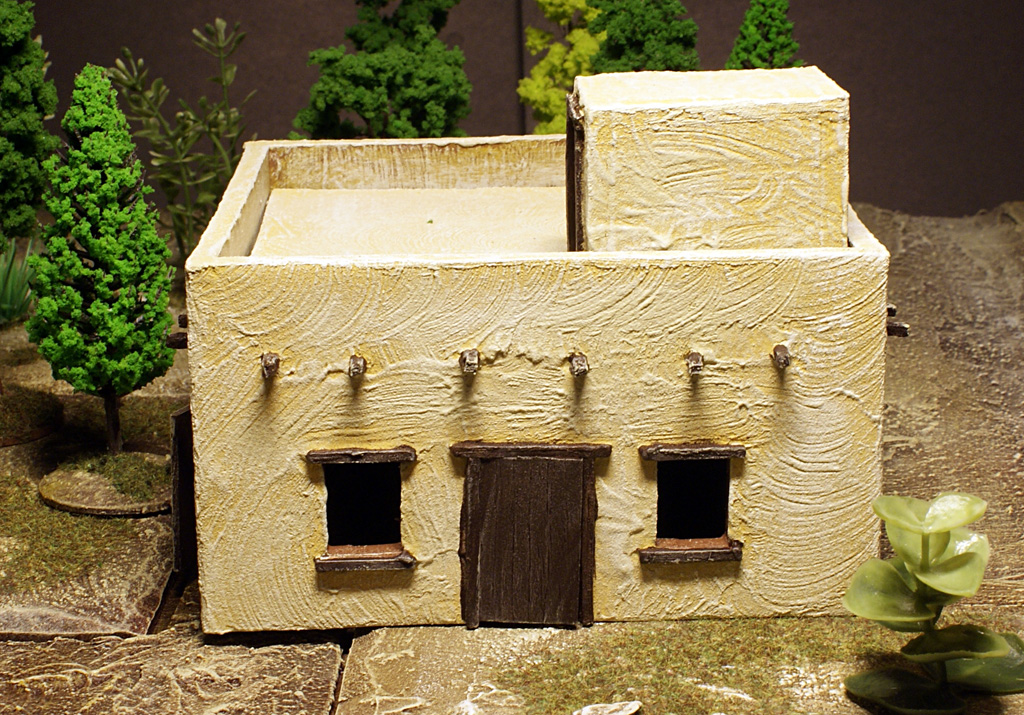
I've gotten some more Adobe style buildings done, I made this batch a little bit bigger so that a 40k sized game should be able to fit a squad, or at least most of a squad into them. I also tried a little thing and made one of them with a removable roof. This also hade the nice side effect that I got some beams pointing out, something I tried on my first building to no great success, as I just glued them on the outside then. No I made a few holes all around the house and stuck them in there with glue on them.
All in all it turned out quite nice.
I also experimented a bit with what color I used in the filler that I cover the entire building in for structure and base color all in one.
I also varied the amount of filler I used to get a feeling of a newer house and a older, more rugged house.

I also just noticed how the new house apparently don't have any door handles… This must be the new thing in anti-theft device, if you can't come in you can't steal anything, brilliant!

Other than that, there isn't much to tell. I'm getting to a quite good little collection of houses, a few more and I can more or less cover a 4' by 4' table in them.


2012-02-19

Table building - part VII

While I'm still painting more miniatures for my Imperial Army, I just got sick of small plastic dudes for a little while, so I started to make a few more modules for my table that has been standing unwanted and ignored for too long now.

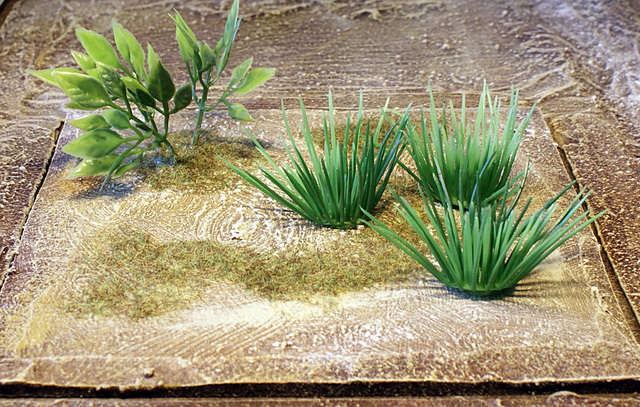
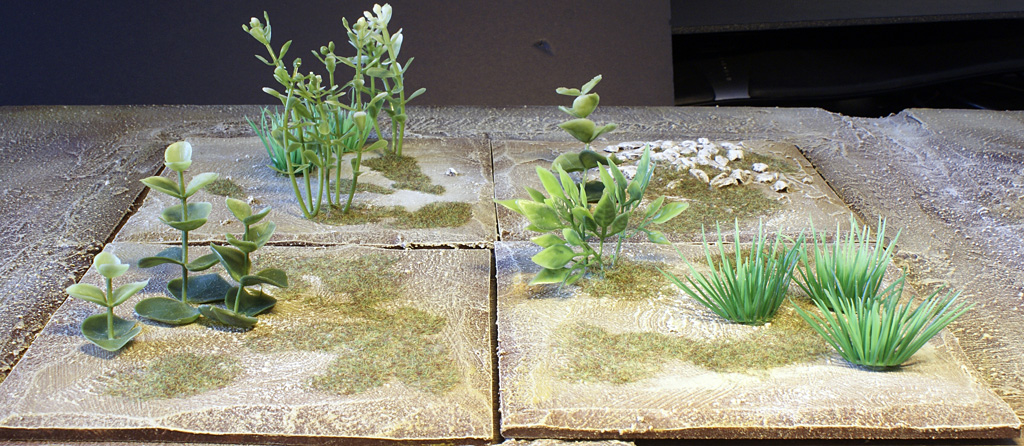
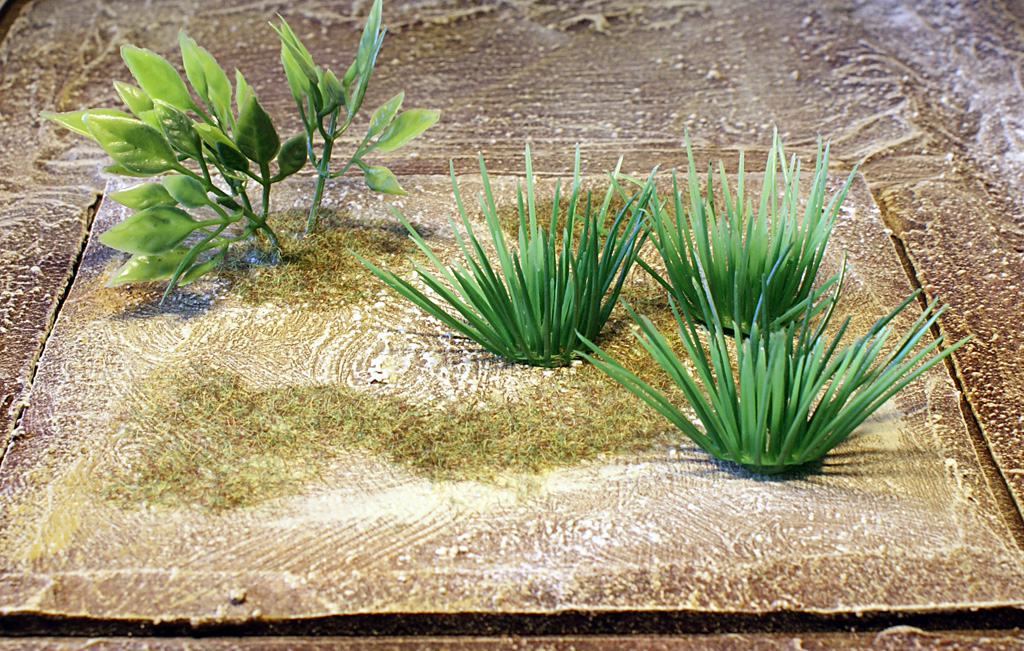
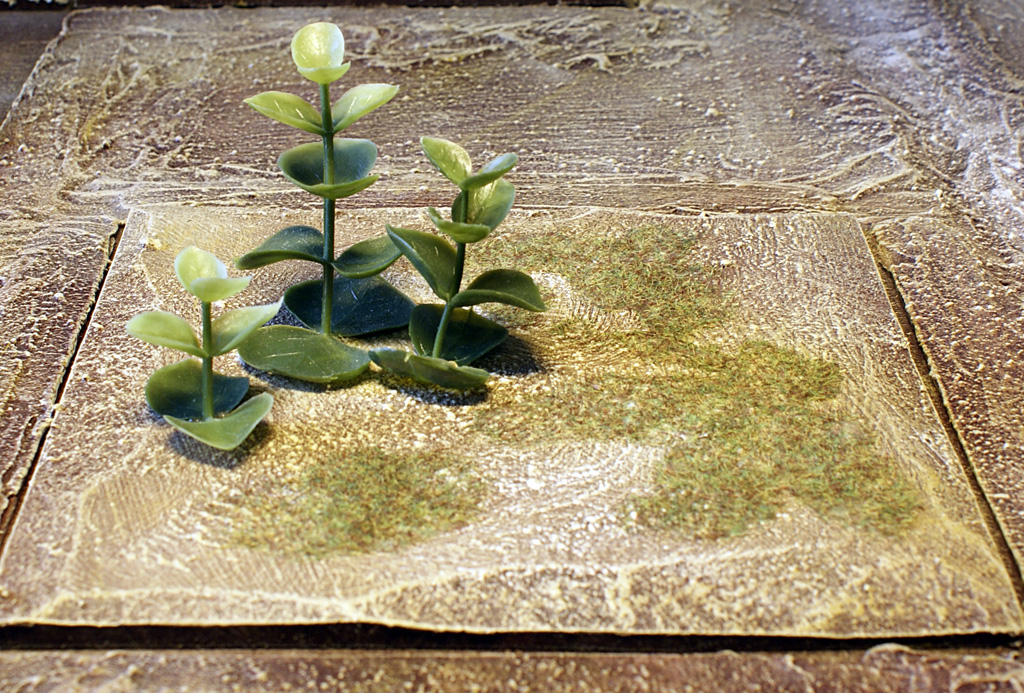
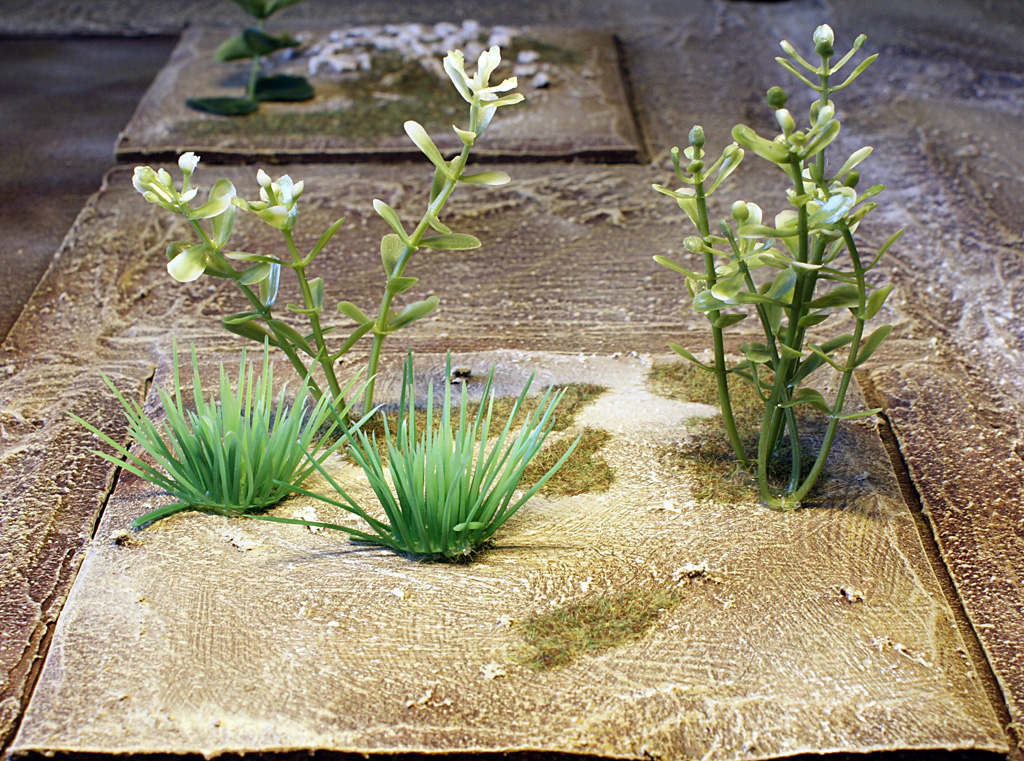
The order of the day was to make some mostly flat modules to fill up the table some more and in some cases be used to place free standing buildings over, this last part I kind of forgot when I got my hot glue gun and plastic flowers so I places a bit too much on some of them... They are still useful and can still take some buildings (or trees for that matter) but I overdid it a bit...

Anyways, they are made just like my other modules, a piece of wood for the base and then some structured paint over and 6 coats of paint, ranging from dark brown to a final small highlight of white. To see everyting a bit more in detail I refer you to the painting of the table itself, here and here.

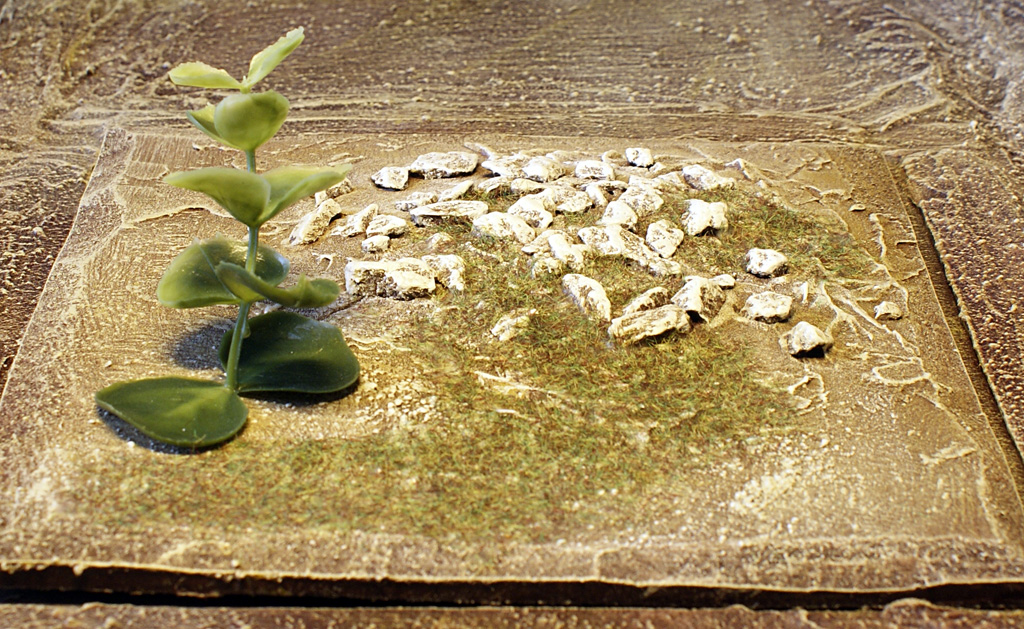
And some images of the nice little terrain;
Here we have them all four


This last one did get something to look like a pile of rocks, and that mostly what it is, I added some filler and stuck it full of rocks, turned out quite alright in the end, even though it made it a bit more difficult to paint.


I'm also back in painting some miniatures as well, but I also have some more adobe-style houses in the works. But pictures on those when I get them done.

2012-01-12

Table building - part VI

I took a small break from painting my imperial army, and tried to make some more modules to my table I built some time ago.
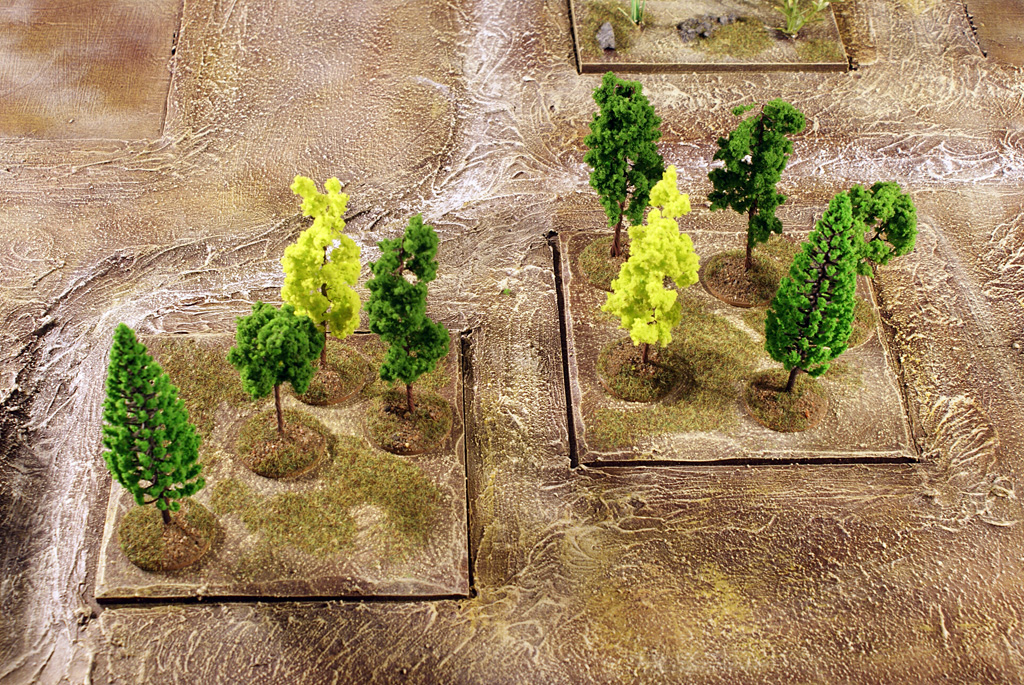
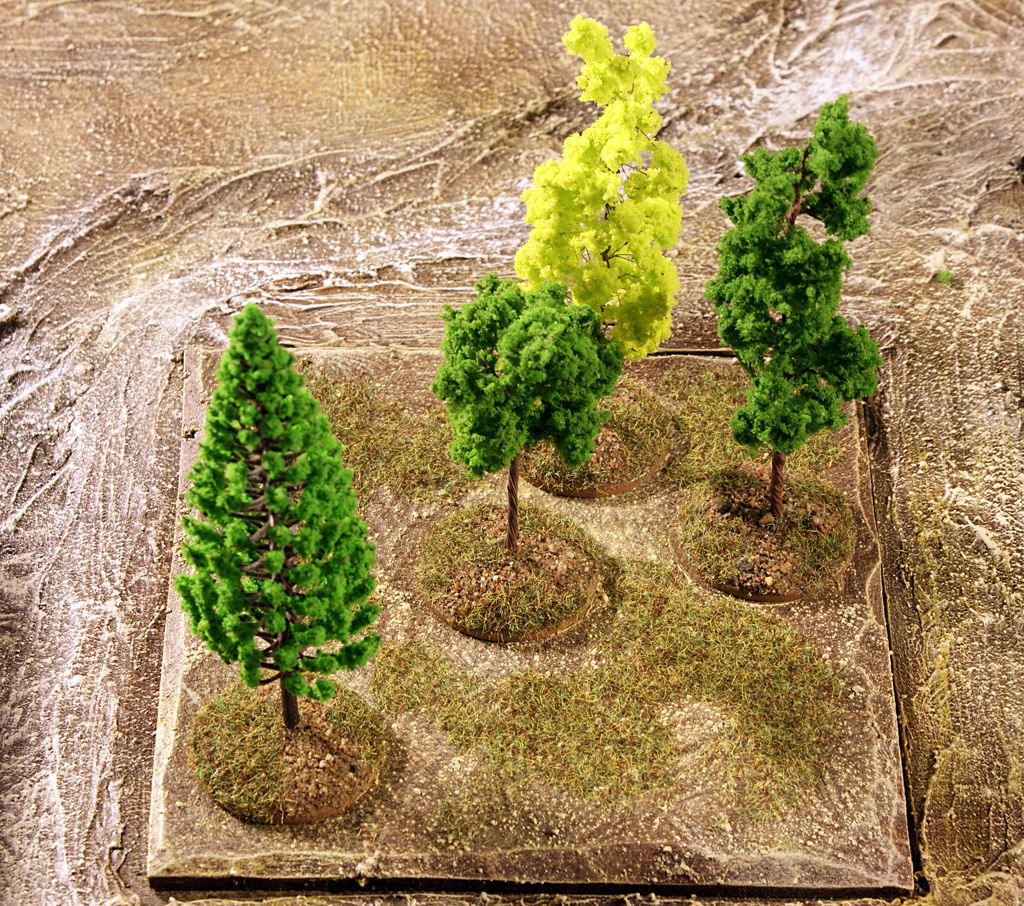
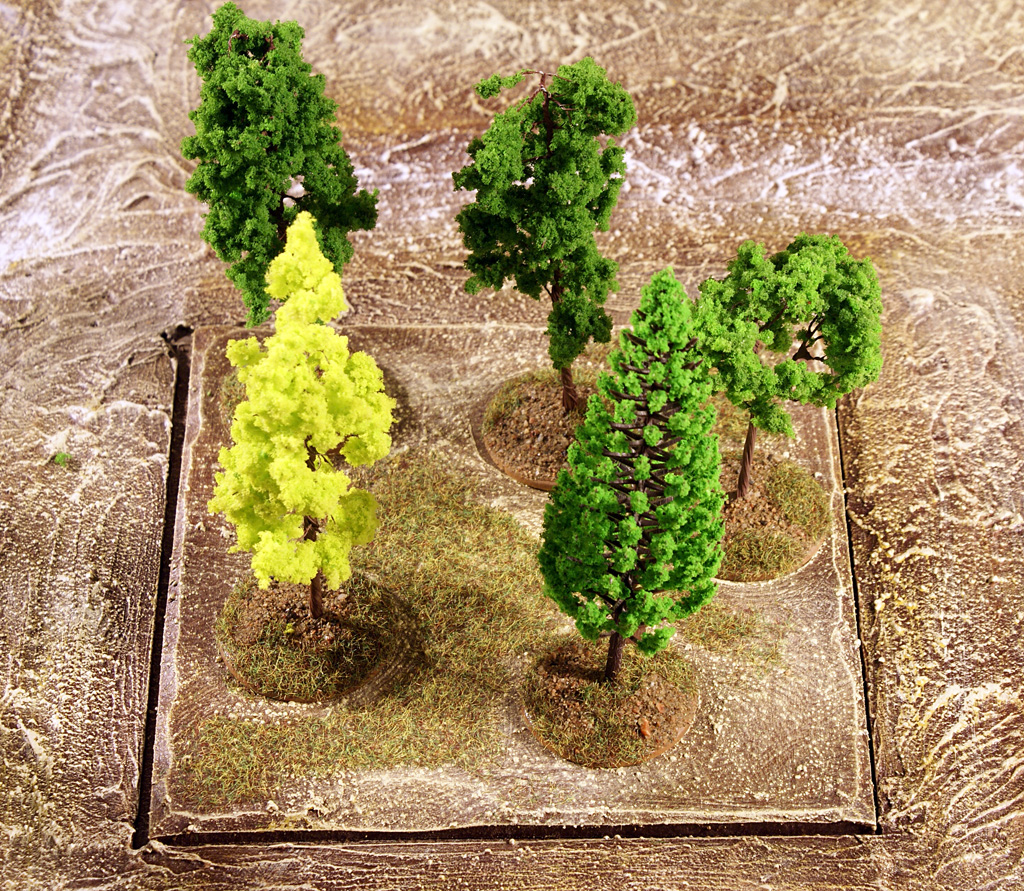
This time I tried my hand at making a few bases of forest, this time I cut a bit into the edges of the modules, to make them a little more flat to the edges on the table and make them a bit more "rough".

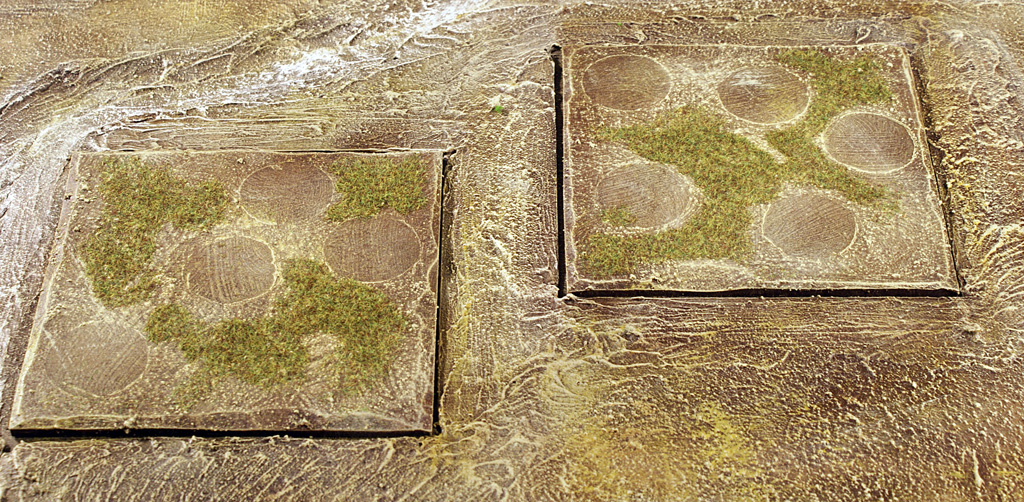
What I did was paint the modules with a few of my bases for the trees on them when I did the textured paint, so that I would end up with something that indicates where the tree should stand. This went.. Ok I guess, not great as I had hoped that the texture would help in centering the bases a bit more on their place, not it is more of a visual indication of where they should be. 
Next time I might build the bases up a bit with filler and make small edges for the trees to centre on.

Other than that I painted the bases in exactly the same way as the rest of the table, so the work was minimal, but the drying times made progress slow. I could only make one layer each night.

The trees then, well I based them on 40mm wooden buttons that you can find in craft stores, I tried first with 30mm, but I thought they looked a bit to small.

And here's some pictures of the two bases I did with some trees on them.


Here you have them without any trees, and here you can see the circles that got left in the paint.

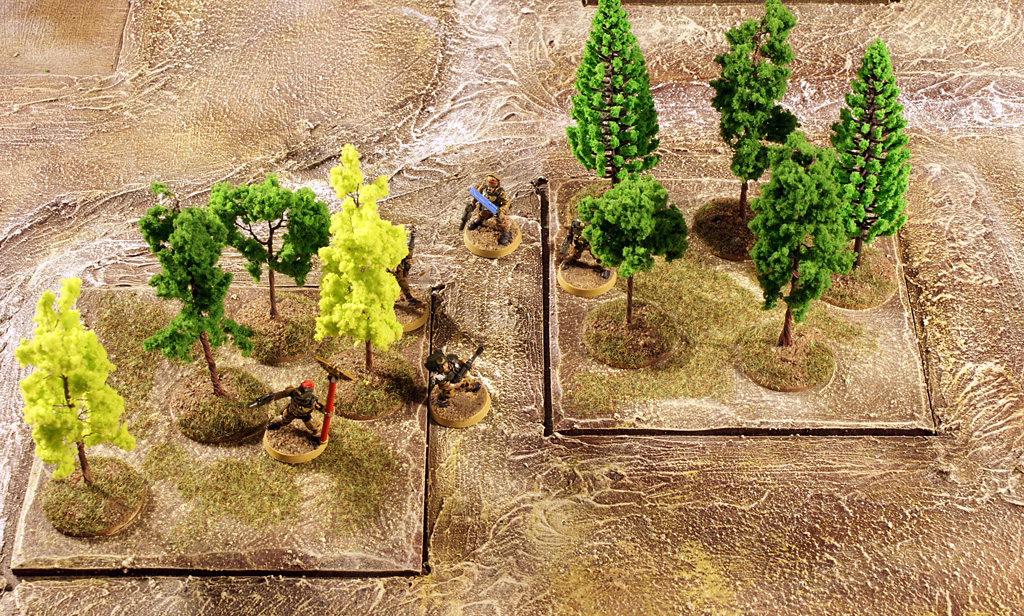
Finally I added a few Imperial troopers in them to give some sort of scale.

2011-11-11

Table building - part V

Now I've completed a few test bases with terrain for my module board. The board I got for the modules wasn't quite as thin as I hoped and it's therefore a bit of an edge on each module. The good side to this is that warping will be a non issue, I'd like to see the paint that get 6 mm of wood to warp =)
But the downside is that it won't look as nice as in my head, not that basically anything ever does.

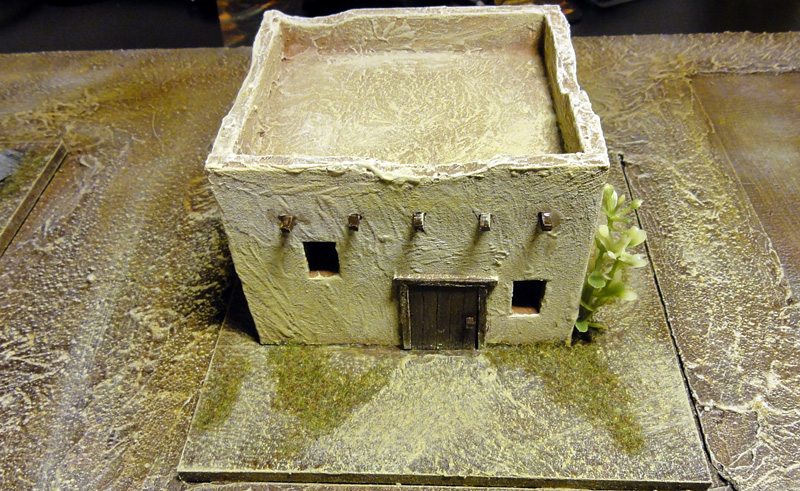
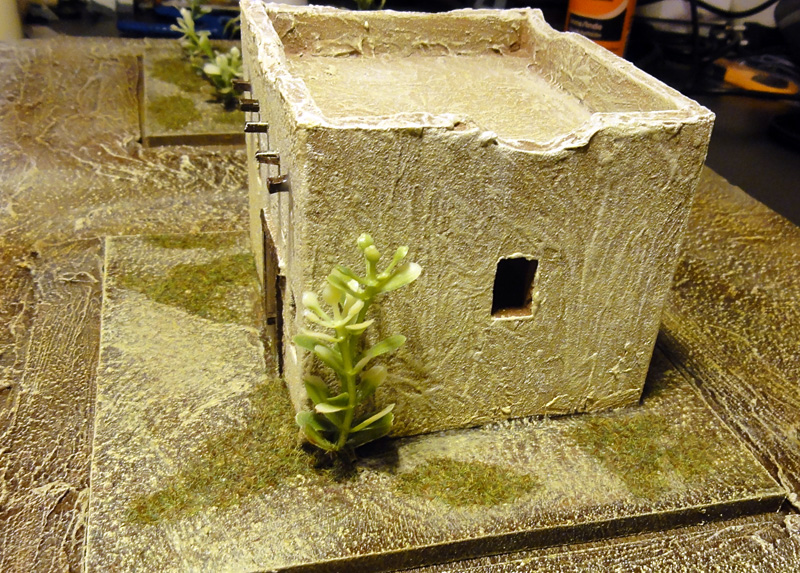
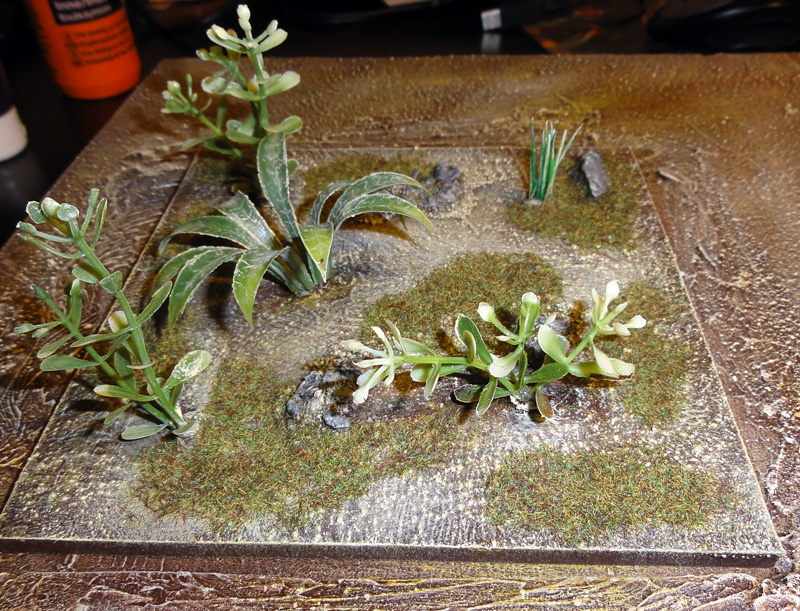
The modules I did this time is two of my adobe-style buildings and a module with a bit of vegetation on it, this is to represent some scrub or perhaps a area with some difficult terrain, depending on the game system and mood of the day.

I mostly did the same thing to the modules as I did to the table as a whole, same colour, same textured paint in the beginning, but I have finished them in a way I have not on the table, I've added some patches of static grass on them as well.

So far I'm quite pleased with the result, and I need to get some more of this going, and make myself a few more buildings so that I can make a nice little village on the table, and some areas with trees, and lots of other stuff.

Here's the first house, now with it's own base, looking all nice and done


The base with the vegetation got a bit of paint on it while I painted the base, but it turned out alright in the end as I got a bit more on there to make it blend into the base a bit.


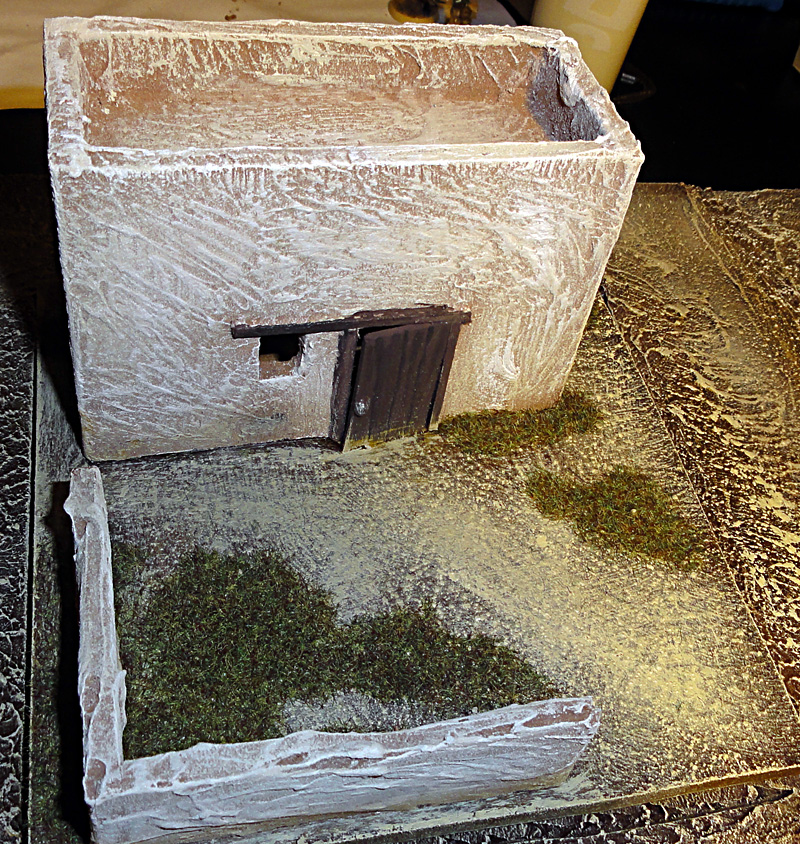
And the last little house with a base, this got to use one of the walls I did as well, I thought I'd use the area that was provided, and I could not get both of the houses on the same base as I had originally thought, so the last house is standing baseless at the moment.


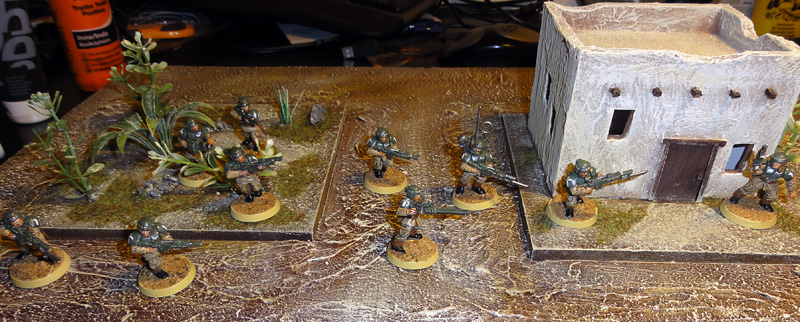
And some shots with my Imperial Guard acting as scale indicators

2011-11-07

Table building - part IV

And so, the table has been painted to completion, well at least the top of it.
I've now added the last few layers and I have to say that I'm more than satisfied with the result. The only thing I have to do now is add some patches of grass onto it, and perhaps some small rocks and such, just to break up the colors a bit. And then of cause I need to do all the terrain to place on the table as well.

Here is a picture with the difference in colors that the "bubonic brown" gives to the table, it really adds dept to it when the last layers are applied.

And one of the tables after the bubonic brown


Here is how it looks with the bleached bone added on top of everything

I also added a little bit of white paint to the paths, just to make them stand out just a little more and not to confuse them too much with everything else.

Now there is just the little thing of doing everything else, and then perhaps even get a game in on it.

2011-10-31

Adobe buildings - Part II

I have created another pair of adobe houses, this time I did them two at the same time and tried it to see if I would make them faster, and this time I don't think I used more than 1½ hours for both of them, the only stage that took noticeably longer with two buildings was the cutting part. It really takes a long time to cut out all those little windows.

This time though I did some small changes on each house, one got a chequered pattern on the top and the other some beams over each window. Just to at least try to make them different.

I also got some small walls going, got some small pieces over from the walls so I tried to do something with them and they turned out quite nice.

But see for yourself, I once again added some Imperial Guard miniatures in there to give some scale to the buildings.


Next step is now to mount these on bases to fit into my Malifaux/Infinity table.

2011-10-28

Table building - part III

I've gotten some more time to work on my table and things are starting to look like something you could game on.
So far I've painted the first half in my base colour and a first highlight dry brush not only that, but I've made the second half also and painted that just as far.

On the second half I decided that I wanted some lager areas to place terrain on, something that could be a larger forest, house or perhaps just some walls. So I put some of my 6" squares right next to each other. I hope that this will work out in the end, and for the times when you don't want something large and imposing on the table, there is nothing stopping you from placing a empty square in one or more of the slots.

Here is the first stages of the second half

Here it is with some structured paint applied

And with some of the base dark brown paint


Here I've made the first drybrush 


And when they are both put together.


The paints I've been using so far is inspired from another blog I follow Quindia Studios he did a paint approximation to some old Games Workshop paints that worked great together to create your basic dry earth kind of look. I can strongly suggest looking at some of his articles on building a table and also some of his amazing miniatures.