2014-11-09

Lion Rampant - Part I - Intro

A little while ago a game called Lion Rampant was released from Osprey Publishing, and a few of my club mates have been deeply involved in play-testing of this game, and one even has some of his pictures featured in the finished product.


So we had to play it in some way, and since we are in Sweden and there has been a lot of different Swedish history gaming in the last few years this would continue in this game.

The period that was decided upon was something called "Håtunaleken", and that's Sweden during the very early 14th century.

The character I chose to represent during all this is Torgils Knutsson, the new kings guardian, and marshal under the previous king.

For the first part in this we are to create a 12 point army, or more correctly, patrol. I got myself a box of Teutonic Infantry from Fire Forge games to create my starting force and since 12 points only amounts to three quite small units, that was enough.

My force will be
6 foot knights including Torgils himself
12 men at arms with assorted close combat weapons and shields
6 skirmishing crossbowmen

And that's it, quick, small and easy.

My force assembled looks like this
In the centre front you can see Torgils himself, to the left of him is his knights, to his right his skirmishers and behind his men at arms.

And now I have painted my men at arms and they look spiffy in their new colours.


I'm using a very quick and dirty method here, only applying a base colour, washing it and then a single "highlight" with the base colour again. This gets my minis completed, even if they wont win any painting competitions.

2014-11-05

It's ALIVE!

So it's been almost two years since I last posted something here, a lot has happened in this time, I've gotten married, we had a kid, I've painted a few armies, started playing some new games, gotten out of a few others and so on.

But I'm not going to go over too much what has happened and more concentrate on whats going on, and in that have a few looks back at what has happened in that context.

So for starters I picked up my Napoleonic miniatures this spring, I found a gaming group in the same town as I live in and even though the mostly play 40k at least two was interested in some historical wargaming. So I got my more or less forgotten miniatures out of storage, looked thought what I got, what was painted and what I needed to do and get to get both my british and my french forces up to the level of playable.

Since none of the others had any experience in any historical game at all, I got hold of my copy of the Waterloo game from Warhammer Historical, as this has some resemblance to Warhammer Fantasy and that was a game they knew of.
So to get this going I had to supplement my british forces quite a bit, as it was then I only had a few units, and most of them was only four bases each, and Waterloo uses up to eight for the british (and six for most of the others). So i got going and painted a few extra miniatures, and got some of the left overs I had organized for more units, I also got hold of one of the splendid plastic boxes from Perry Miniatures, and together with a few metal miniatures I had, I got a total of four regular units done and two more units of Riflemen, so I have a small unit (four bases) of 60th Rifles, and a slightly larger one (six bases) of the 95th.

I also got a cannon done and a artillery officer that would be my commander for the first battle.

I also supplemented the French side by completing a unit of light infantry that I think I started painting way back in 2011, here I also had to enlarge the units up from four bases to six. and I ended up with five units of regulars, the light and a smaller unit of Old Guard Grenadiers, and I also got a unit of Dragoons done.

With this I got the armies completed for the first game.

As this was our first game with new rules we did a ton of mistakes, but we was kind of consistent with them so they didn't affect the outcome too much (I think at least =)

I took control of the British forces and my opponent the French, we had most of our armies arrayed across from each other, but I thought I could be clever and sent one unit to flank around a small town, this did not go quite as I had intended and they spent almost all game walking and arriving when it was all to late. At the same time on the other side our infantry pummeled each other but the battle took a turn for the worse for the British when the French Dragoons appeared and charged into the lines.
The result was that most British units broke or was cut down and the battle was over.

All in all it was a great game, and I've since then started painting a unit of Hussars for the British so they also have some cavalry to challenge the frogs.

Here is some pictures from the game, enjoy =)
French deployment

British deployment

Overview of table

French light troops

Guards and line troops

Initial movement of frensh right flank


First fire contact

Lines intermingle and units start deteriorating

Despite the markers the British forces are staring to get the upper hand

French guard breaks and flees!

And then the cavalry arrived....

2013-02-27

Dark Angels - Part XIX - Ravenwing Bikes IV


So bikes then, this is my second squadron of bikes that I can field, but the first one that is the full size of 6 bikes and 1 attack bike. All these bikes have been given the no 7 on their shoulders so togeter they form a whole unit. I'm meaning to set a 7 on my completed metal speeder as well to really give them the whole 10-man unit feel.

As this unit is to be full size I added a real sergeant to them and I gave him a Power Fist, this has already paid for itself as he has been included in 4 games so far, and in two he has crashed into a Leman russ tank och blown it up (ofc he died in one of those occations…) and in the others he has smacked some orks on the head, and died inches from crashing into necron warriors… He can't win them all you know.

The unit then, the painting is nothing new, it's the same as all the other Ravenwing units, the bases has been given a slight theme, and if the unit is placed right you can make up the street they are raceing down. It turned out quite good, but the bikes kind of covers up the most of it.

Well here you have some more pictures, taken during the last weekends turnament, with a insanly good looking Forge World City Fight table as background.


2013-02-24

Dark Angels - Part XVIII - Ravenwing Attack bike I


 I've just finished my attack bikes for the month, or I did finished them about tree weeks ago, but I've been far to busy and lazy so I haven't had time to take any pictures of them. But yesterday we had a small tournament at our club, and while we all got sorted and marveled at a ForgeWorld cityfight table that one in our group had bought and painted I snapped a few quick pictures of them with this amazing board as a backdrop 

 It's possible to see on the rightmost bike here that I've added numbers to the shoulder pads as well, and my plan is to do this to all my bike squads, and I've now started with these bikes. The bikes that's already completed will get their number added as I go along with other minis. As you can only see the 6 on the right bike, I can tell you that the left one is no 7.

As have been done with all previous bike these did get a base color done with my airbrush, a few washes and then all the details done. Rather simple, but it makes a fairly good model in the end. I've also magnetized the weapons, so both of them can carry either a heavy bolter, or a multi melta.


I have also completed a squadron of bikes to go with one of these attack bikes, but they will make an appearance in the next post

2013-01-30

Dark Angels - Part XVII - Ravenwing Land Speeder III

After a long absence here I think it's time to get something done here. Since last I haven't painted as much as I would have liked, far to many other things to do right now. But I have done something at least!

I entered a little hobby progress challenge over at The Independent Characters forum the idea is to complete at least one unit each month, and be done with a full 1850 point army by the end of November.
I took this as an opportunity to get my ravenwing stuff painted and on the boards. So I have entered with this in mind.

The exact army I'm going to end up with is not something I have decided yet, I have only had the new army book for a few weeks and I'm still a bit uncertain what to do. But my first thing to paint was another Land speeder, and so I did and here it is;


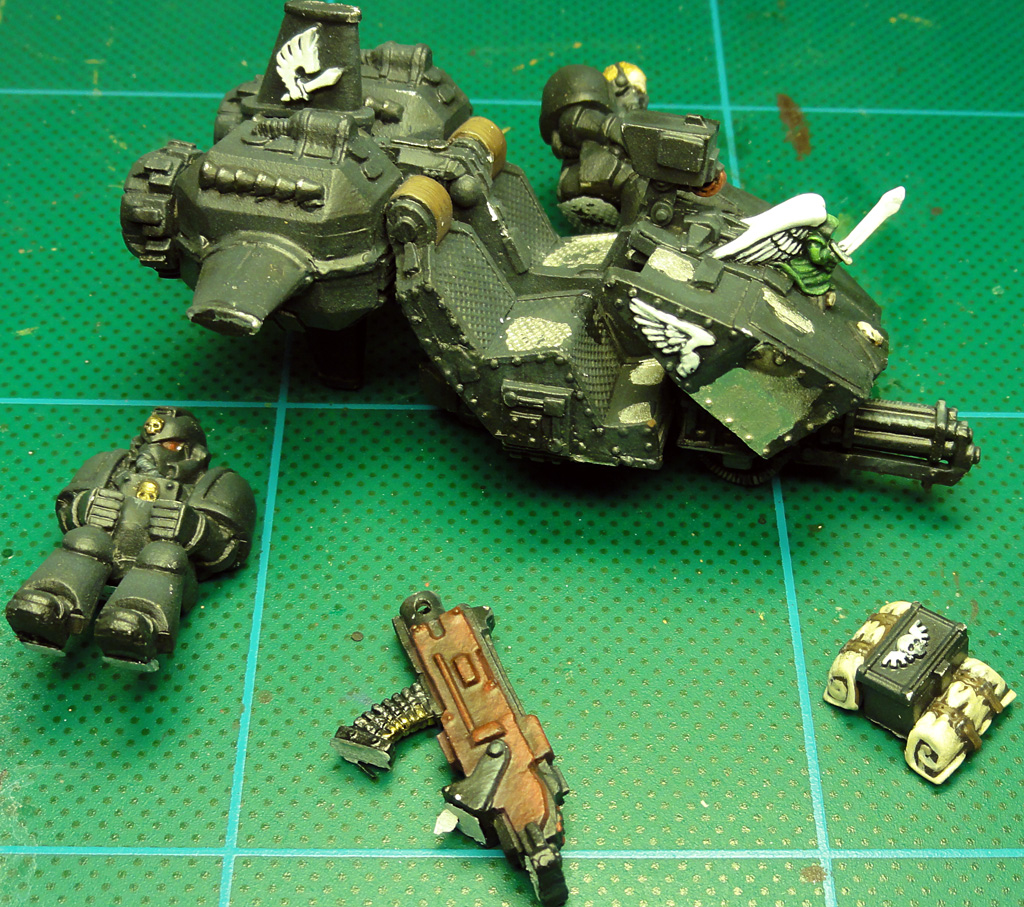
If you notice the base, it's the same one as I used on my old school speeder that I did before the new year, the reason for this is that I used my brand new speeder just after the holidays, and well... a metal model is a bit heavy, so much in fact that the magnet I used was not up to the task of holding it, so while we moved some stuff on the other side of the table, the speeder took a nose dive right of the table into the floor, smashing it quite a bit. The result was this;
The whole body was twisted as well, that can't be seen here, but it was quite a lot of work to get it together again and I was a bit sick of it at the time. I uttered a lot of bad words as I put it together again and tried to figure out what to do with it now.
So in frustration I threw together a new base for it, this time with two flight stands to hold it up, the old one with a magnet is still there, but I also added a new hole and a new stand for added stability, and now it won't go anywhere.


The base is not as nice as the other ones, but it's functional, and thats what counts at the moment.

2012-12-31

Dark Angels - Part XVI - Ravenwing Land Speeder II

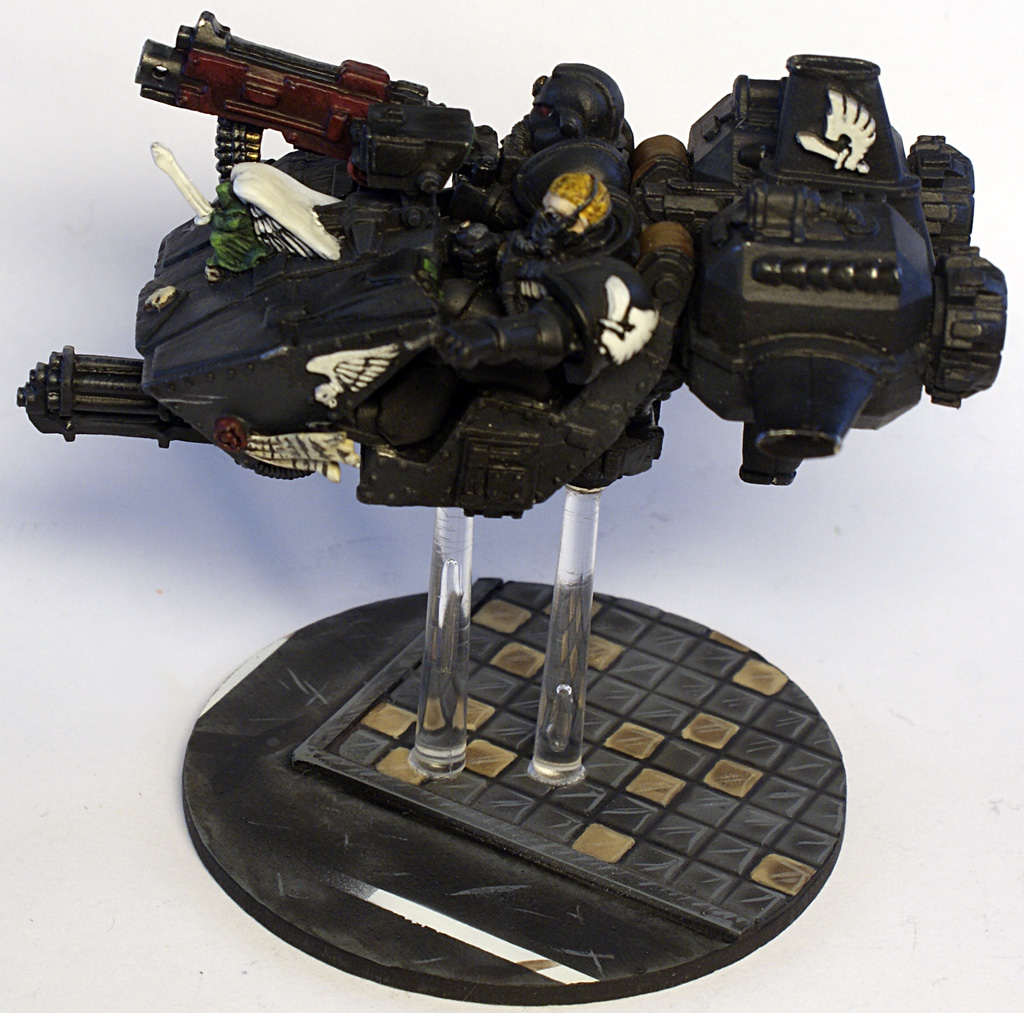
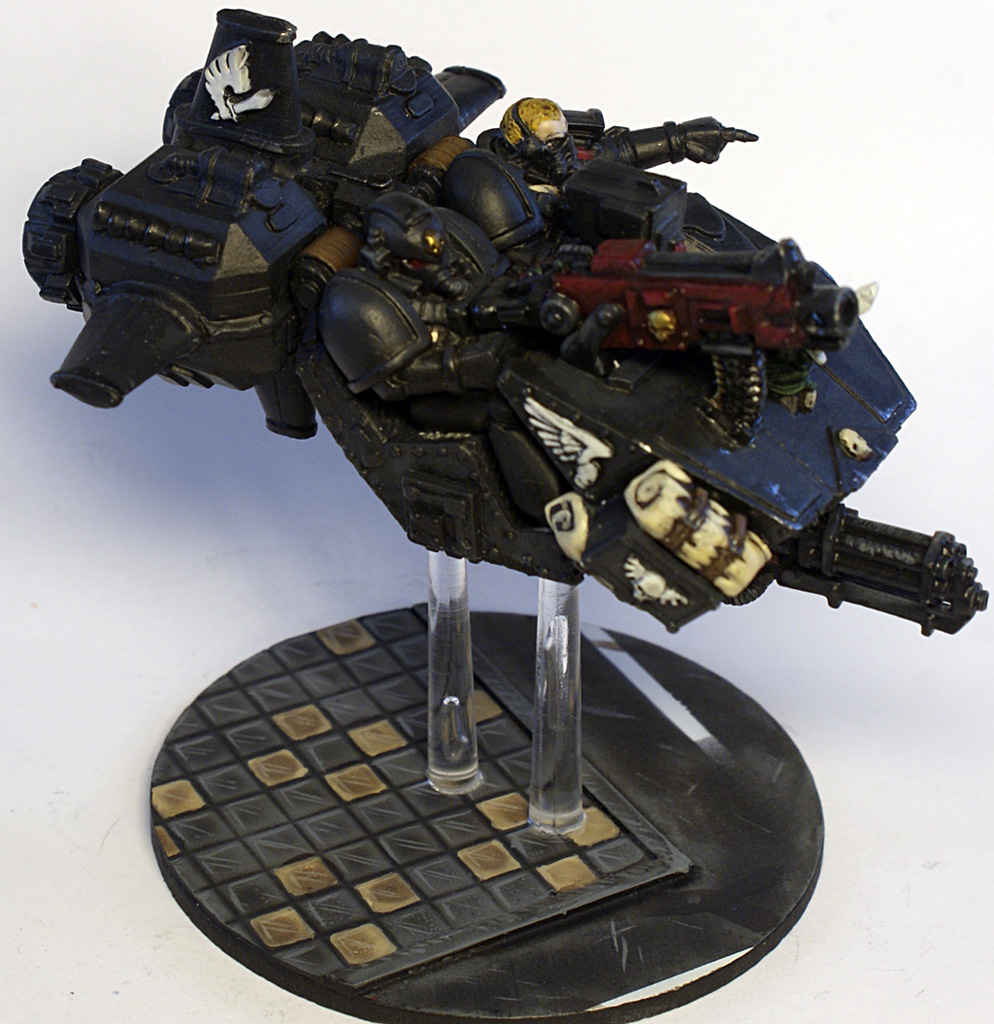
As the year is coming to a close I present the latest miniature that has gotten of my painting table, another Land Speeder. This time it's one of the original Ravenwing speeders made way back in -94, I've had two of these since they came out, only ever painted one and forgot about the other in a box. Thats until about two months ago when I found them again.

The one I've painted now is the one that never got any paint in the first place, the other one is still on my desk and I need to clean off all the old globby paint I've put on it.

The main problem with this mini is that it's made of metal, and it heavy... really heavy... So I had quite some problems with paint chipping during the painting process, and not only that, but the fit of the different parts aren't what you would call good, it was quite horrible sometimes, especily the piece that the flying rod comes out of, this holds the main body and the chairs, and I had to be a bit creative to get the parts to stick together. But a few pinns and some grey stuff and it got together as good as I can make it.

Other than that I added a few new things on it, some extra items just to make it look like they are ready for a extended scout mission. I also added a few small areas of chipping on the body and wings, I'm not overly excited how it turned out, but I have to start somewhere when it comes to experimenting with this.

Other than that, here are some pictures, enjoy and have a great new gaming year!


And the two speeders I have now, there is quite a size difference between the two =)


2012-12-21

Dark Angels - Part XV - Ravenwing Land Speeder I

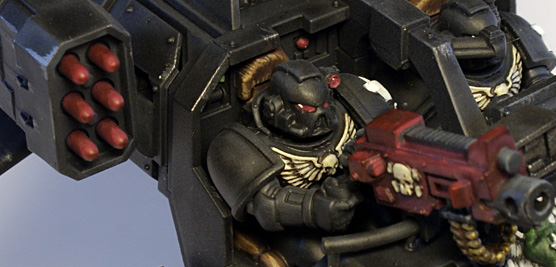
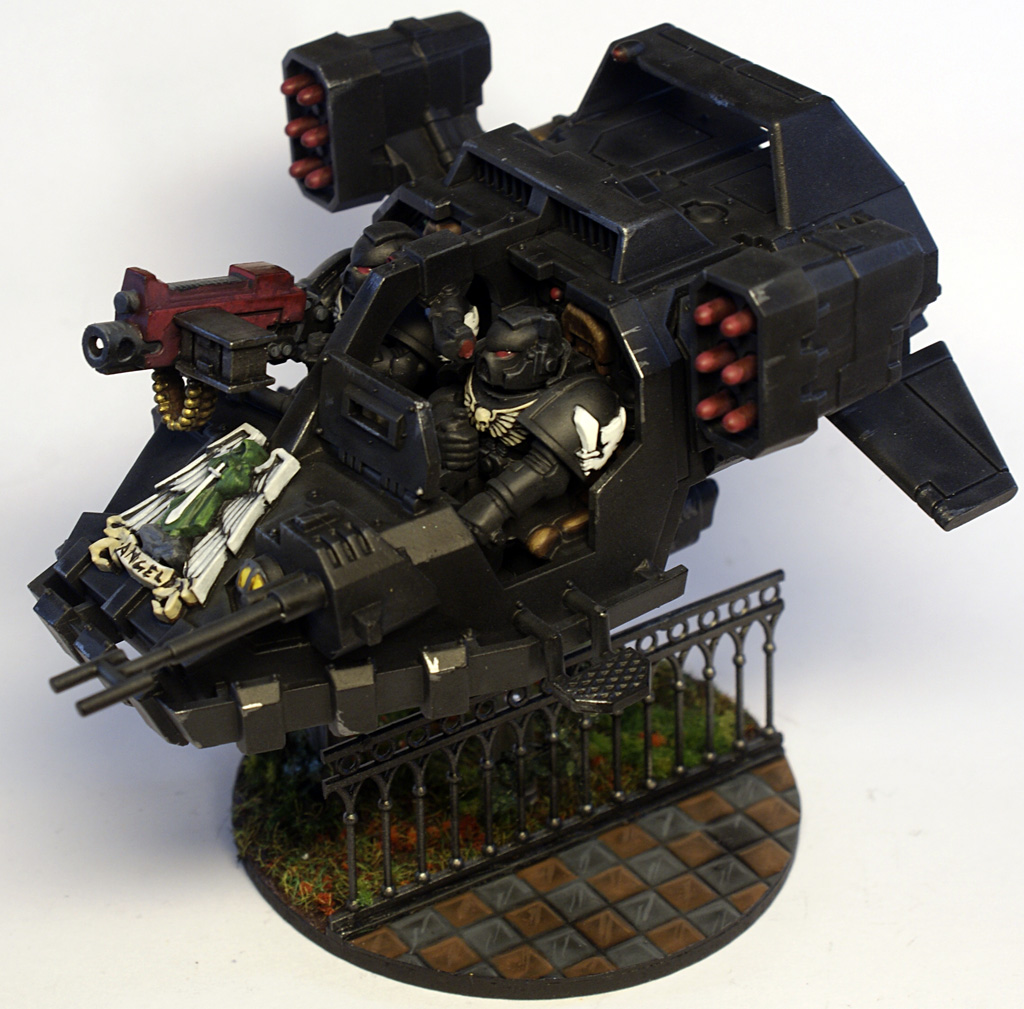
The last few days I grabbed hold of the Land speeders that comes in the Rawenwing battleforce and started building. I wanted to magnetize it to be both a tornado with a assault cannon and a typhoon with the missiles. So I had to do a bit of work on it, so far I haven't done the best of work with my magnetization, but this time I took it a bit slower, checked and double checked all the magnets before I stuck them in there, and I did succeed far better than before, even if I would have liked it to be a bit better at times.

Then I started with the painting, and here I did one major mistake. I used my airbrush for all the blacks, just to make it much smoother and get it done fast, so stupid as I was I thought; "Well, then I don't need a prime it first"... Not the smartest thing I have ever done. The result was that lots of paint got rubbed of as I worked with it, and so I had to repaint, and repaint, and get varnish on, and then repaint it a bit more. It was horrible and something you should never do, always prime your miniature!

But despite this, the painting did go quite fast, I wanted most of the speeder so stay black so I did not pick out to many details, but more left them as they are. And I think it looks really nice in the end.

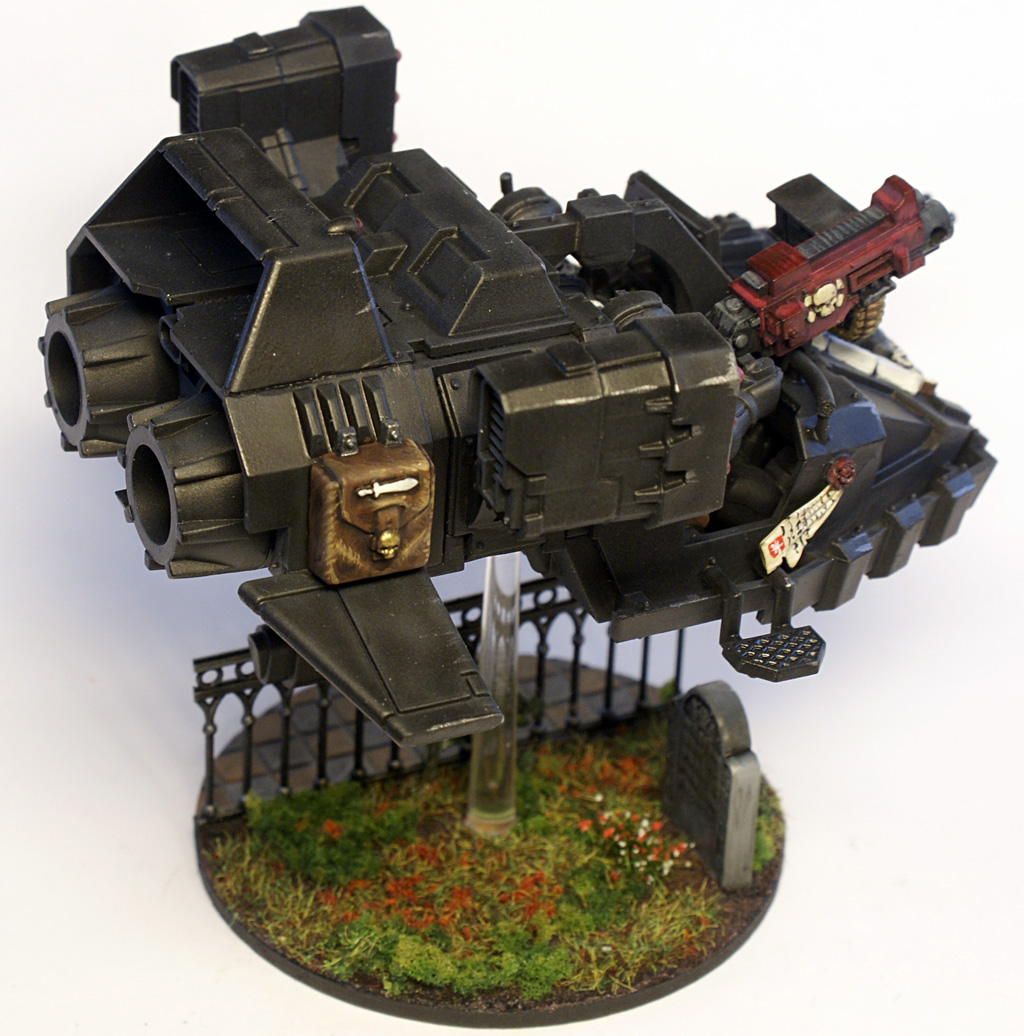
So, after painting and putting it all together, I took the photos, and then I realized one more mistake... I forgot to put the ammunition hopper on the bolter... Another facepalm moment.
As it stands now I still haven't gotten the ammo on, right now I think I'll leave it that way, I might paint it up when I do the next one and then stick it on, that is if I remember it then...

Ah, well. I have some pictures on the speeder, based an all;


And all the parts