I started my Shaltari army after I won a starter box on a tournament held in Skövde last autumn, so far it hasn't been anything added to this little force except the starter, but I'm thinking about doing a pure skimmer army out of this, especially now that there is a skimmer commander to add to the force. Even though the walkers they have are astounding models I want to do something a bit different from what I have seen so far.
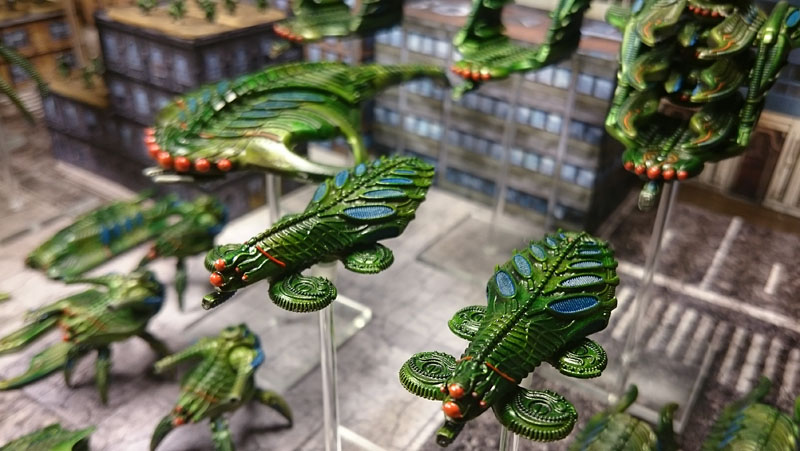
But who knows, when I get to expand this there might be something else shiny that I just have to have in the army...
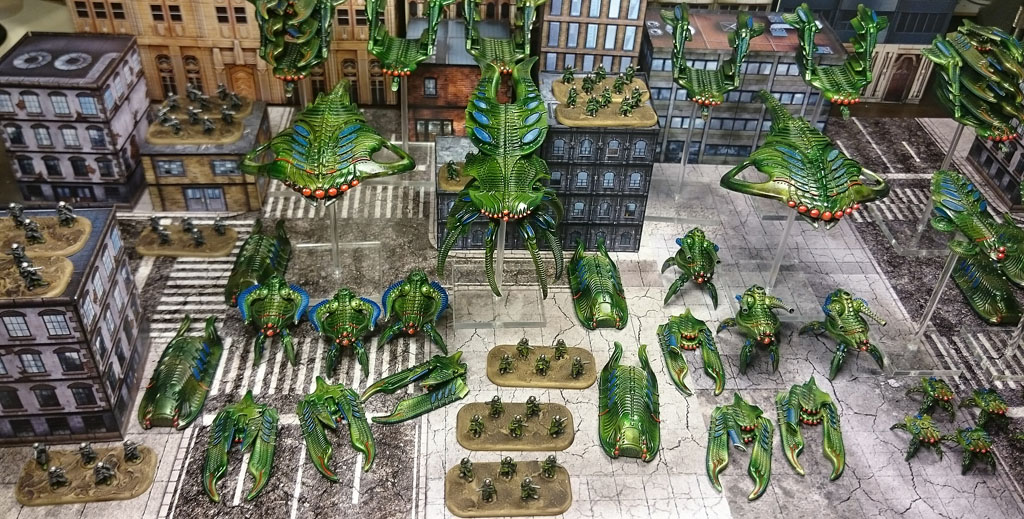
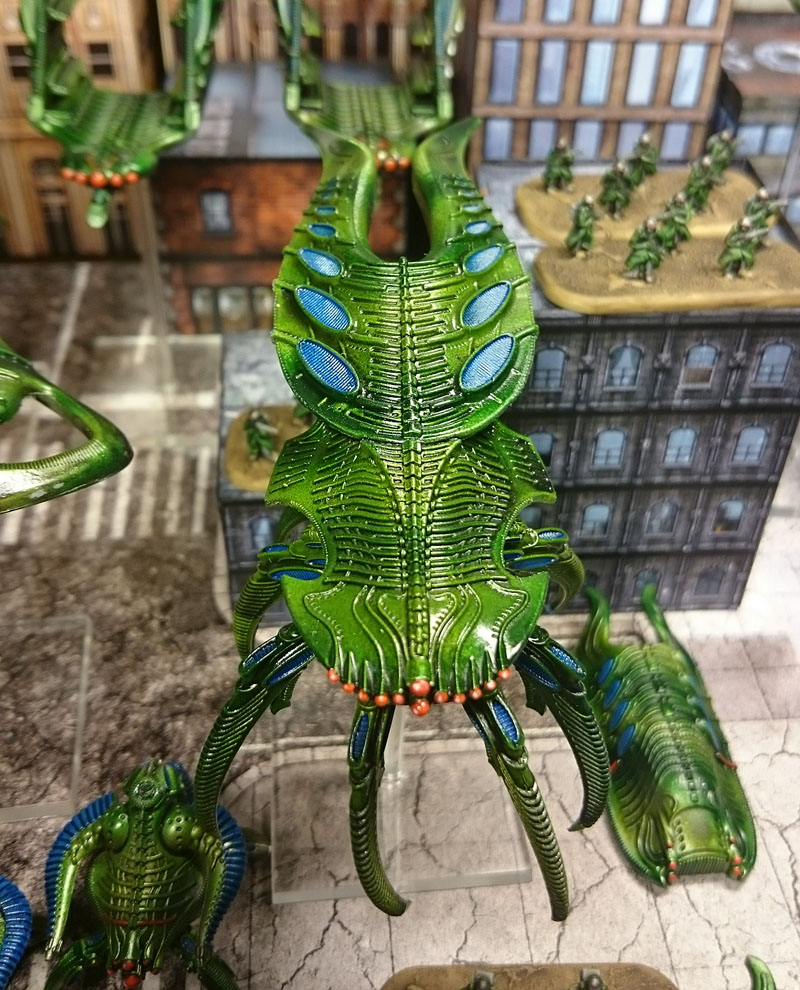
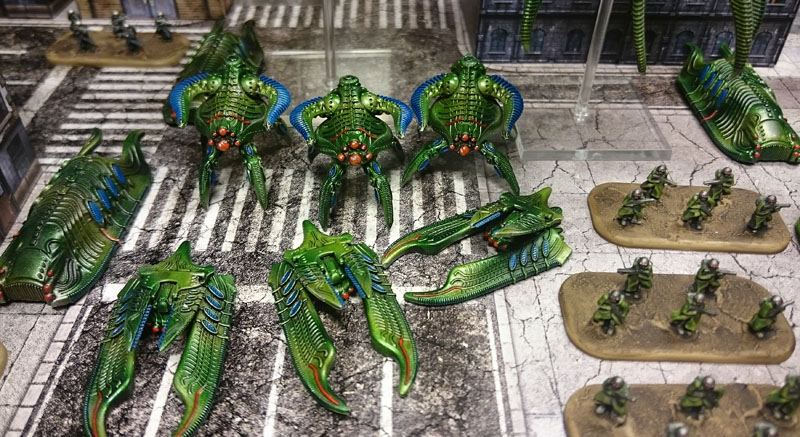
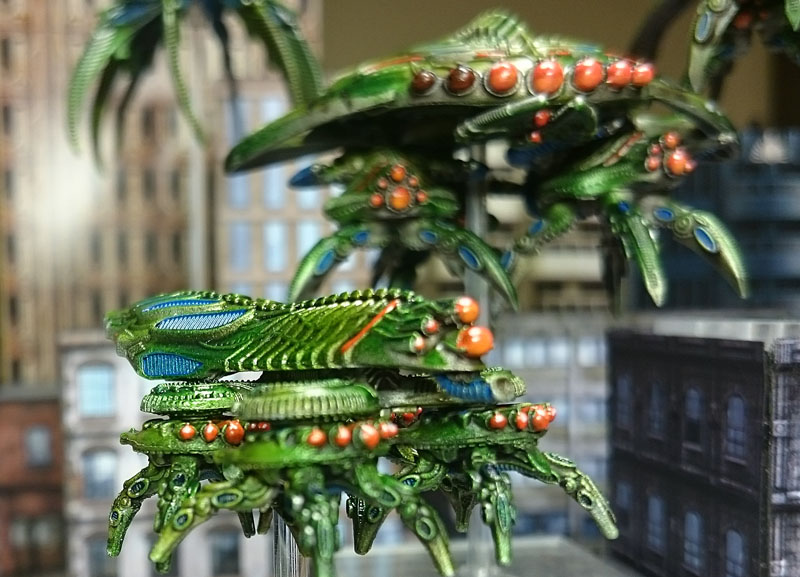
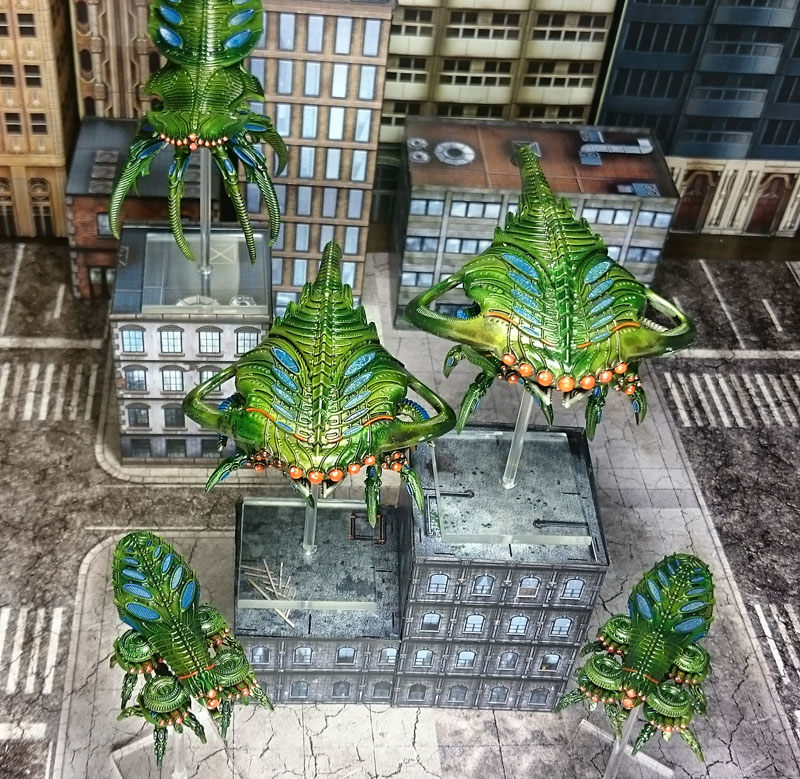
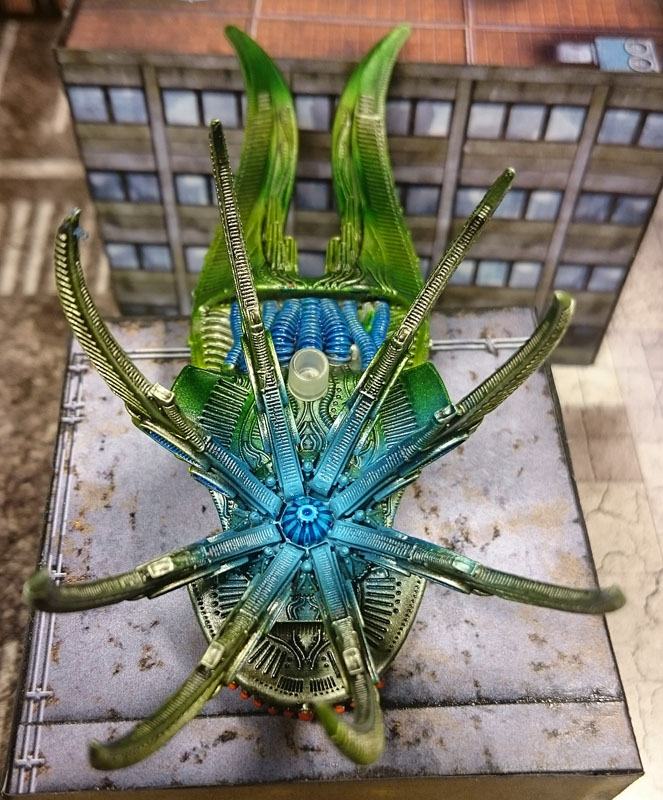
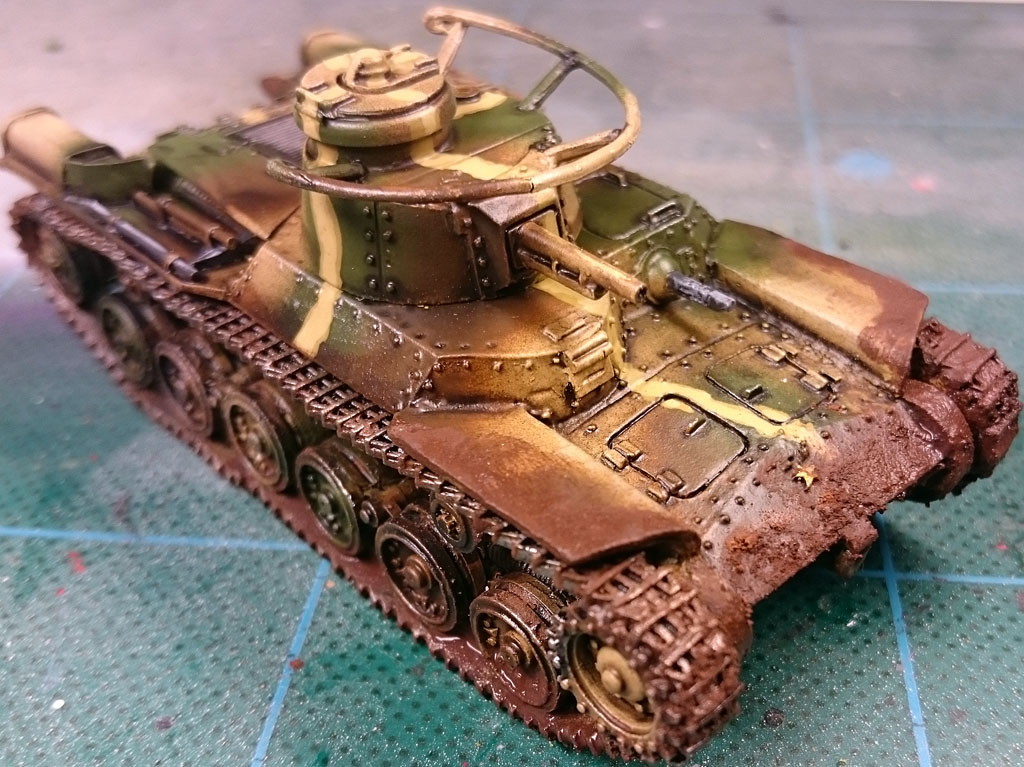
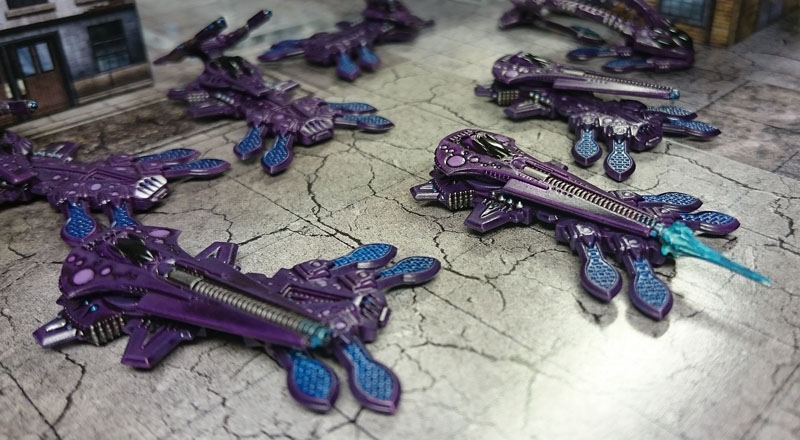
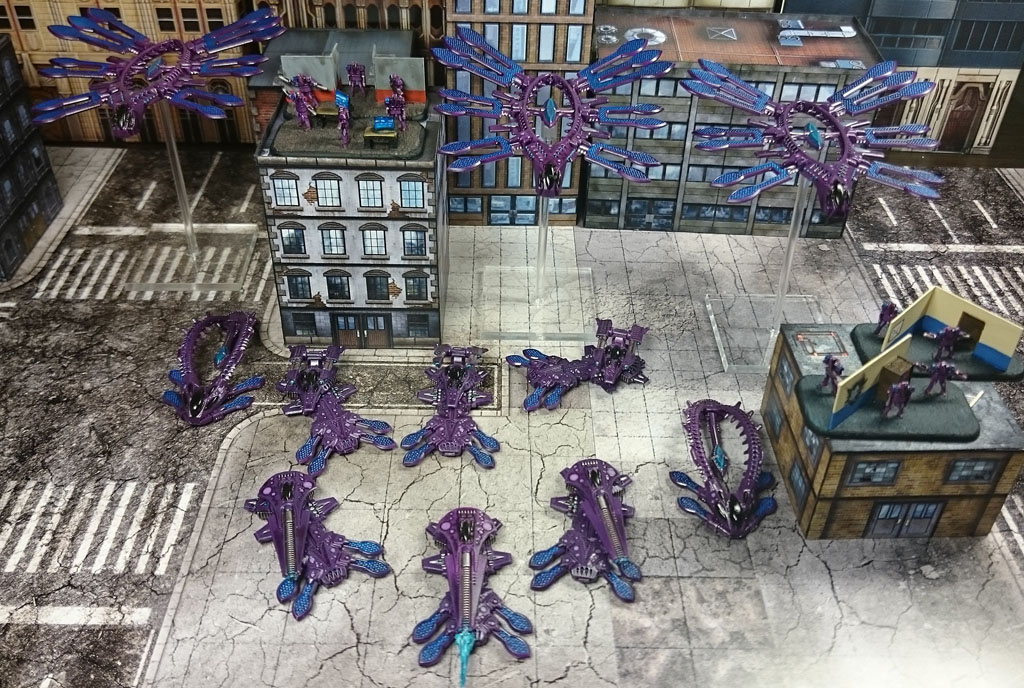
The painting on this is a bit more refined than my Scourge, I want this to be a army that does well in appearance and since it's army no 2 I don't feel that it needs to be done in a hurry to get to the gaming table.
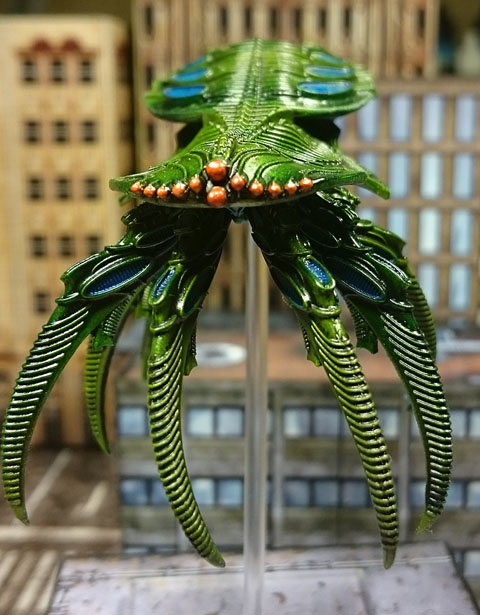
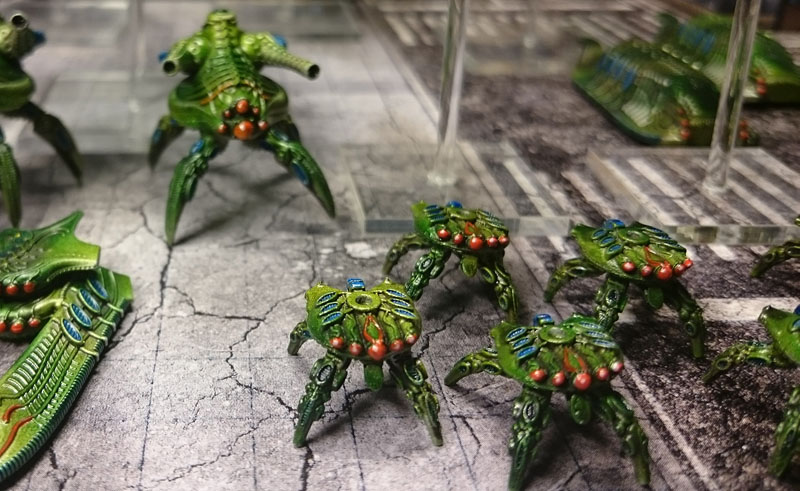
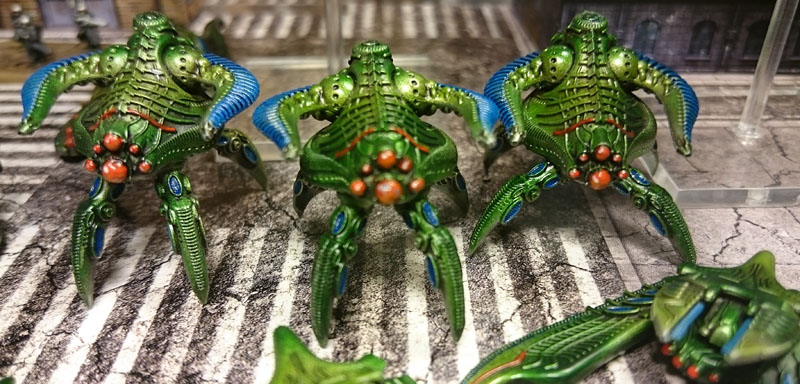
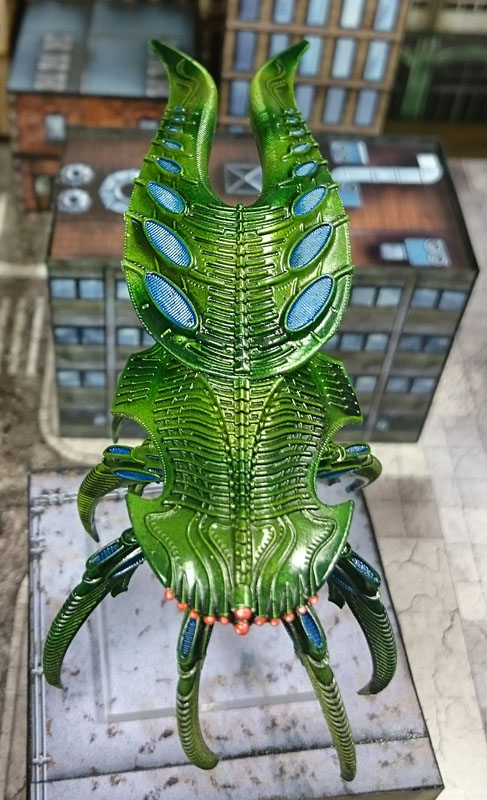
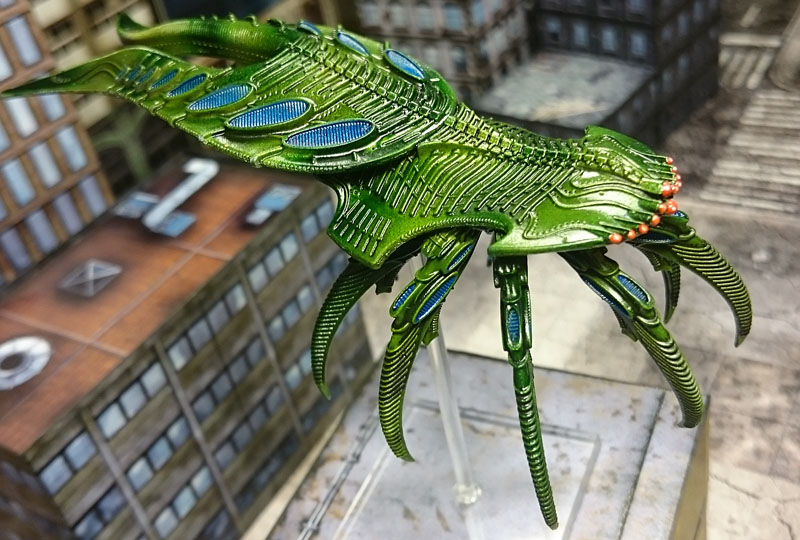
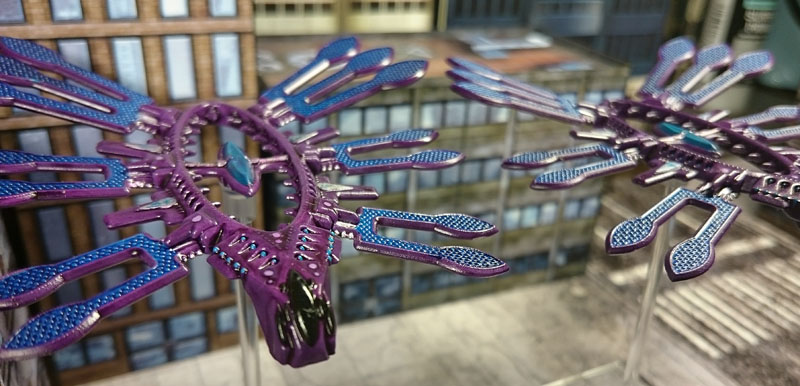
I use gloss varnish on the models to give them a little nice new and unspoiled appearance, they are to look good before they blow you away with high tech guns and then drives away to the car wash.
Here I added a little firing effect to one of the tanks, to animate them a bit more
I did my infantry bases as if they are inside a house, since that's the main place for them and it makes them stand out a bit more. Small miniatures like this might just disappear on the battlefield otherwise.
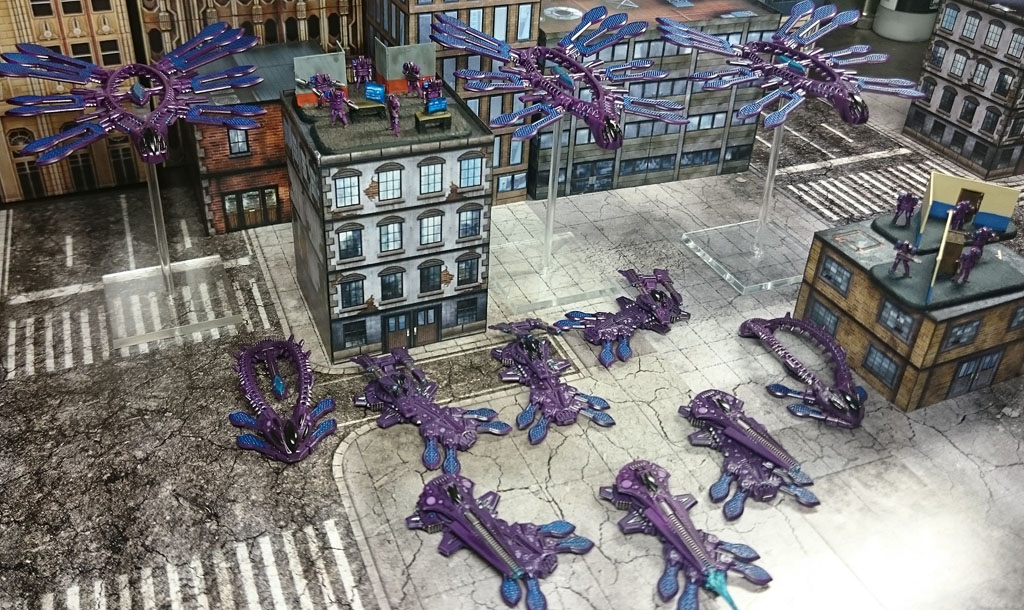
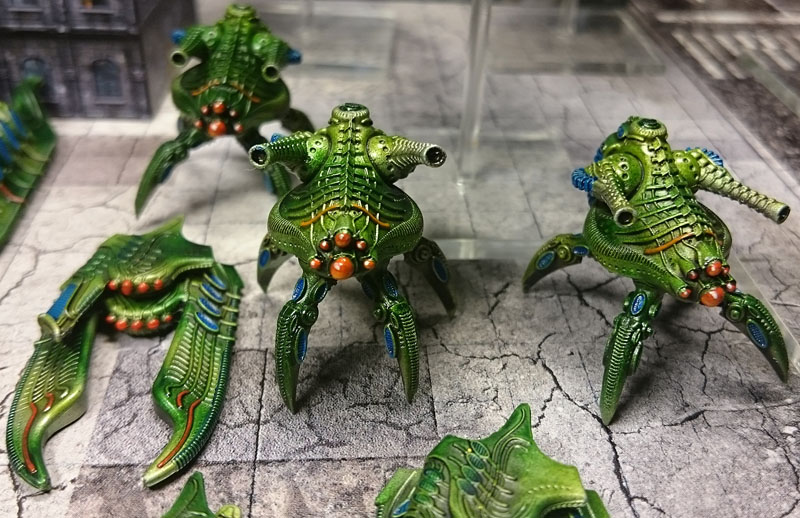
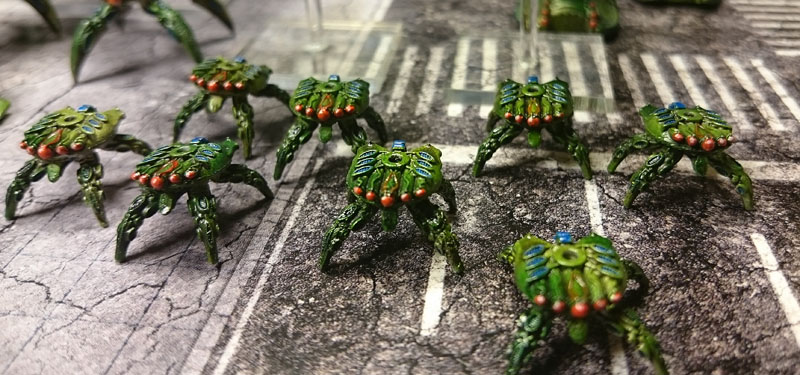
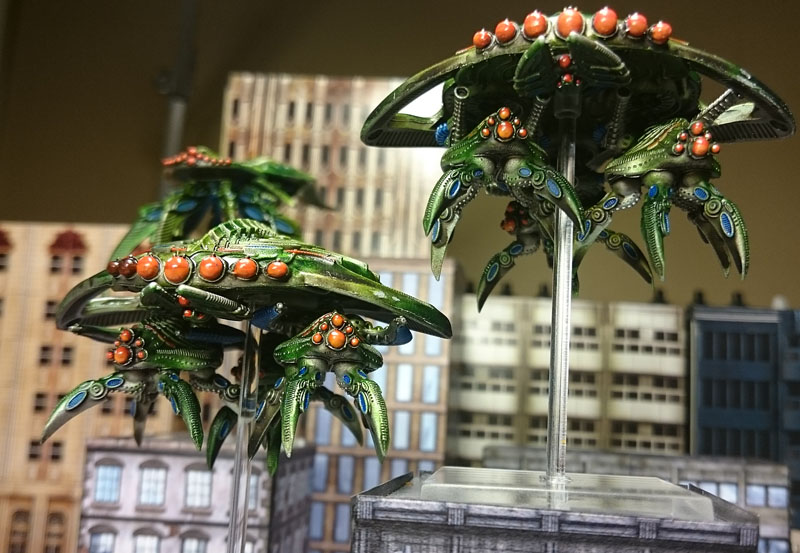
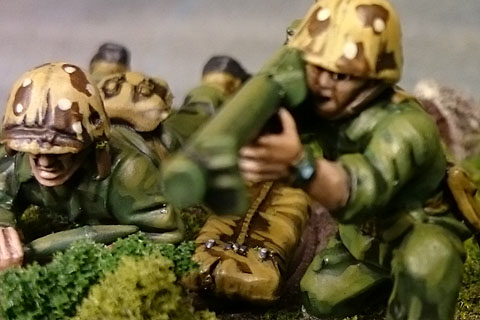
If anyone has any questions how I painted this batch of bad boys or any other for that matter, please drop me a comment here or send me a message some other way and I can provide a list with colours back to you or perhaps make a new post here with my painting recipes.
Until next time, game hard and have a good time.
2015-04-09
2015-03-29
Dropzone Commander: Scourge
About a year ago I got into playing some Dropzone Commander, but I haven't really got any good photos of the two armies I have.
The first one I got into was the Scourge, they are included in the starter box, so it was easy to get hold of the basics that you need for a army. To this I got myself a commander, some walkers and the dropships for them, and that's more or less it.
I painted them in a very simple way, with a silver base, streaks of two different green colours with the airbrush, and then I got into it with the brush and added some blue and red here and there and then a good wash over it all. This made the army quick to paint and I could make a batch of miniatures in just an hour or two. Great when you want to get playing and not painting for months before you get them on the field.
Here if first some overview of my entire collection
Then just for fun I loaded up my walkers into their dropships and took some more photos just of them, just because I can =)
And that it for my Scourge for this time, next up will be my Shaltari.
The first one I got into was the Scourge, they are included in the starter box, so it was easy to get hold of the basics that you need for a army. To this I got myself a commander, some walkers and the dropships for them, and that's more or less it.
I painted them in a very simple way, with a silver base, streaks of two different green colours with the airbrush, and then I got into it with the brush and added some blue and red here and there and then a good wash over it all. This made the army quick to paint and I could make a batch of miniatures in just an hour or two. Great when you want to get playing and not painting for months before you get them on the field.
Here if first some overview of my entire collection
Then I took some close ups of different units
Then just for fun I loaded up my walkers into their dropships and took some more photos just of them, just because I can =)
Then I took some close ups on my commander, to show of the parts that you don't really see.
And that it for my Scourge for this time, next up will be my Shaltari.
2015-03-09
Bolt Action: US Marine Corps - Reinforcements
First I needed something that could take on the Chi-Ha tank I have for my IJA, so I put together a bazooka team. Then I wanted to be able to field my squads as early marines as well, and those only had eight men in each, so I used the last ones to create a new NCO for a third squad, a SMG trooper, another BAR gunner and lastly a single rifleman.
This rounded out my force of americans, so that I now can field three squads of eight men, two that includes two BARs each, and one that only contains one. To this I have the support of a lieutenant with a assistant, a sniper team and a bazooka. Not to bad with a single box of infantry.
Next up I'm thinking of adding a Sherman tank to the force, and I have been looking around a bit on the warplanes rules that Warlord has put out, and I'm thinking of getting hold of some air-power for them.
2015-03-03
Bolt Action: Imperial Japanese Army - Type 97 Chi-Ha
I've gotten a bit more into the army box and now only a few items remain. One of them is this Type 97 Chi-Ha medium tank that you get. As the Japanese didn't really get into the whole tank thing that much (not much use on the oceans or smallish islands), all of them are rather bad. This little thing mounts a 57mm infantry support gun, that in Bolt Action terms gives it a light howitzer, it also has a MMG mounted in the hull looking forward and another one mounted on the back of the turret, a bit strange from the point of view that most of us have from the western development. But I guess it was quite handy in the more jungle fighting and infantry support role that it was used for during the Second Sino-Japanese War.
It was considerer to be quite a good tank in 1937 when it was first deployed, but in the later part of WWII it was under armoured and under gunned to face the more advanced tanks of both the Americans and the Soviets.
Painting of this little bad boy was quite straight forward, I based my pattern on some pictures I could find around the interwebs, and also made use of a painting guide that Battlefront put out.
I also for the first time tried to use some weathering powder I got a while back. I'm not totally pleased with how it turned out, but with a bit more practise and perhaps a shade or two more I can make it look good on future models.
Subscribe to:
Posts (Atom)