A while ago we played another Napoleonic battle set in the time of the 4th coalition. This pitted the French against the Austrians at the battle of Teugn-Hausen on the 19th April 1809.
I provided the troops and another of my fellow gamers provided the scenario and terrain, with me taking control of the right wing of the Austrian army, I had a fellow gamer that took care of the left wing and we more or less shared the centre. The French only had one full time general, but our game master and scenario maker was also a part time frenshie.
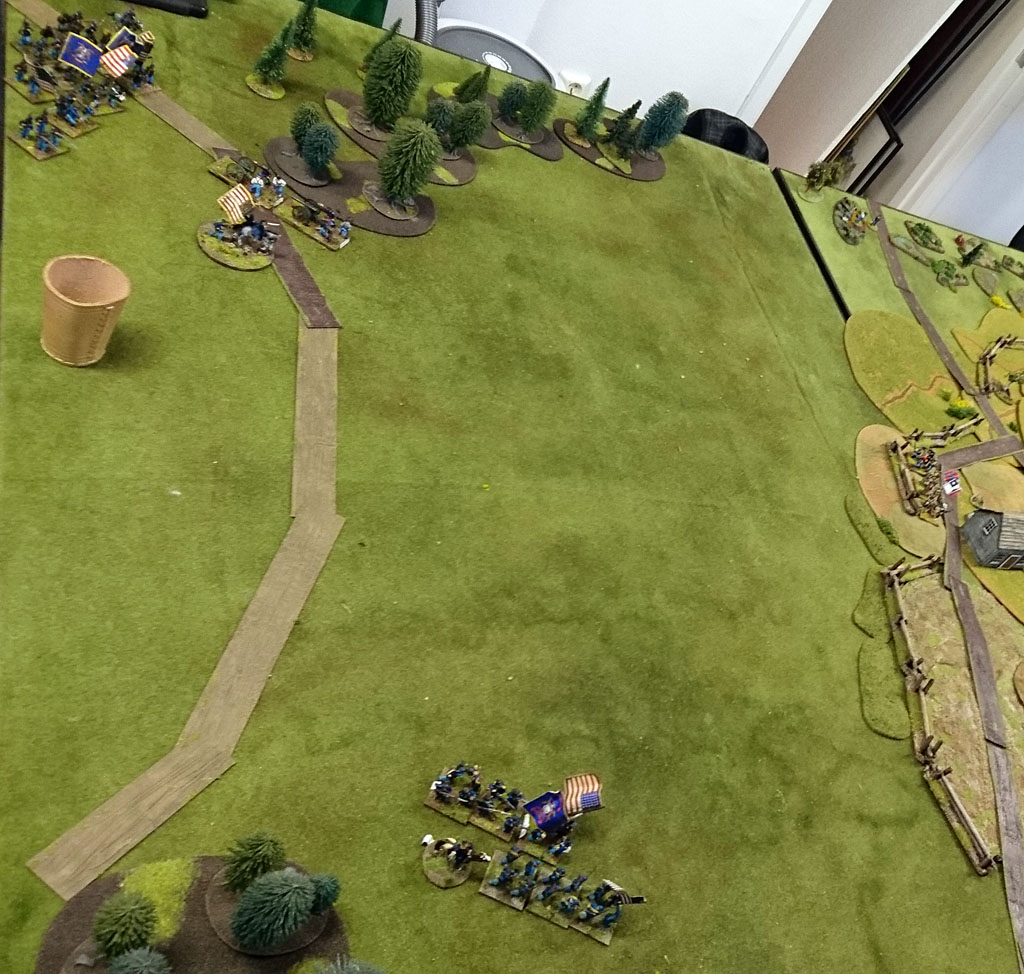
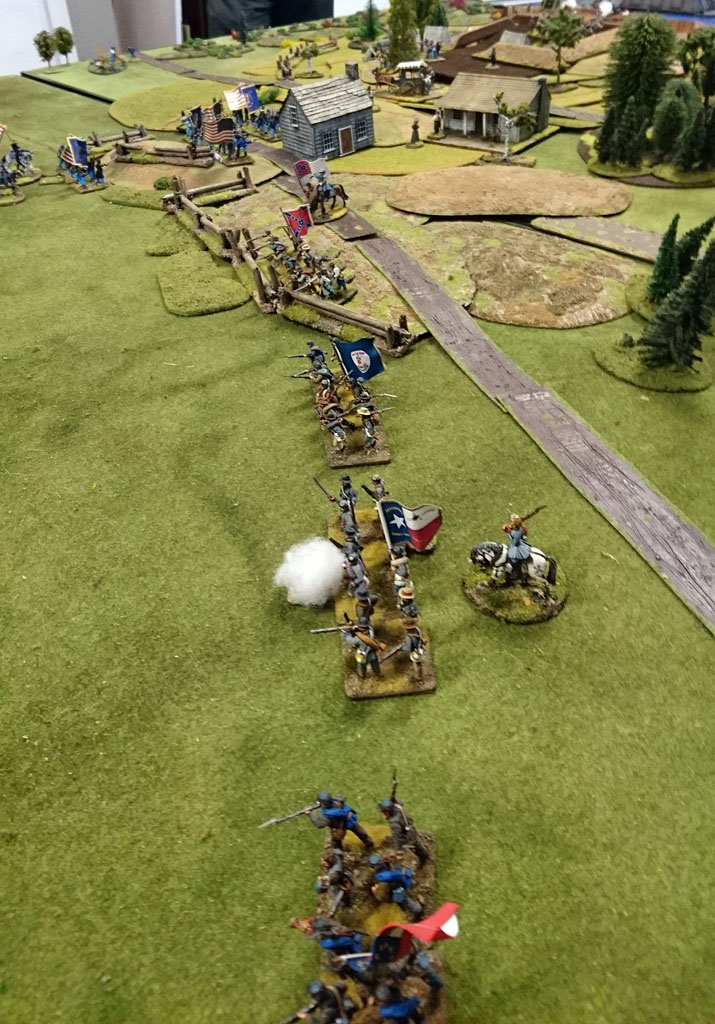
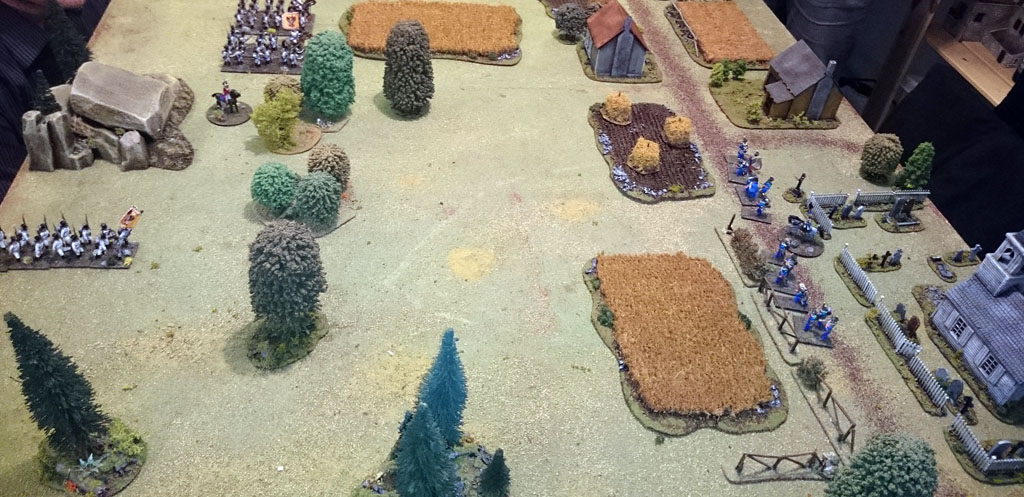
The initial deployment saw only the light elements of the French army advance though the outskirts of Teugn, just as the forward elements of the Austrian III corps bump into them.
I provided the troops and another of my fellow gamers provided the scenario and terrain, with me taking control of the right wing of the Austrian army, I had a fellow gamer that took care of the left wing and we more or less shared the centre. The French only had one full time general, but our game master and scenario maker was also a part time frenshie.
The initial deployment saw only the light elements of the French army advance though the outskirts of Teugn, just as the forward elements of the Austrian III corps bump into them.
Initially the Austrians moves up slowly, being a bit surprised that the French was here and not miles of.
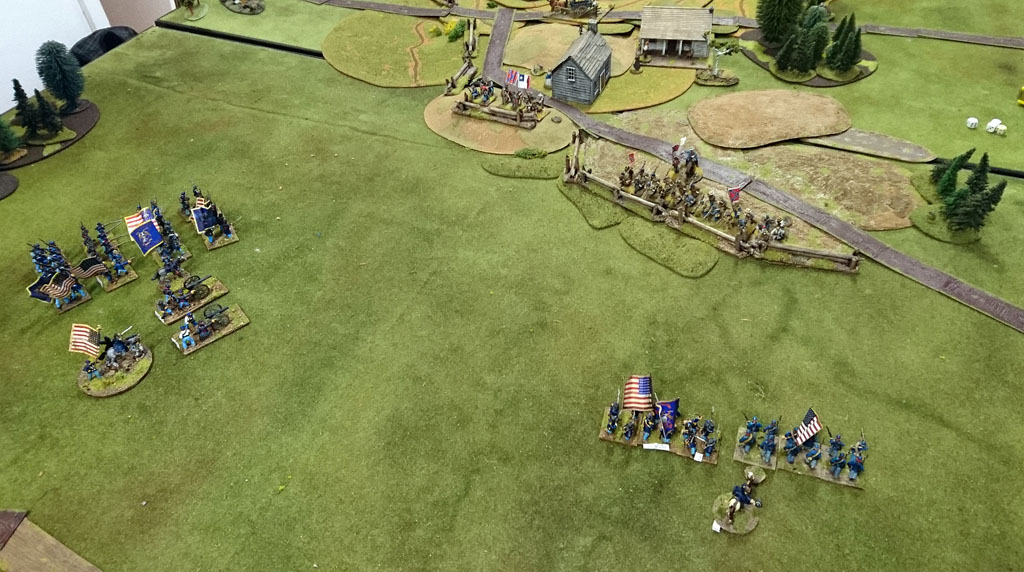
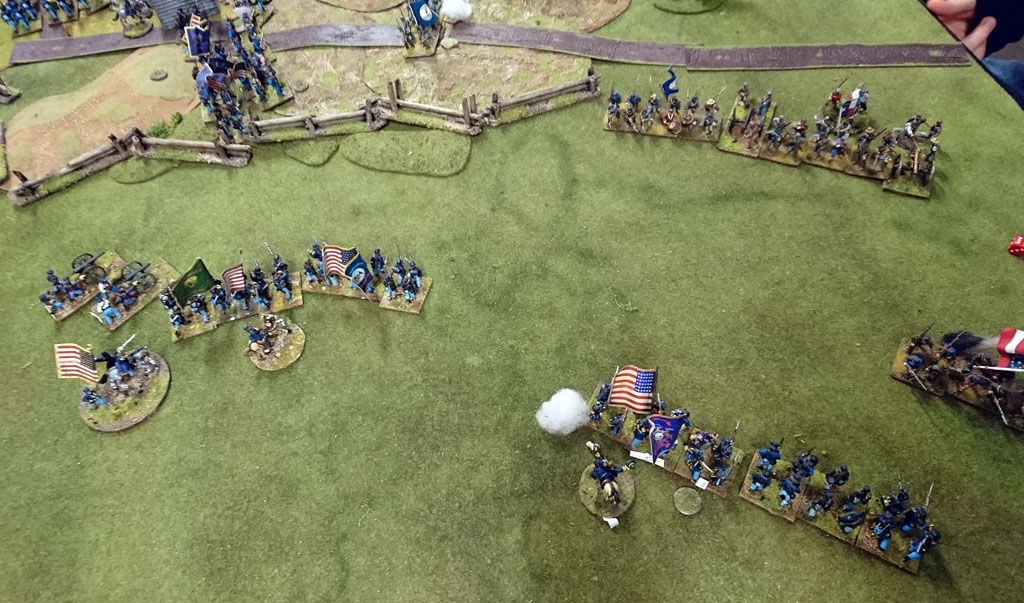
The French advanced in good order, forming into skirmishing lines and preparing to face the Austrians until their reinforcements can arrive.
End of the first turns advances.
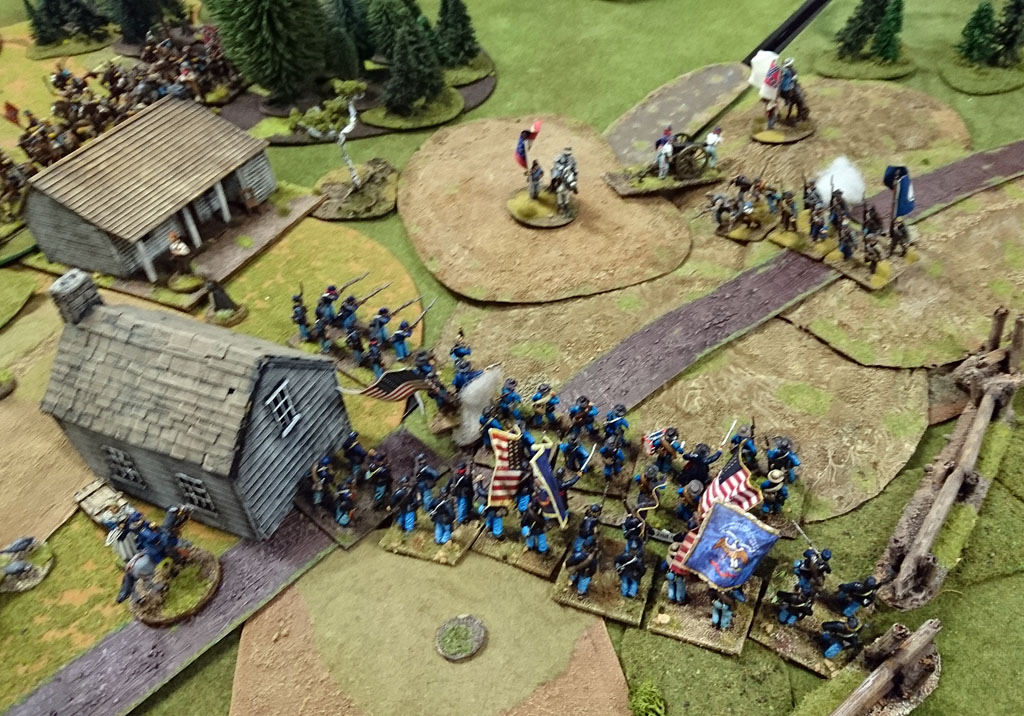
For the French more troops arrived along the road, and the light
infantry took up excellent positions in the fields and in the woods, preparing
for the Austrians to close into firing range.
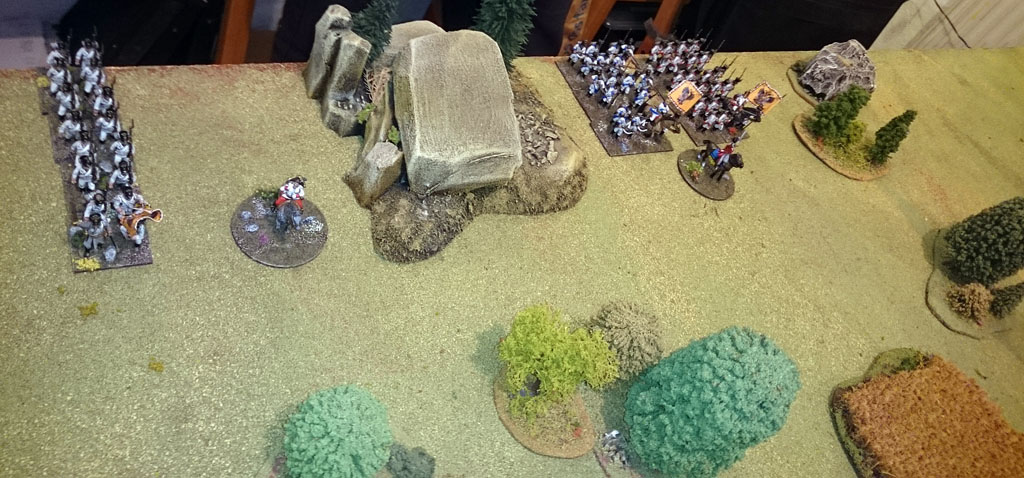
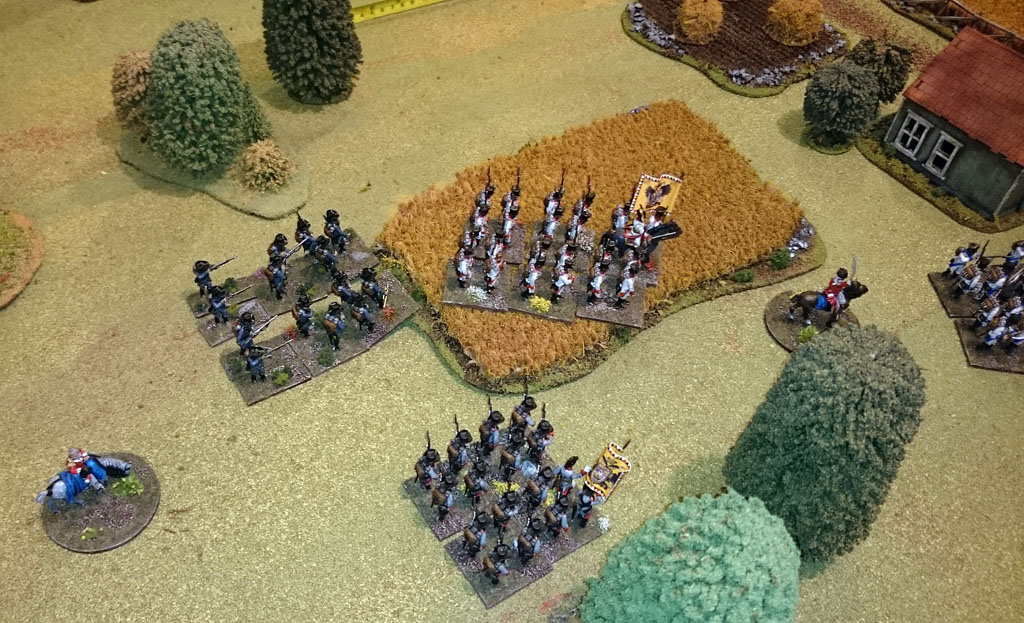
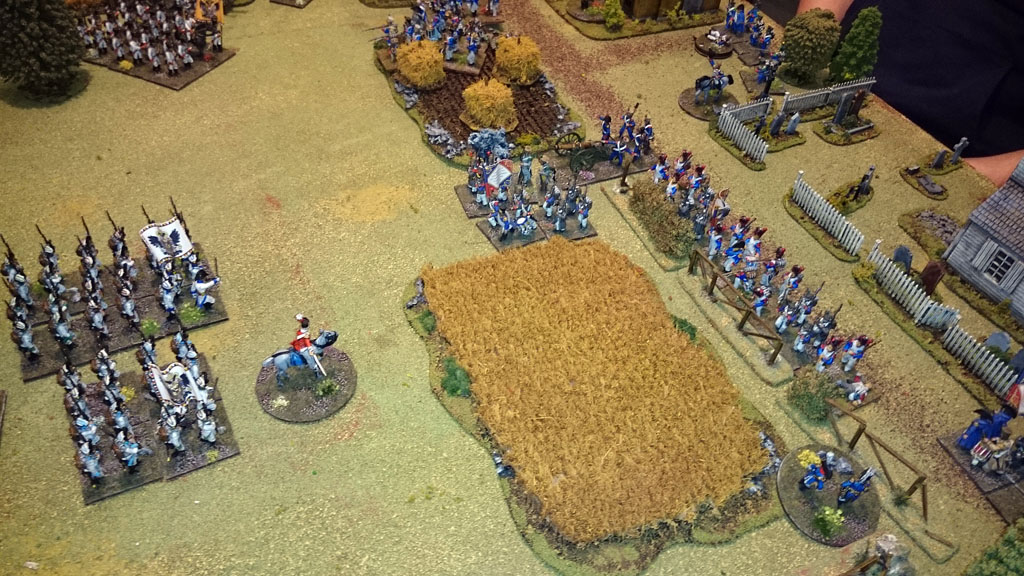
The Austrian first wave of reinforcements arrived in good order, and
marched on smartly marched on threatening the light troops in the woods on the
right and placing a gun in the center with good field of fire.
Cannon taking aim
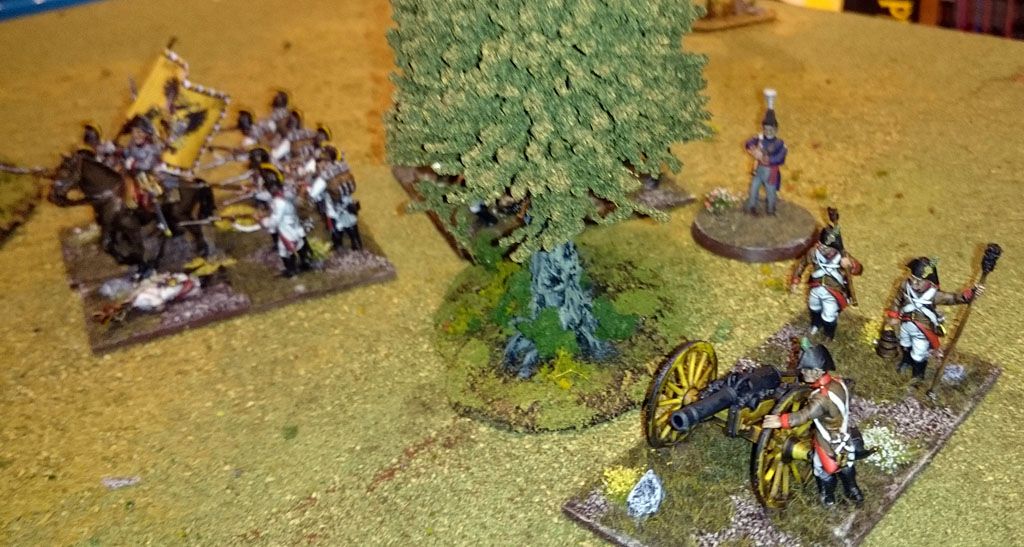
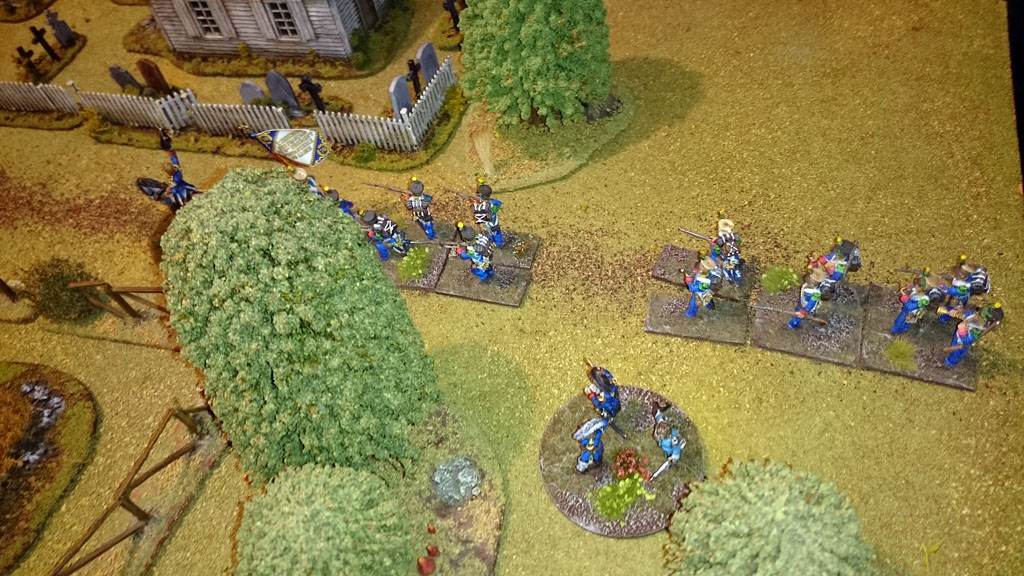
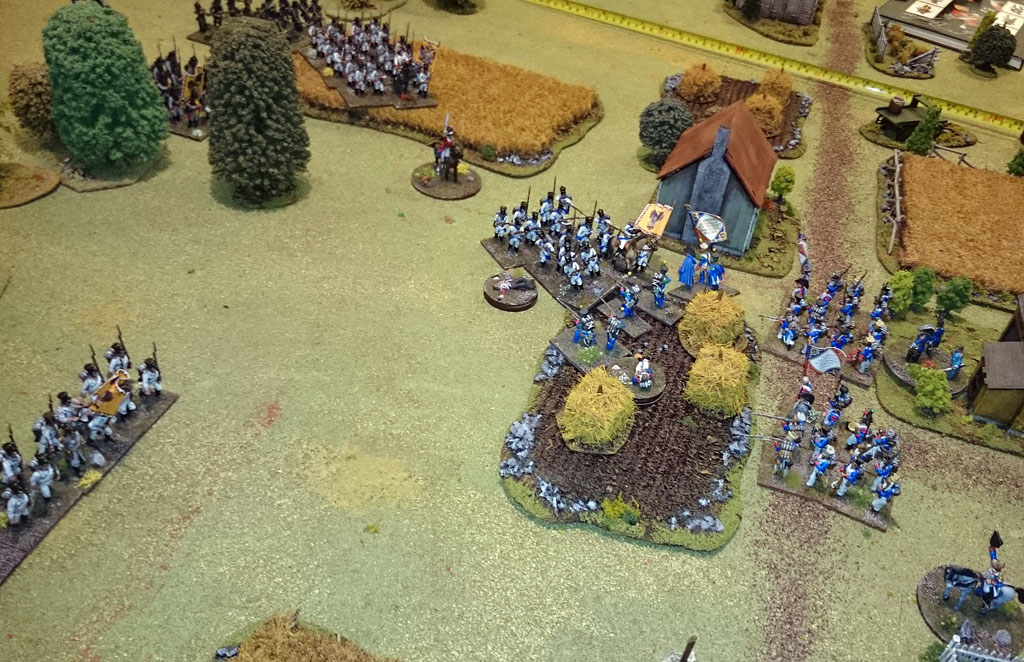
The frenchies in the forest are driven out by the combined effort of
two battalions and suffers a few casualties along the way, but back in the town
more French troops are arriving.
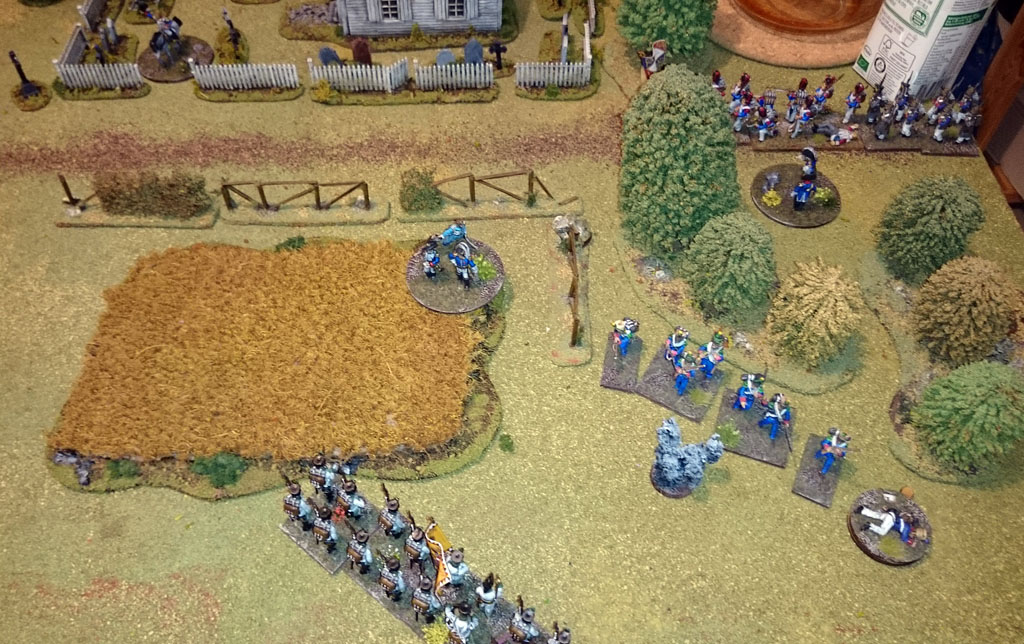
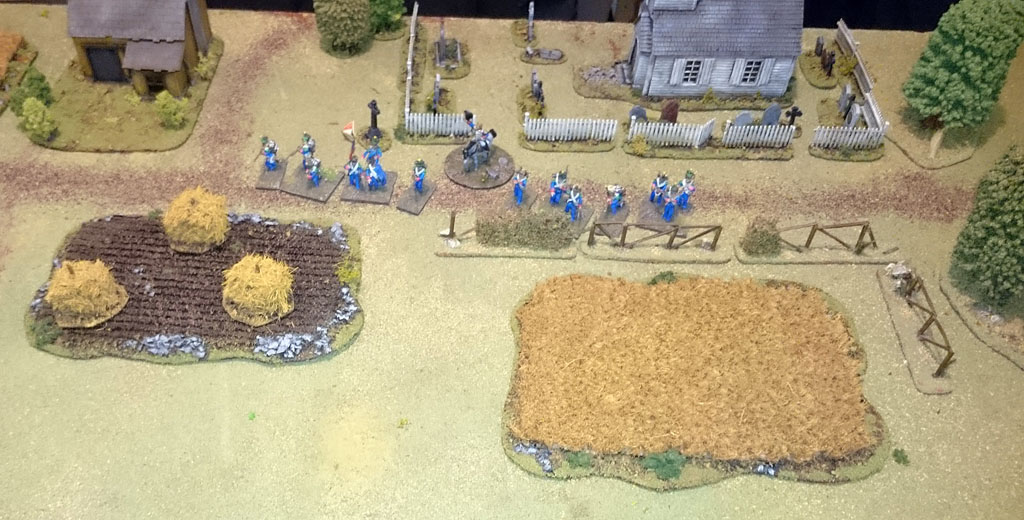
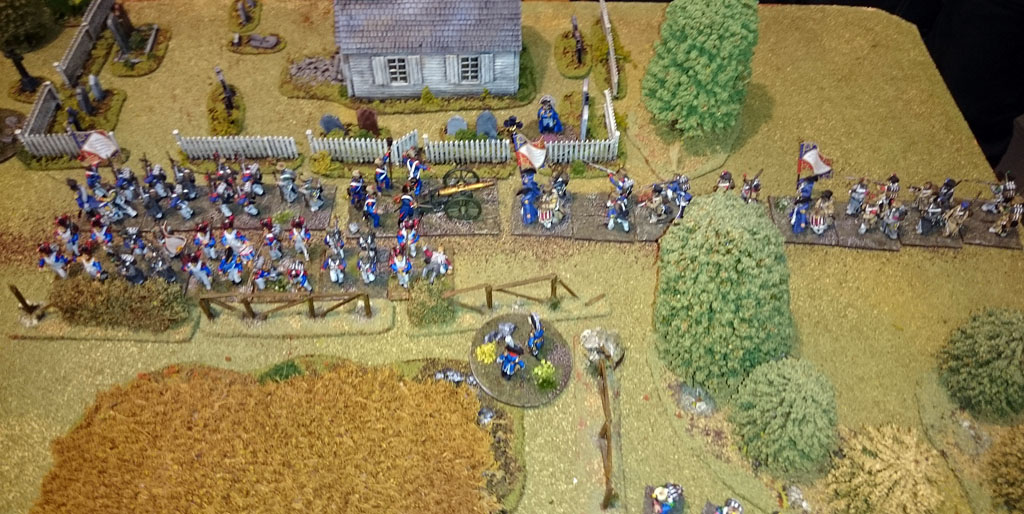
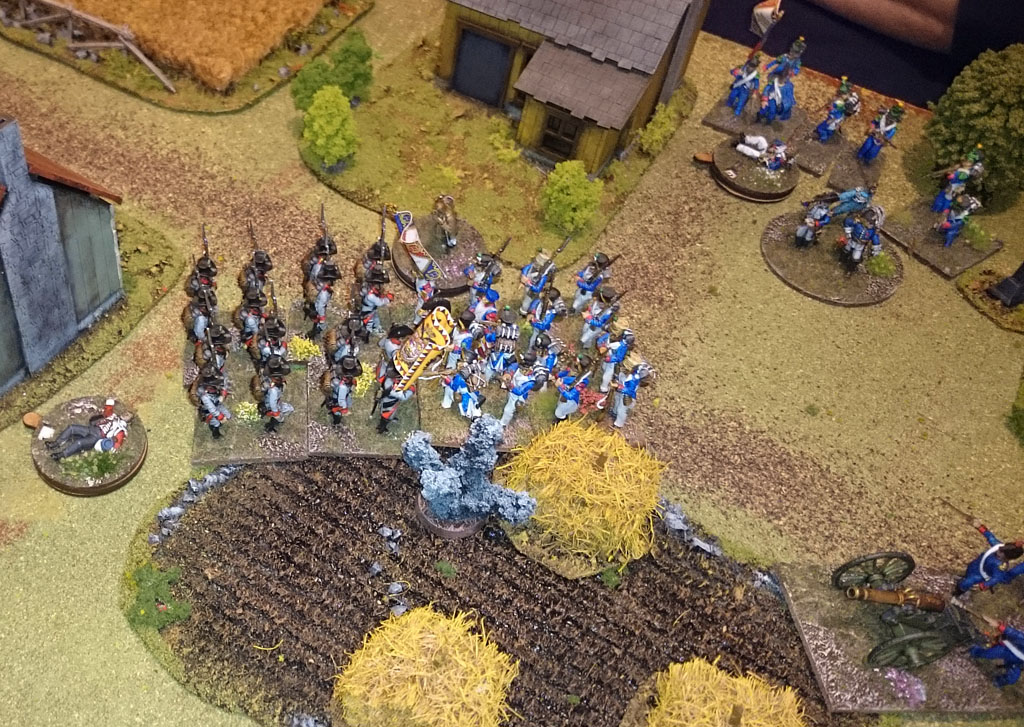
On the left a fierce battle takes place as the line infantry of the
Austrians fight with the light infantry of the French that fights for time so
that the supporting units can come in and finish this off.

On the Austrian back field there isn't too much going on, some
Jägers and a Landwehr units have arrived, but they are in no hurry to get any
ware, content at the moment to let the line troops take the heat.
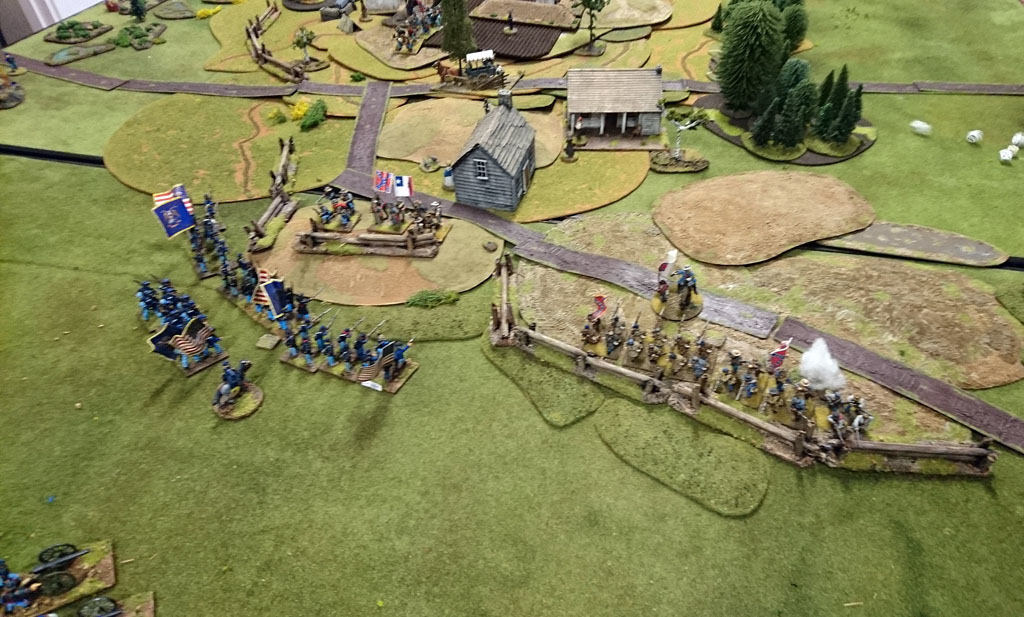
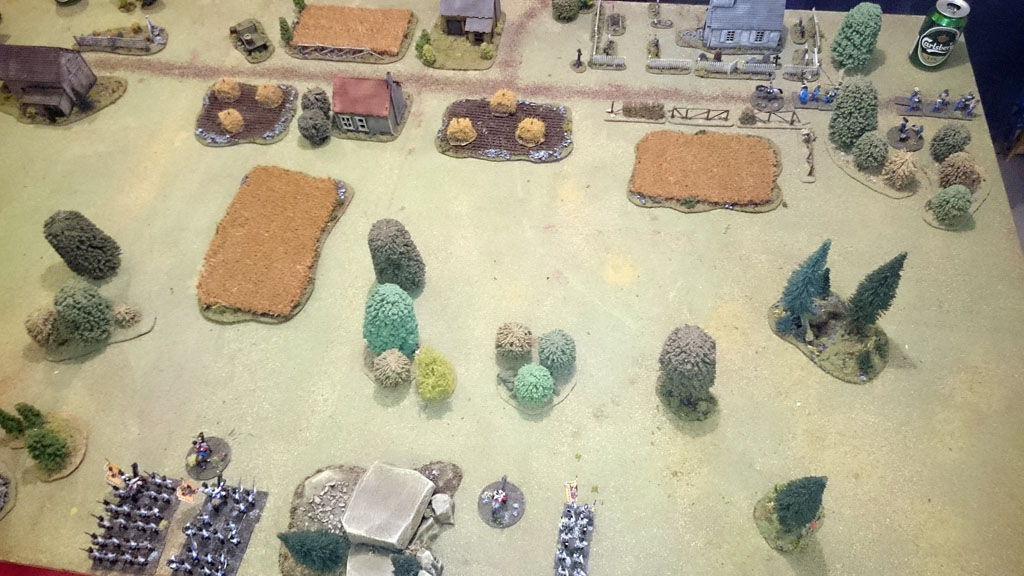
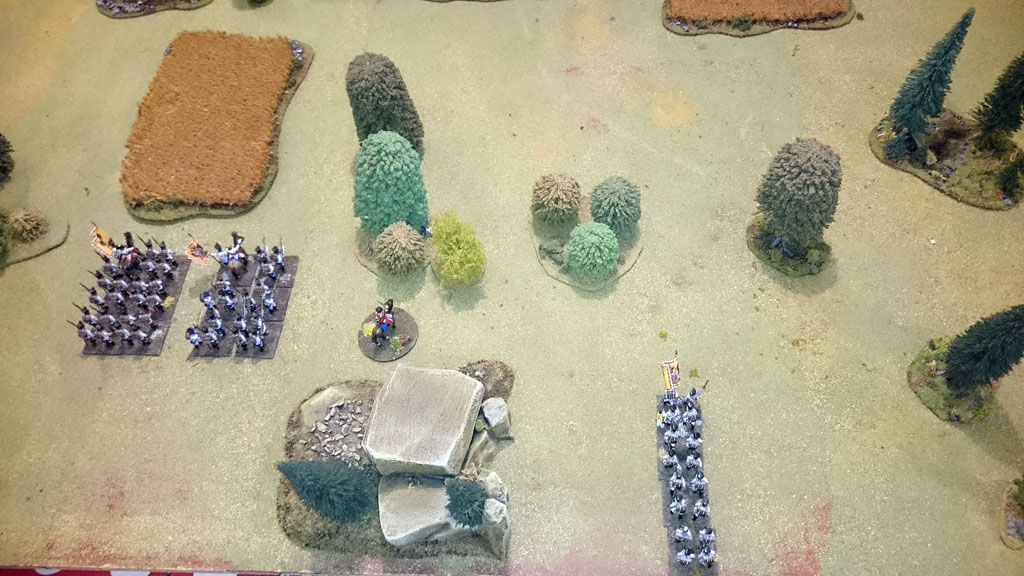
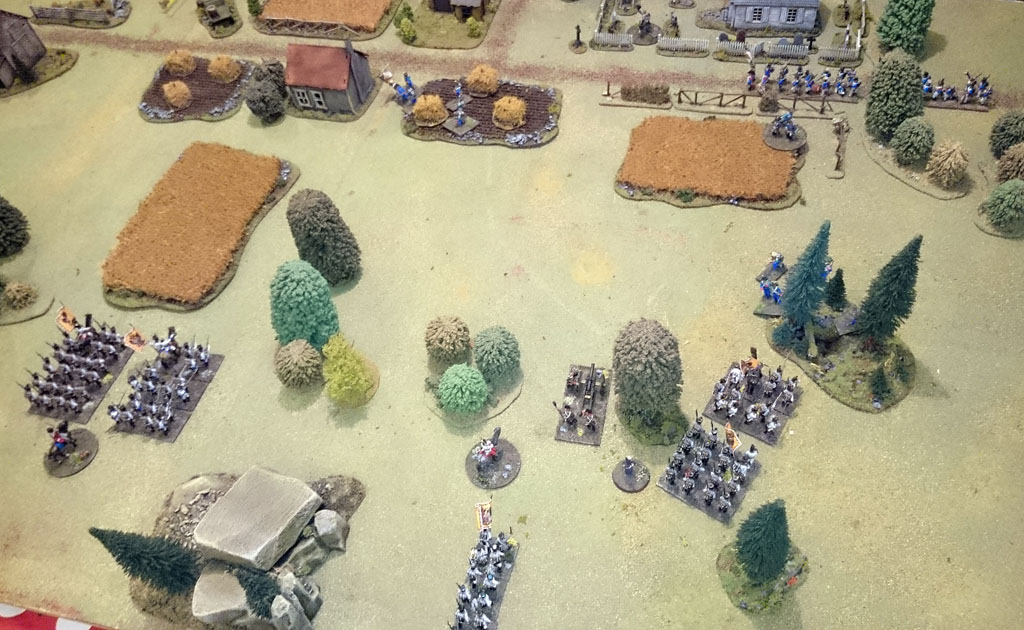
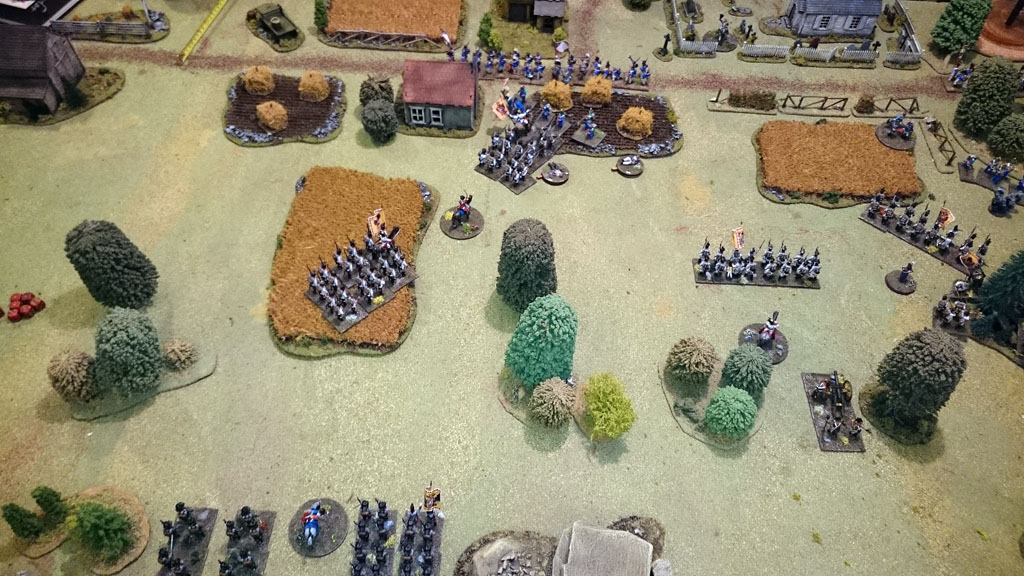
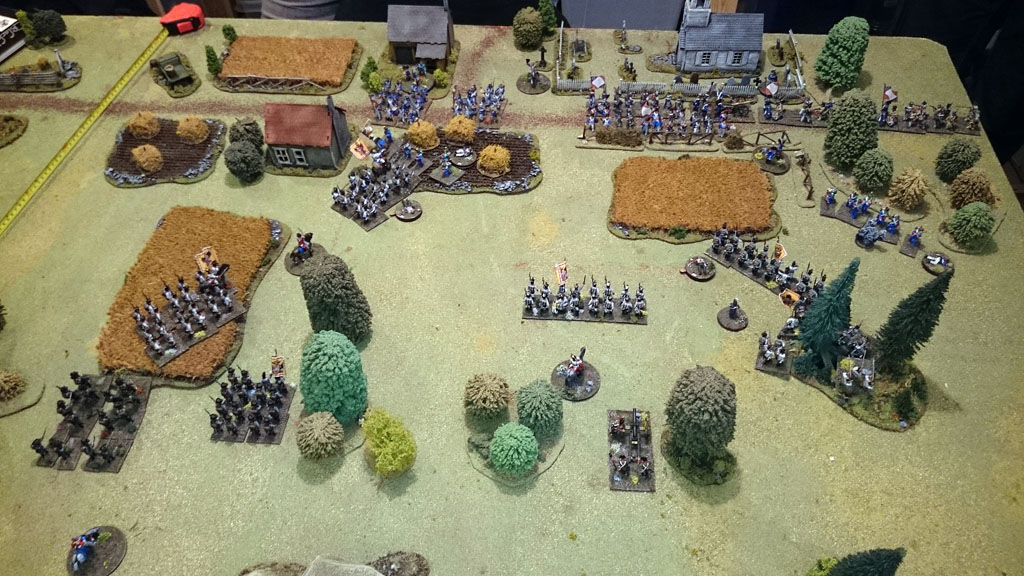
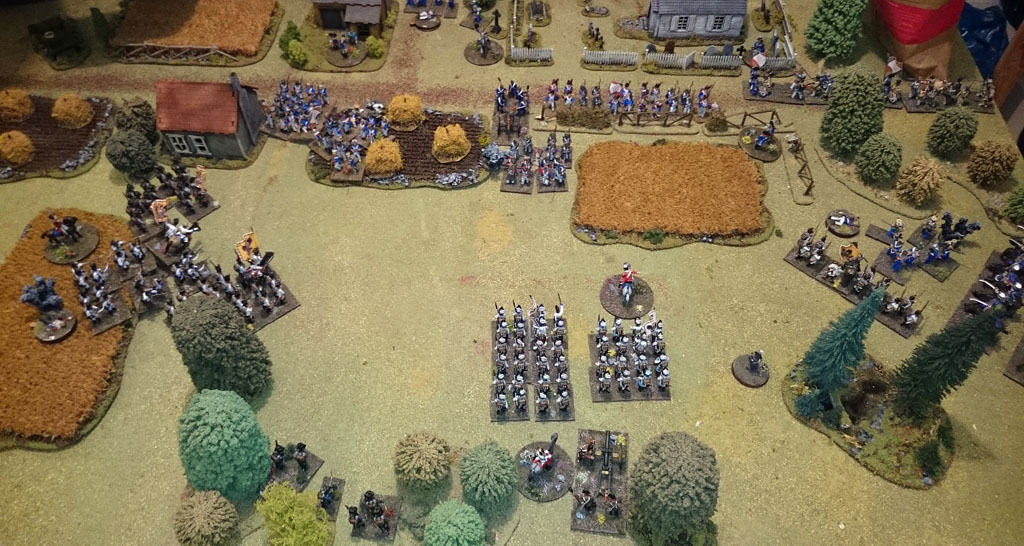
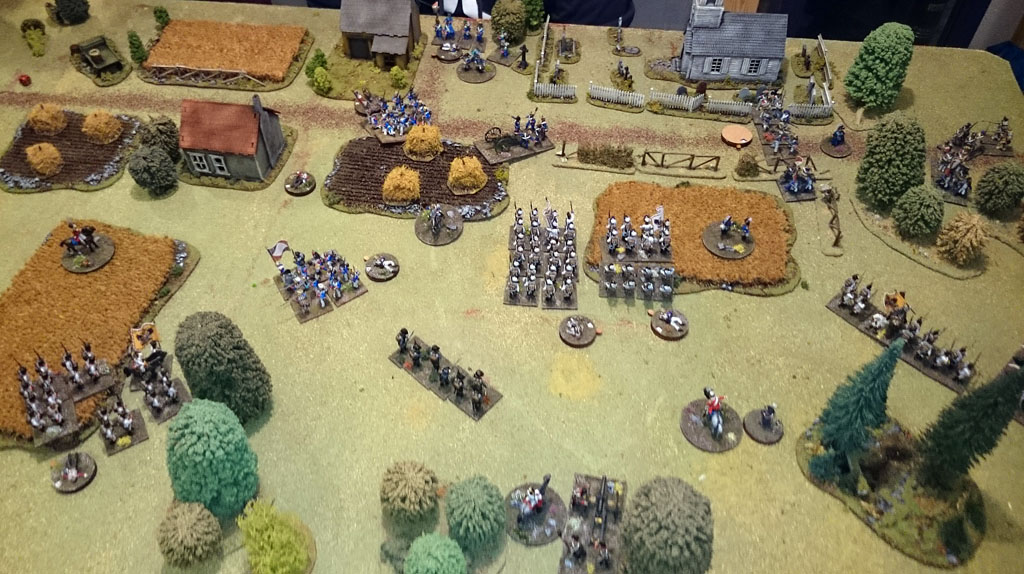
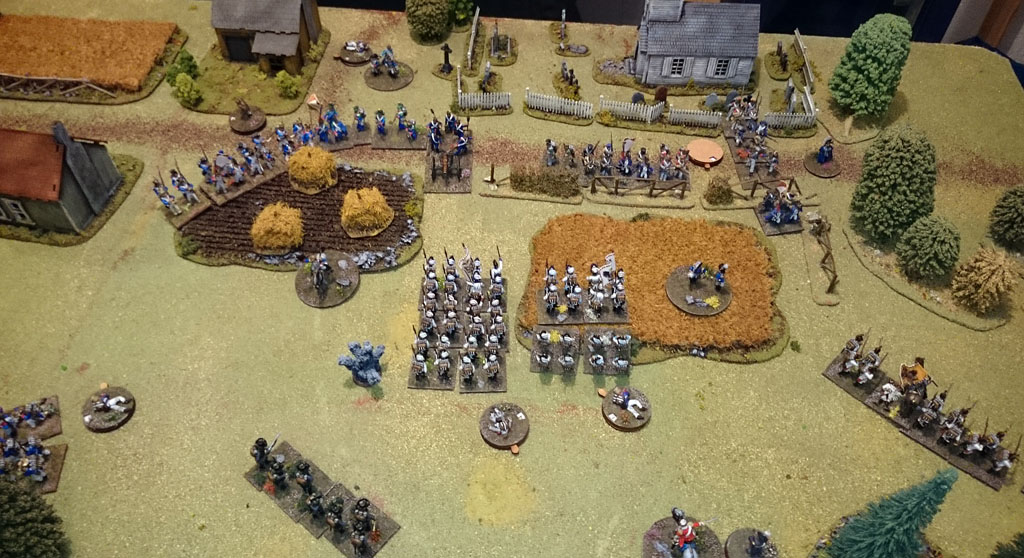
Overview of the battle, at the halfway point

The French lines form up on the French right, but the field is
cluttered and they can't get to grips with the men in white, and have to wait.
In the center more troops moves up, getting ready to smash the Austrians.
The light troops are holding on, giving almost as good as they get
Moderate movement in the Austrian reserve
And more or less a standstill in the center and on the right

The Austrian left is still entangled with the light French troops,
these was some really hard men here!
But eventually even the hardest Frenchman have to give to numbers
and the light troops retreats back, but they are not routed thanks in large to
the units supporting them.
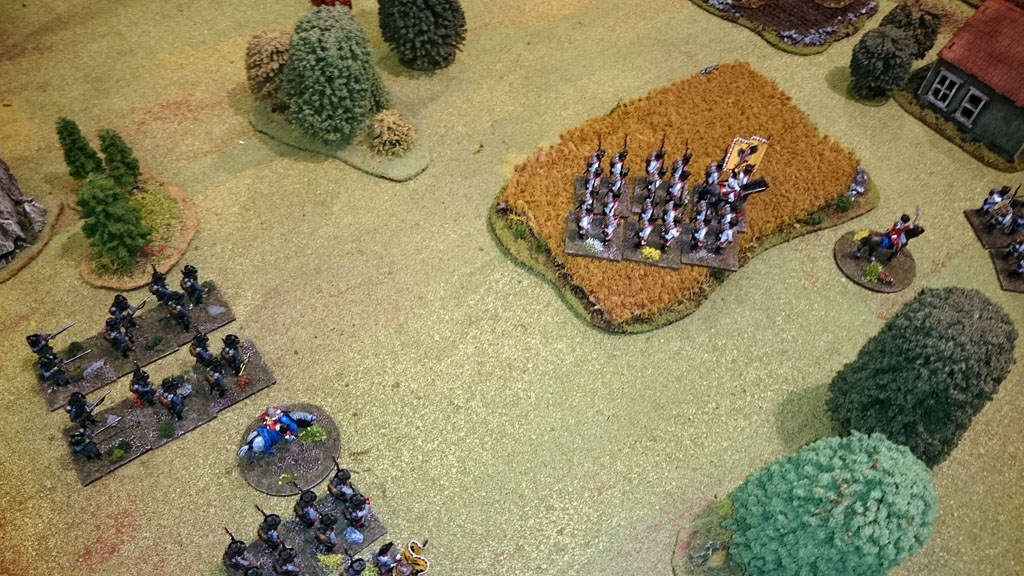
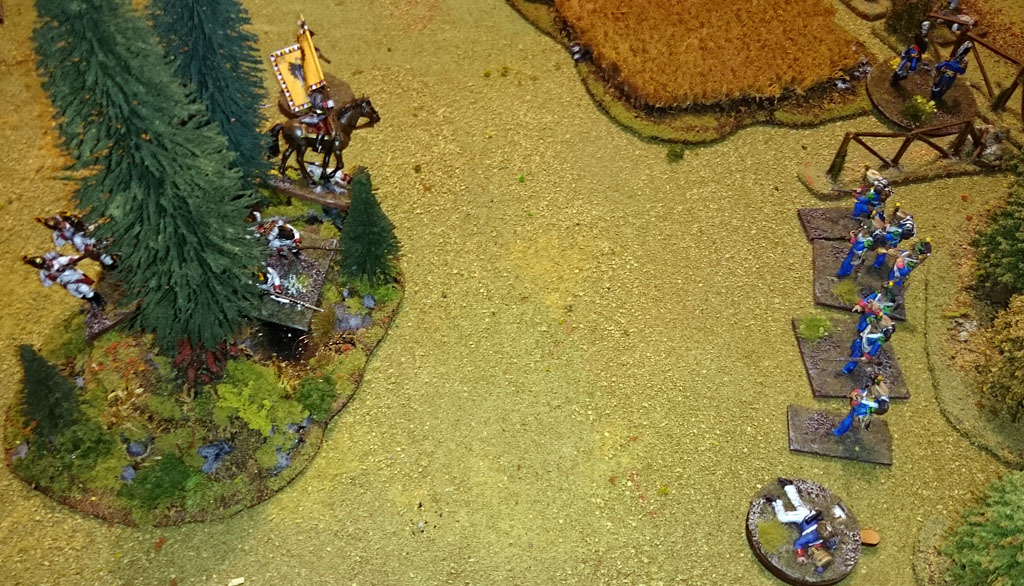
On the Austrian right a good round of shooting eliminates the first
battalion, they would soon be followed by far more…

Left is the battalion in the woods, struggling to get forward and
into lines again.
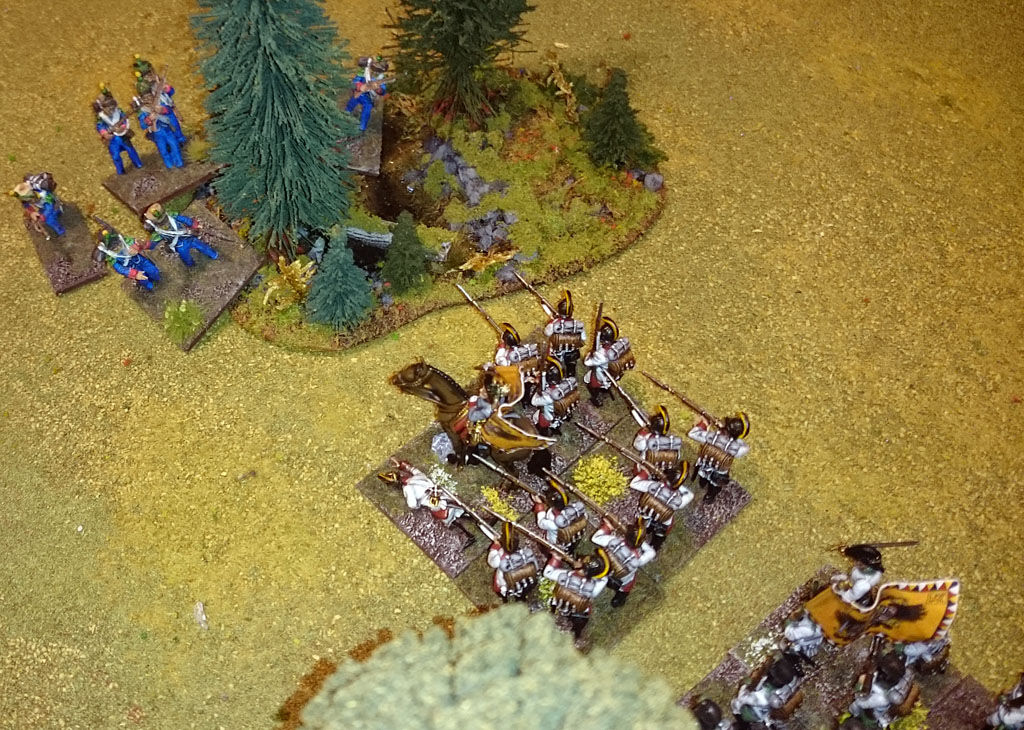
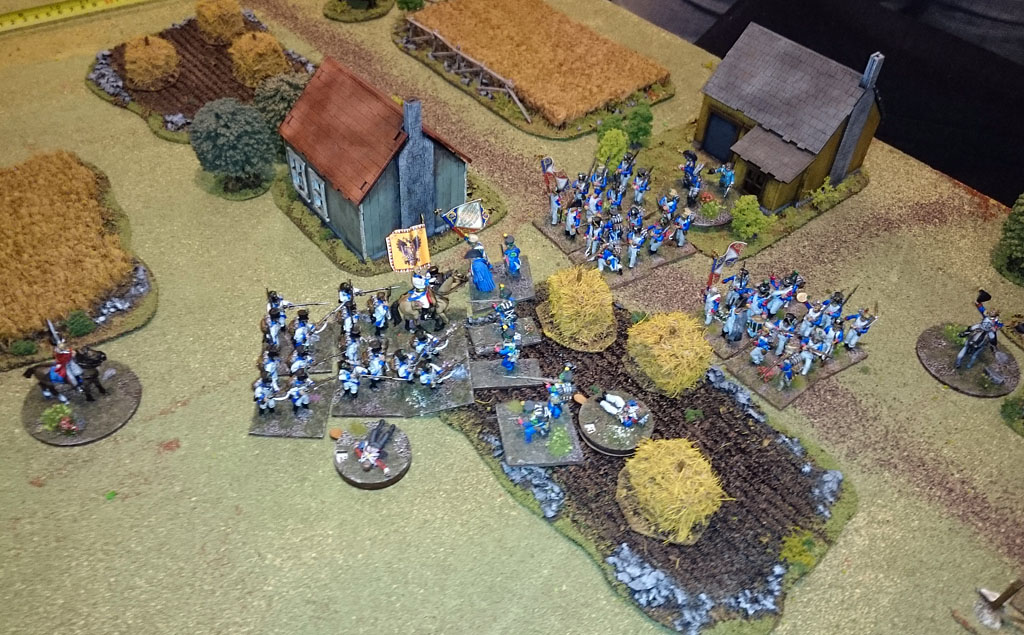
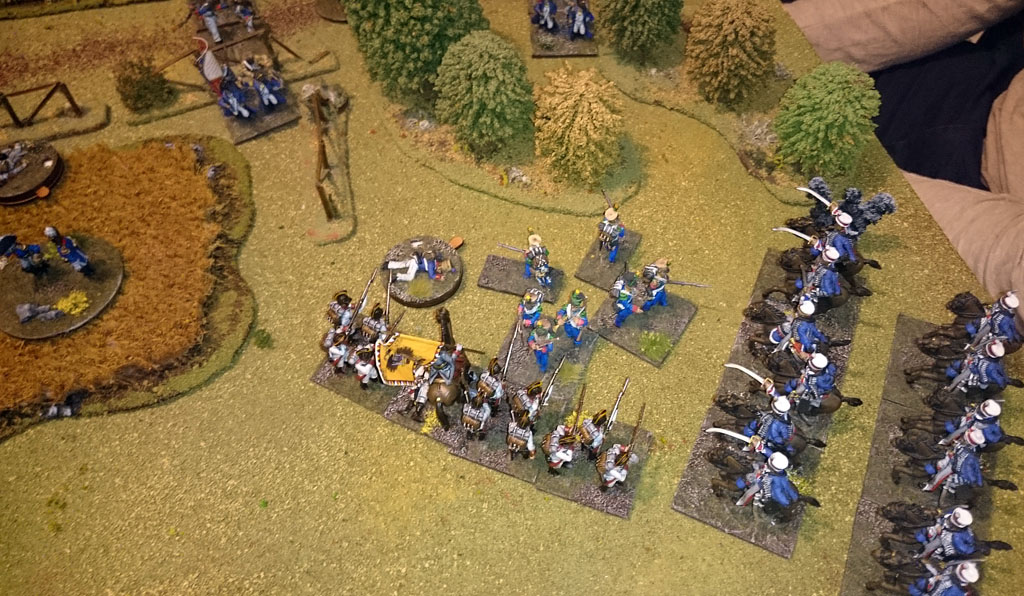
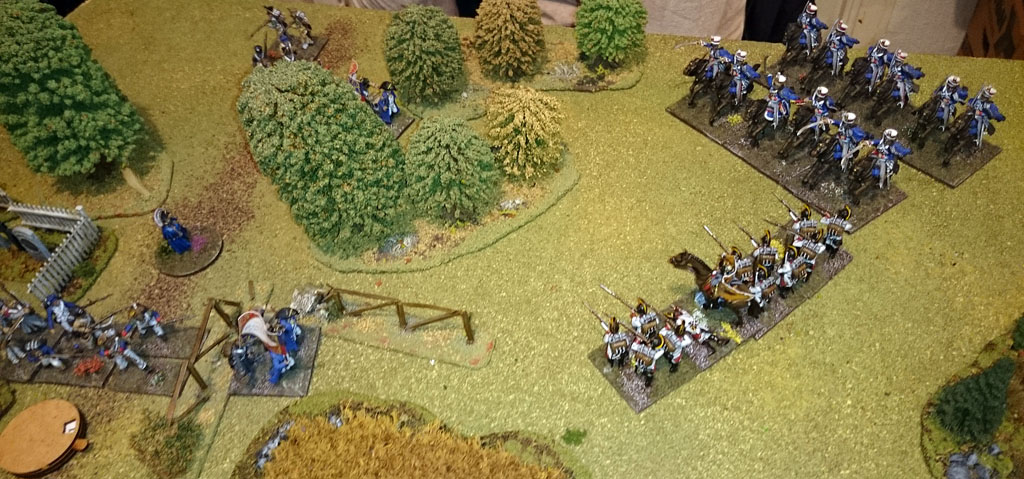
More Austrian support, in the center two units of Austrian
Grenadiers arrive from reserve, on the right the cavalry arrives, driving the
French into square out on the flank, also getting the unit in the woods moving
and forming lines again. On the left the Jägers and supporting troops moves up,
forming a line of battalion masses in front of the French line, and getting
some jägers into the forest to counter any breakthrough in that flank.
Left flank, the center battalion had just had a bout with the
French, not coming out on top after having fought the light troops for so long.

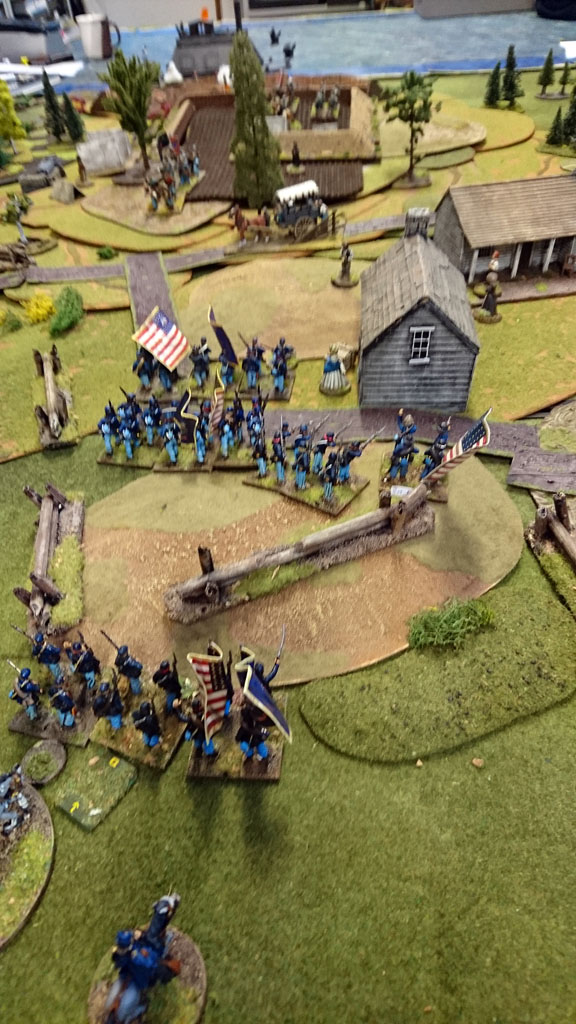
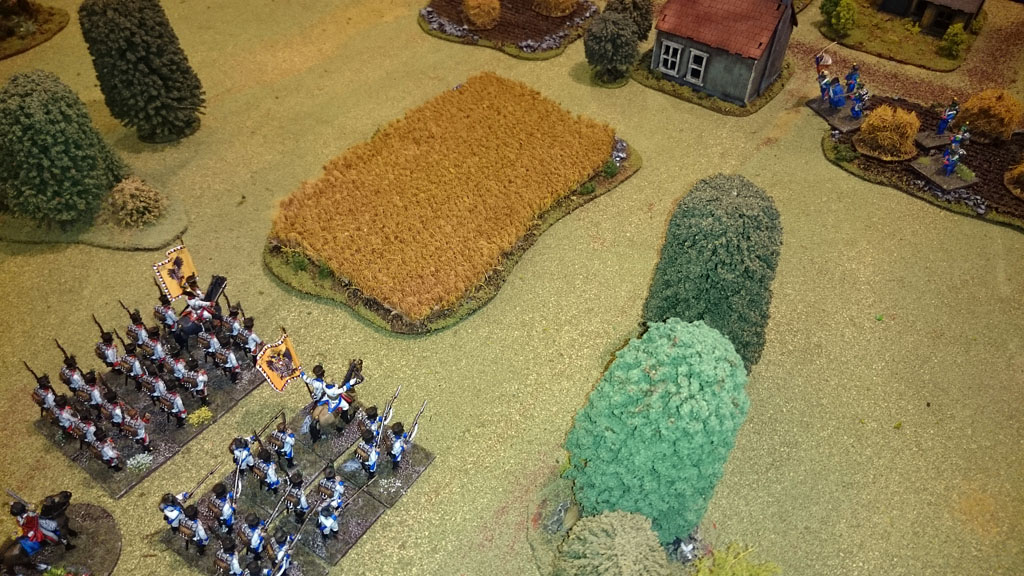
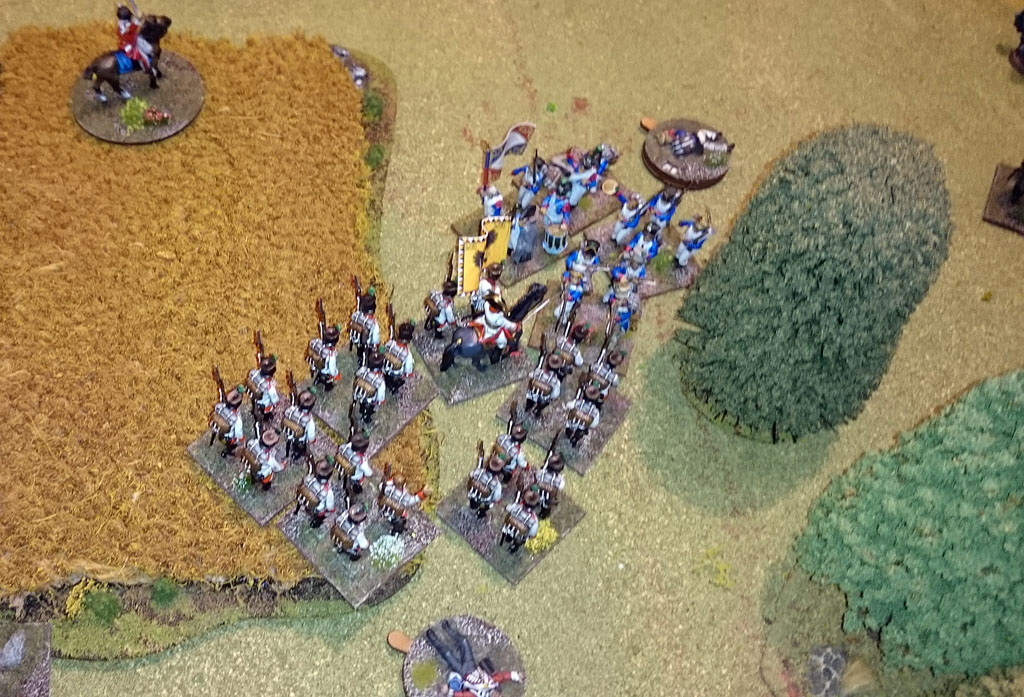
The grenadiers drove the forward French unit back after a brief
close assault, giving them reign of the center field.
Heavy fighting in the center as the columns smash together!

On the left, more close combat occurs as the landwehr charges in,
hungry for glory
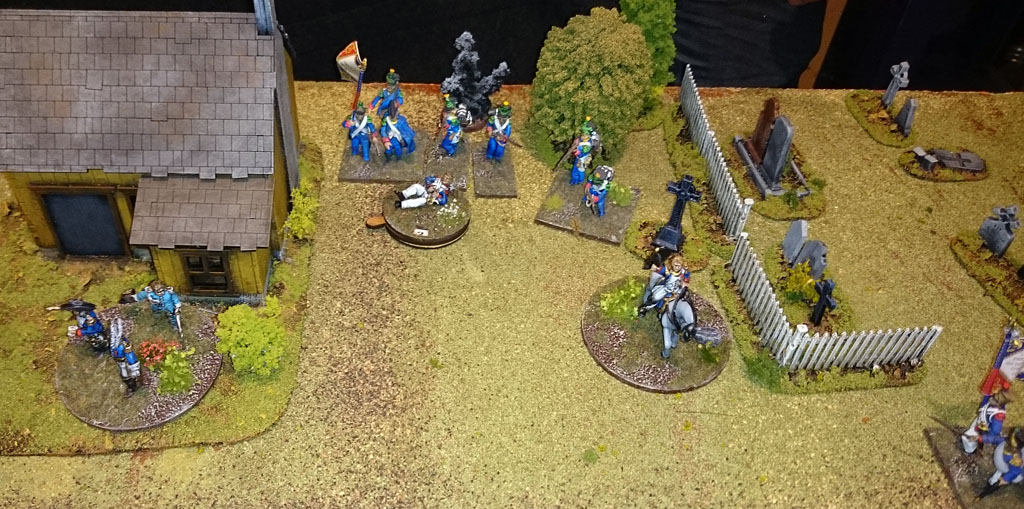
Over on the right side it's not easy being in square
All over the battlefield battalions are routed, on the Austrian
left, both the battered battalion from before and the landwehr are sent
packing, in the center the roles are reversed as no frenchie could stand up the
grenadiers and on the right the square is destroyed.
Only the fallen now tells where the French light stood and fought.
Thousands of men have left the field, hundreds of them still litters
them.

As a revenge on the grenadiers the remaining blues forms into lines
and gives a devastating volley into the ranks, but nog enough to break the
tall, broad men.
The last battalions on the left duke it out.
French gun line.

Here we had to call it for the night, both armies was in bad shape
but not quite broken, we concluded that a draw was the only sensible outcome of
this, giving the Austrians a strategic victory in the campaign as the French
would be unable to use the road though Teugn, but the Austrians would have to
await reserves to be able to mount any pursuit but Napoleon would have to reach
Eggmühl without the III korps and Davout, perhaps Archduke Charles could make a
that battle a real fight if that was the case.
As it is we will have to continue this line of thought at another
time.