2015-02-27

Bolt Action: Imperial Japanese Army - Command I

So it's time to show some of my command models I've done for my Japanese army. From the box I got a lieutenant and I made two assistants from the plastic minis. Every officer with some self respect must have a flag bearer and someone to blow their horn.
So that what I made.

I quite pleased with how they turned out and I hope they will bring many victories for the emperor

Here is first some pictures before I got hold of a flag to give my flag bearer.


And finally a shot of them all with flag and some additional riflemen that got their devotional flags at the same time.


2015-02-26

Bolt Action: Test game

Last week we ran a little test game, we used my troops and ignored all army specific rules and used only Regular men.

The Japanese army consisted of
2nd lieutenant with 2 men, rifles
10 man squad, LMG and NCO with SMG
10 man squad, LMG
Medium machine gun

The USMC army was
2nd lieutenant with 1 man, SMGs
2 x 10 man squad, 2 SMGs, 2 BARs
Sniper team

We rolled up the mission and got Envelopment with the Americans attacking, so on the Japanese side the MMG and one squad was deployed and got hit with the preliminary bombardment that put some pins on them and actually killed one of the gunner for the MMG.

Japanese deployment of first squad

After the bombardment some pins was handed out and the first casualty removed


 First turn and the Americans advances with one squad and the sniper
Other than that, the IJA forces all rallied to remove pins and just stayed put to receive the attack.

The next turn saw some more advancement of the US forces into the tree line

And IJA reinforcements arrive from reserve


And so does the US, the front squad did however receive some fire from the MMG and some rifles that now had reach, gunning down a few marines and the sniper observer as well.

The marines dash forward to get to grips with their foe, getting to a stream that divided the battlefield in two. Getting some fire put on the front squad of IJA as well as a few sporadic shots on the MMG.
One shot on the MMG however was from the sniper, and a well placed bullet took out the entire team, getting some revenge for his fallen observer.

US forces follow up behind the unit already at the ford. Now that the MMG is no longer a threat

The IJA squad in the forest take some fire and a few of its members falls

But then disaster strikes the marines, and the entire font squad is gunned down, leaving the lieutenant and his runner quite exposed.

Overview of the 4th turn (I think)

The sniper once again shows what he is made of, and takes out the IJA lieutenant, leaving his runners all by themselves, not quite sure what to do any more.

Next squad moves up, gunning down quite a few Japanese as they go, and the officer takes cover behind a rock after his runner is gunned down with multiple bullets ripping though his body.

Then the marines launch a assault, trying to take out the so far untouched IJA squad in one hit.

It did however not quite go their way, and the tables is instead turned and the Japanese retreat back into the jungle after having destroyed the unit.


And here the American player gave up, as most Japanese troops are still on the table and there is only a sniper in the back field and a very scared officer cowering behind a rock.

All involved was pleased with the rules so far, there was no problem at all to keep track of the basic rules, there ain't that many to start with. As it stands now we are at least four people with armies in different state of readiness, some with the miniatures still in unopened blisters and boxes and some with paint on them.
We hope to get another game in soon, and this time use the national rules as well.

2015-02-20

Bolt Action: Imperial Japanese Army - Support I

I've gotten myself a medium machine gun painted. This is actually the first metal miniatures I paint from the Bolt Action line, and I have to say that they are quite good. They are as most metal Warlord minis I've handled, a bit chunky, but they look good, and the details are good and well defined, so they take wash very well.

I did these with shirts instead of the jackets that I've done on all my plastics, and I'm rather pleased with the result, and it stands out a bit from the rest of the khaki attack force.

One thing I did do to the minis was to replace the heads you got with the gun, I don't know if they was a miscast, but the didn't look good at all, so I got some of the extra heads form the plastics, and the fitted great so no harm done.

I did use a 60mm base that I had laying around, and based the two extra crewmen on individual bases to be removed as casualties if it comes down to that. I think I'm going to use this way of basing for all my team weapons.


That that from me for today, next up is the command group for my japanese, they are done but I need to get some pictures taken, and probably get some flag action going as well.

2015-02-15

Bolt Action: Imperial Japanese Army - Infantry II

Now I've not only completed, but also photographed my second squad of IJA troops, on this one I opted for not using the SMG on the NCO, and instead give him a suitable banzai expression and a bitching sword.

Other than that it's a simple squad with a LMG and the rest with rifles. The only thing I haven't added and that I think I'm going to, is some devotional banners. You get a nice little sheet with a few banners in the box (the same one as you apparently get in the ordinary infantry box) but the paper it's printed on is a little heavy and glossy for my taste so I'm planing on photocopying it onto some ordinary paper before I tag them on.
So this will have to wait until I get hold on a photocopier =)


That's that for this time around, I now have some command on the way, as well as some support. More on that in a later post.

2015-02-13

Bolt Action: Imperial Japanese Army - Infantry I

Well then, my first squad for my Japanese army has been completed, the assembly of it was quite nice, the one thing that I didn't quite like was that you have a limited option when it comes to posing. Most arms comes attached to the guns, and you can't really mix them up as much as the modeller in me would like. But the upside is that they come together quickly, and there is only small areas of flash. Almost to small to even care about, I think I've missed more than a few spots when I put them together =)


Anyhow I got my first squad assembled and painted. almost before I realised what was happening.

And here they are;


I decided to at first at least follow the "recommended" army structure in the 1000p force, so I've made the first unit 10 man strong, and not the more historical correct 14 men. But I'm thinking of adding a few more to get the unit numbers up a bit when I have my fist few squads done.

Painting wise I went for a little middle way so I have kind of followed how they looked, but simplified a few things, and also gone with the colours I already have . I'm not going to get another kind of olive green just for a bag =)

Other than that I'm a bit interested in getting to the tank in the box, but more on that when I get some paint on it.

2015-02-12

Bolt Action: Imperial Japanese Army

Here is just a quick little update, I got a bit into this pacific thing and wanted to have some opponents for my USMC troops, so when I had a weak moment I ordered a 1000p army box and a army book for the Imperial Japanese Army. I could blame my store for having a really good price on them, but mostly it is because I liked the IJA and had to think long and hard when I got my USMC what army I should get first.

Anyhow, I have started to build and paint a bit from the box, at the same time as I paint some more on the last few remaining marines


2015-02-05

Lion Rampant: Håtunaleken - River crossing

This week there was another game played in our Håtunaleken project. This was the fifth game in the series but only the second that I have been able to attend.

So far the kings side has not had the best luck, and most of the games has ended in failure for the true king. So my character Torgils Knutsson has so far had his daughter kidnapped and married to one non other than the contender Valdemar.

Look to Dalaupprors blogg for AARs for these battles (Battle #2, #3 and #4)
For his depicting of this battle look there as well

For some more pictures please check out the blog Wargamin in Sverige as well for his report.

However as Torgils himself has finally recovered from his wounds he received at Mora Stenar, he led the forces again against the contenders.
This time the house of Ulvåsa has been left at home, there are some questions about his true allegiance as battles with them on the field has ended in defeat.

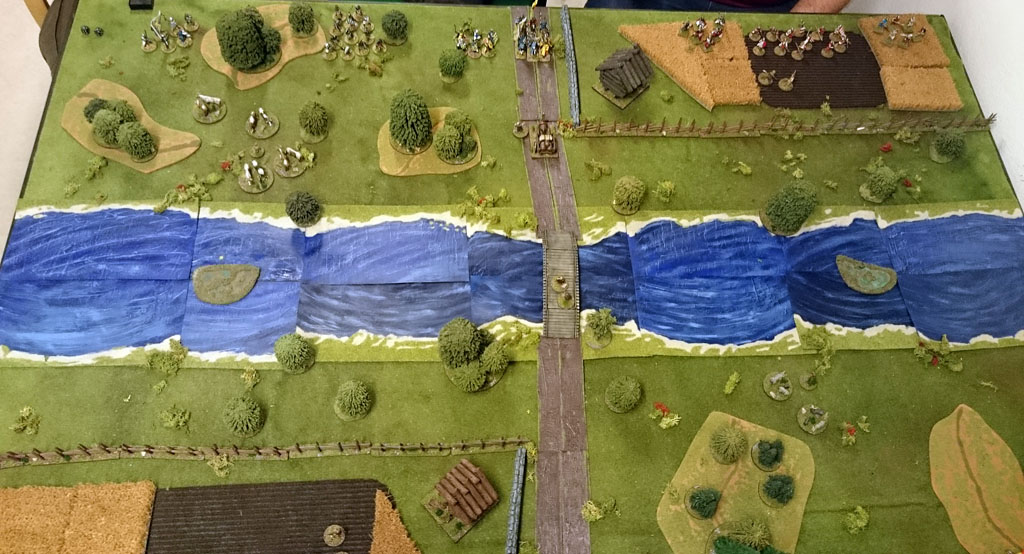
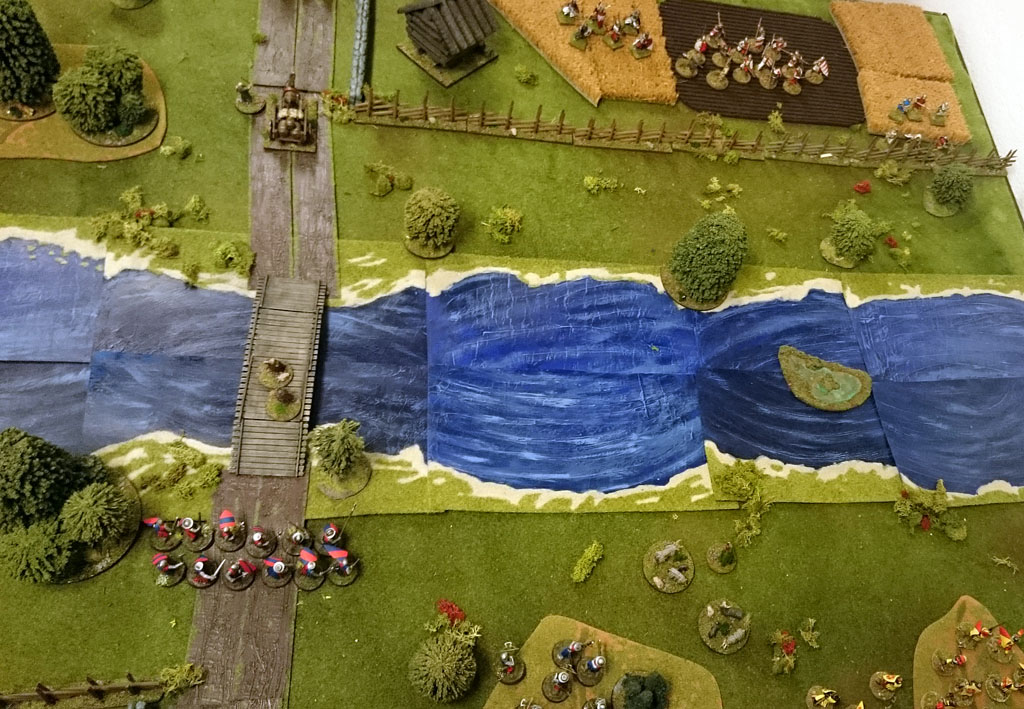
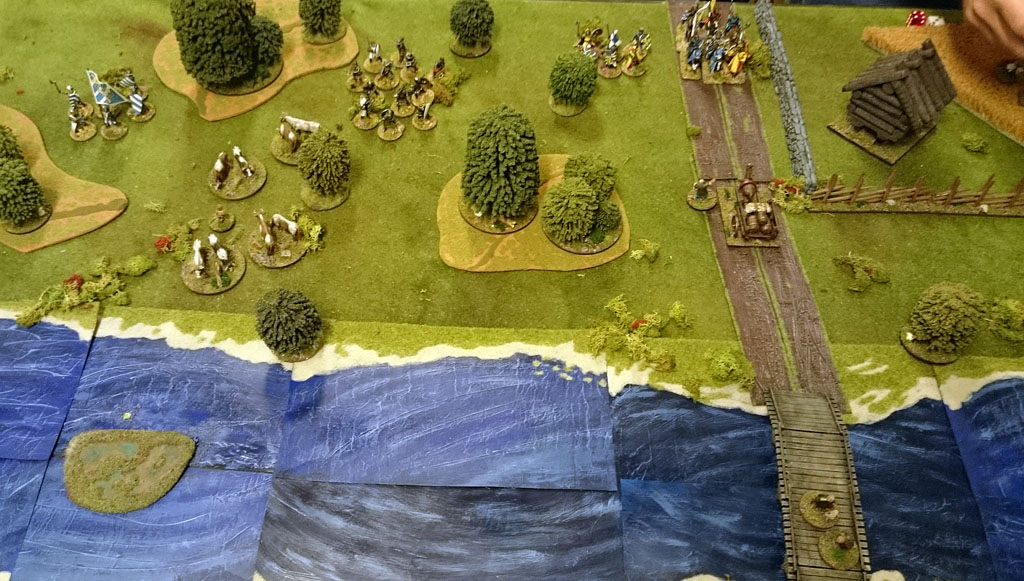
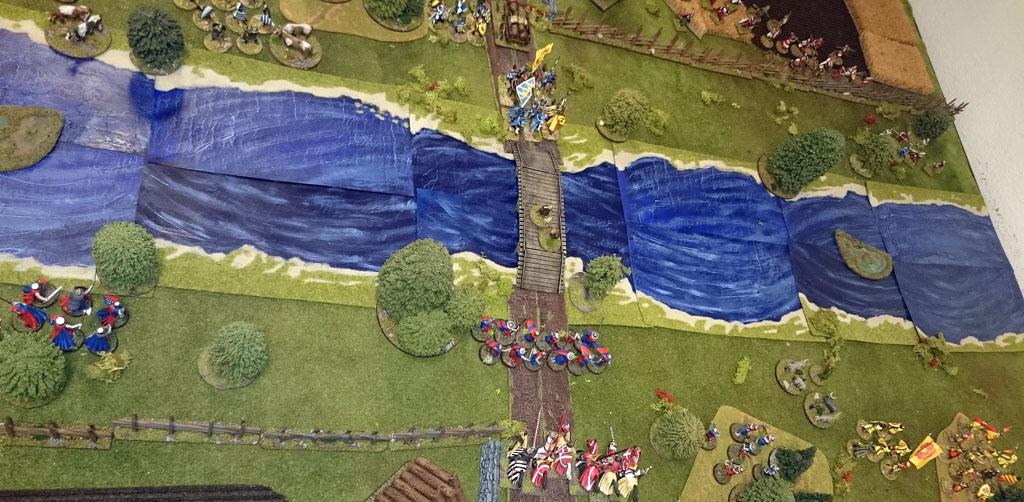
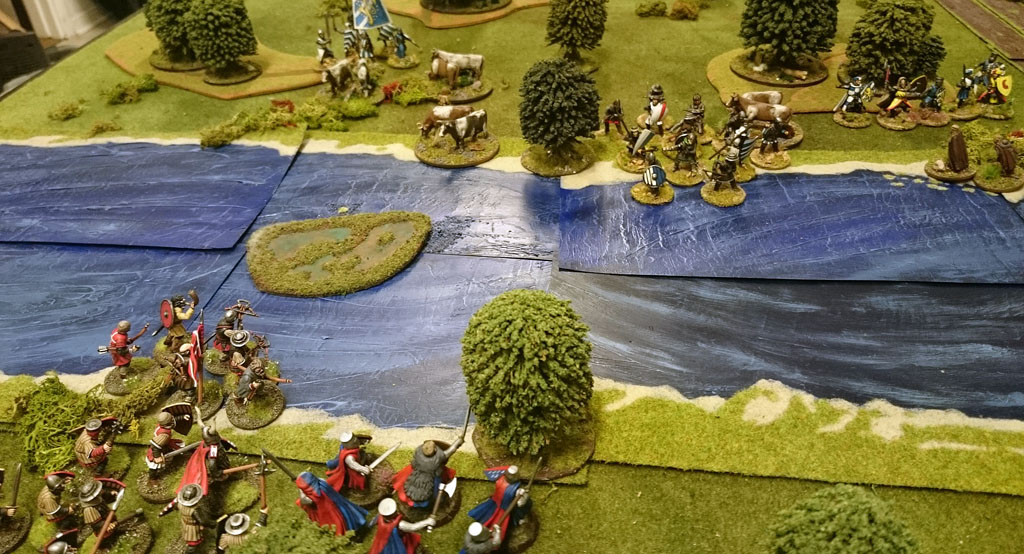
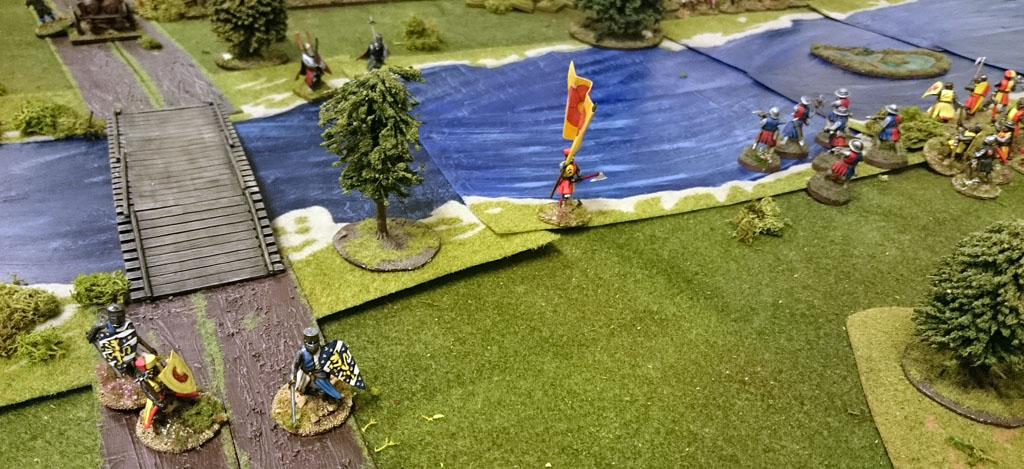
Now we are to take and hold some river crossings, one bridge and two fords, the fords are marked by the little island in the middle of the stream.
The goal was to have a unit on the opponents side, giving the side that manages this one point for each ford and turn and two points for the bridge. The goal was to accumulate a total of ten points.

The side that controls the crossings will have control of the lands nearby and be able to move any forces to where they are needed. Also they would take control of the lucrative salmon fishing in the river.

The forces used are as follows

Fighting for the King

House of Tre Rosor
1x6 Foot Men-at-Arms* @6pts
1x12 Foot Sergeants with Mixed Weapons @6pts

The House of Torgils Knutsson
1x6 Foot Men-at-Arms* @6pts
1x12 Foot Sergeants @4pts
1x6 Bidowers @2pts

House of Trolle
1x6 Mounted Men-at-Arms* @6pts
1x12 Foot Sergeants @4pts
1x6 Bidowers @2pts

Fighting for the contenders

House of Finsta
1x6 Foot Men-at-Arms* @6pts
1x12 Foot Sergeants @4pts
1x6 Bidowers @2pts

House of Bjälbo - Valdemar Magnusson
1x6 Mounted Men-at-Arms* @6pts
1x6 Foot Men-at-Arms @6pts

House of Bjälbo - Erik Magnusson
1x6 Foot Men-at-Arms* @6pts
1x12 Foot Sergeants with Mixed Weapons @6pts

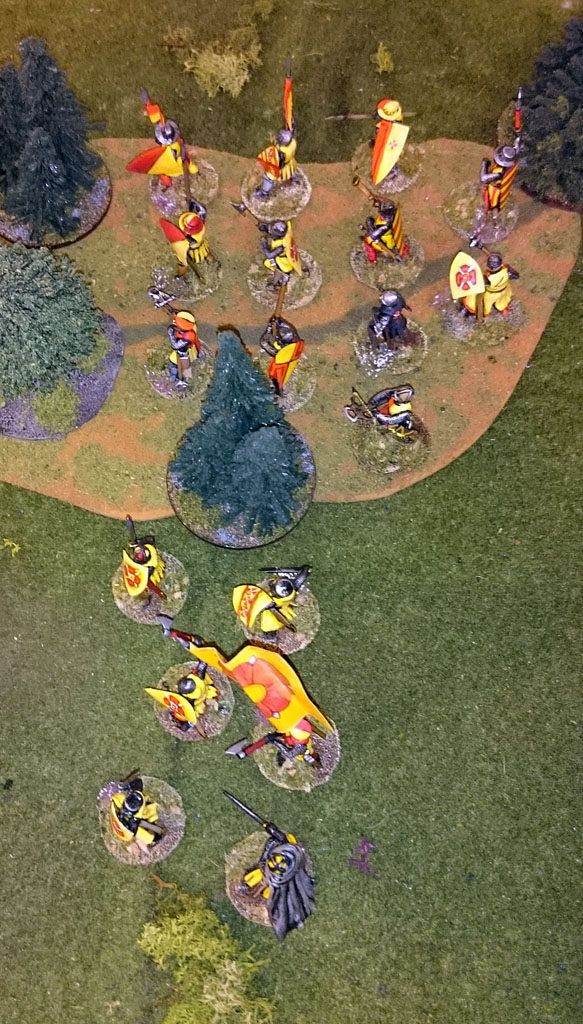
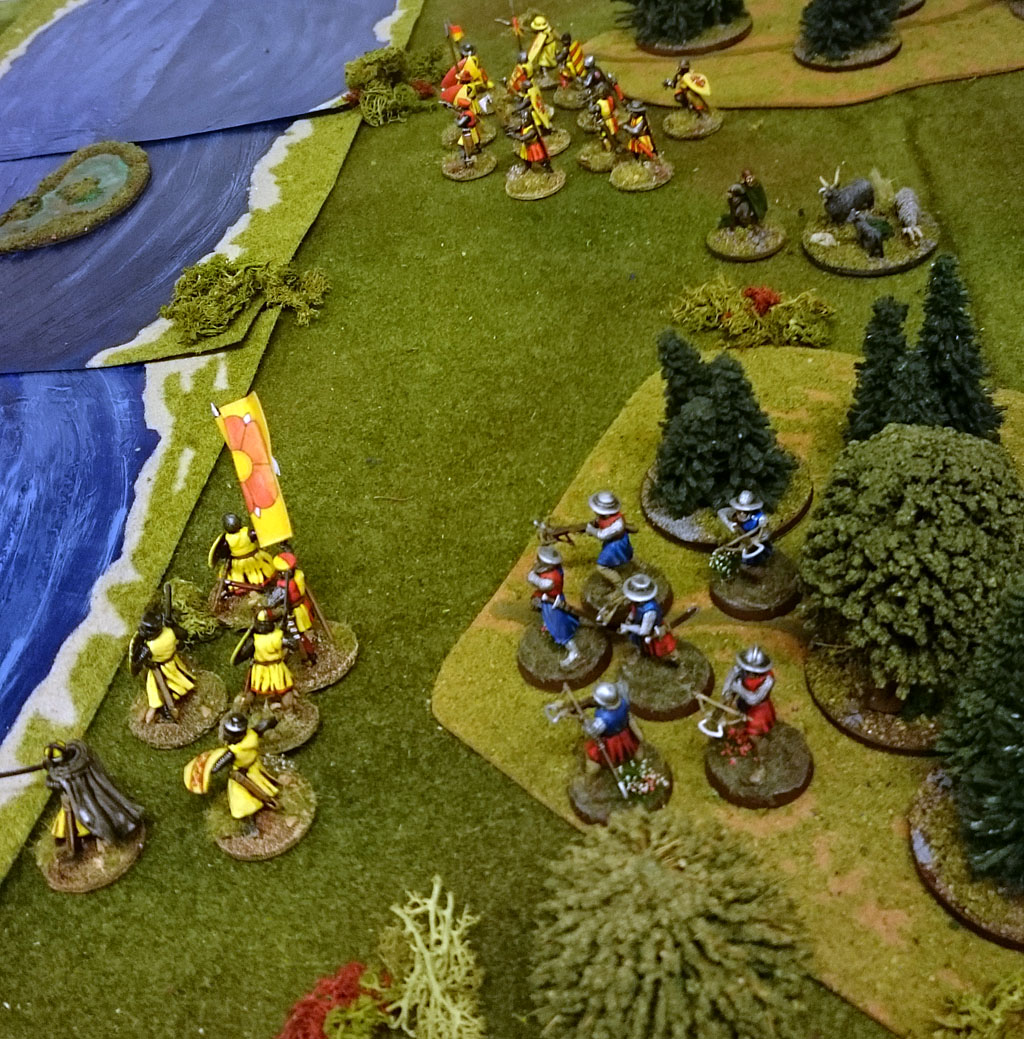
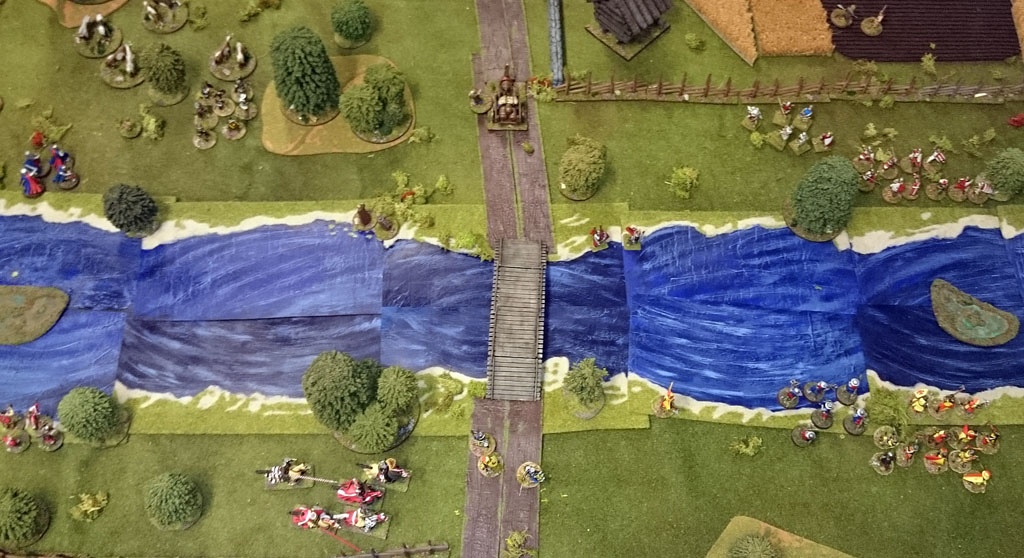
Deployment of the contenders, to the left you have Erik, in the center Valdemar and to the right Finsta.

The kings forces deployed a bit more mixed up, but mostly Trolle was on the left, Torgils in the center and Tre Rosor to the right

Tre Rosor

House of Finsta

Erik

Torgils and his knights and most of Trolles forces

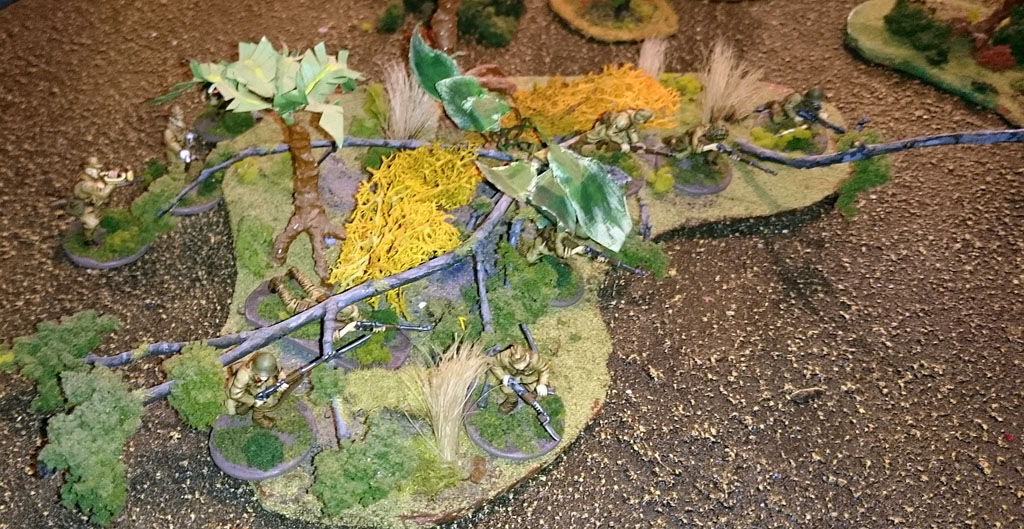
The battle starts and there is a general advance from all forces in the beginning, and not much else.


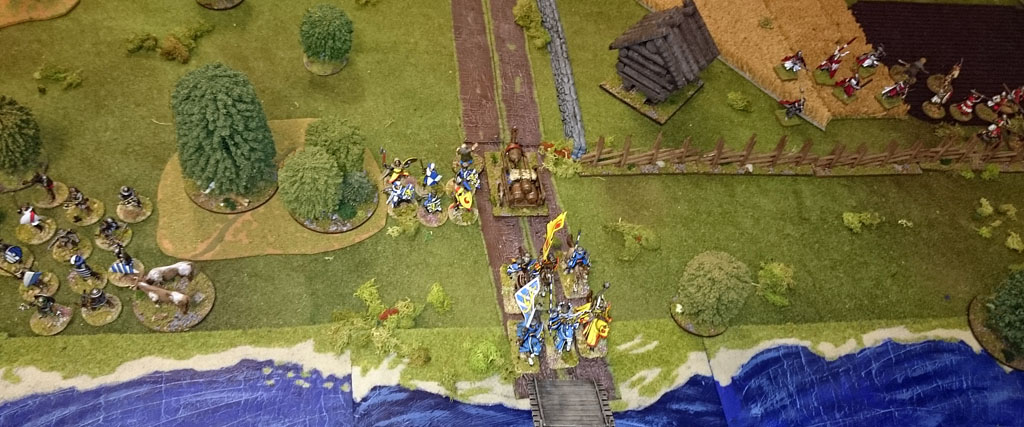
Trolle has his knights behind my foot sergeants, and they are holding to be able to hit later


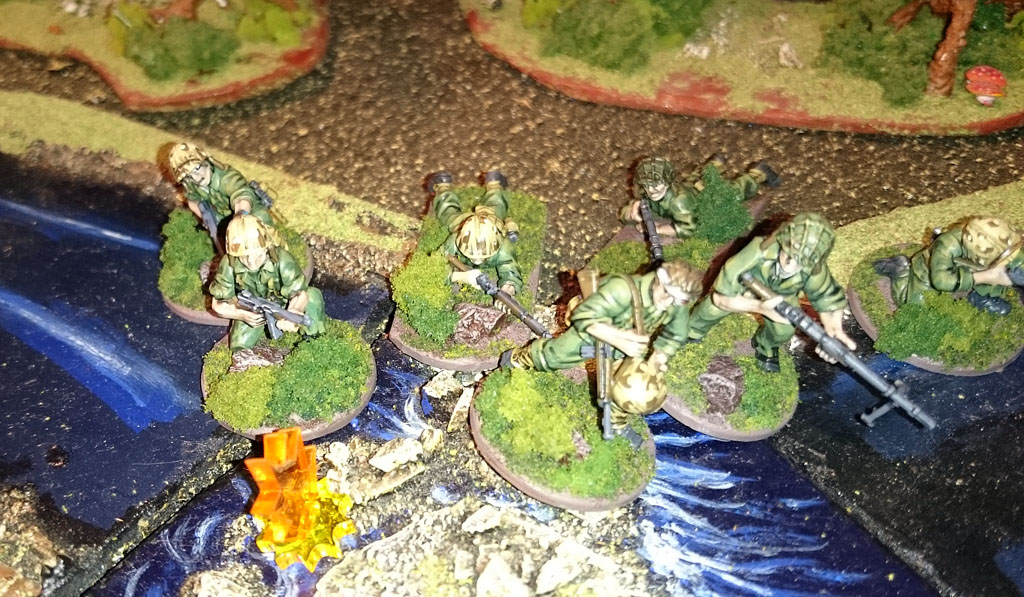
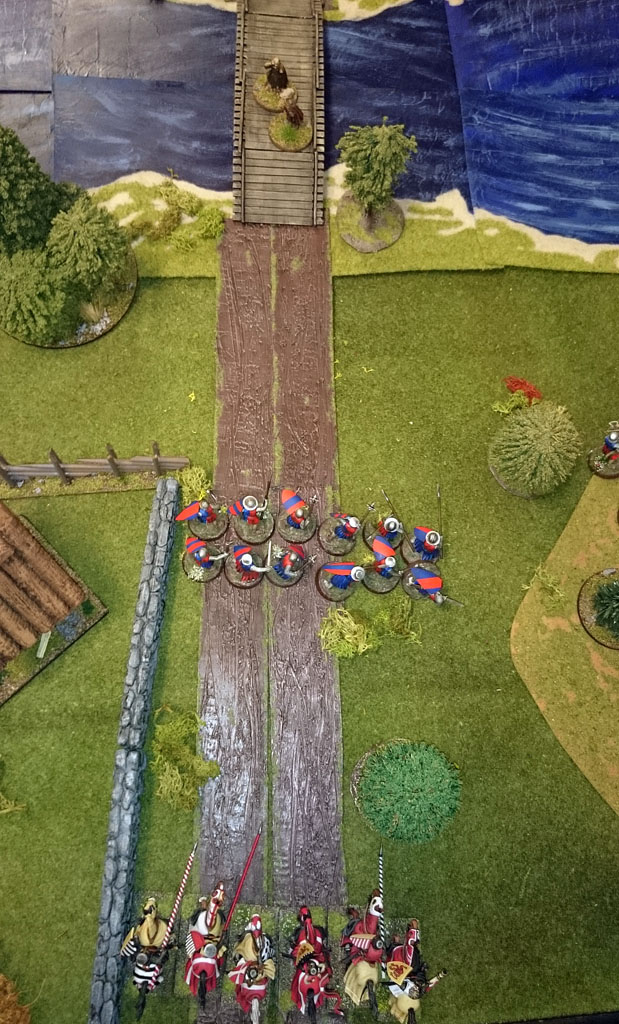
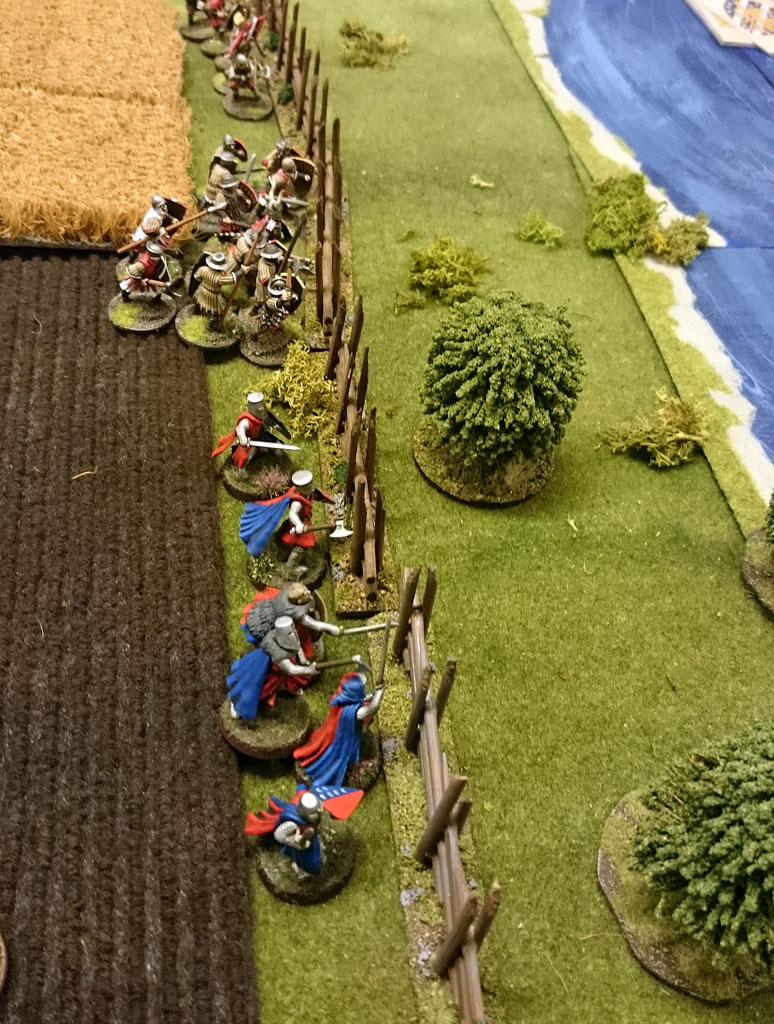
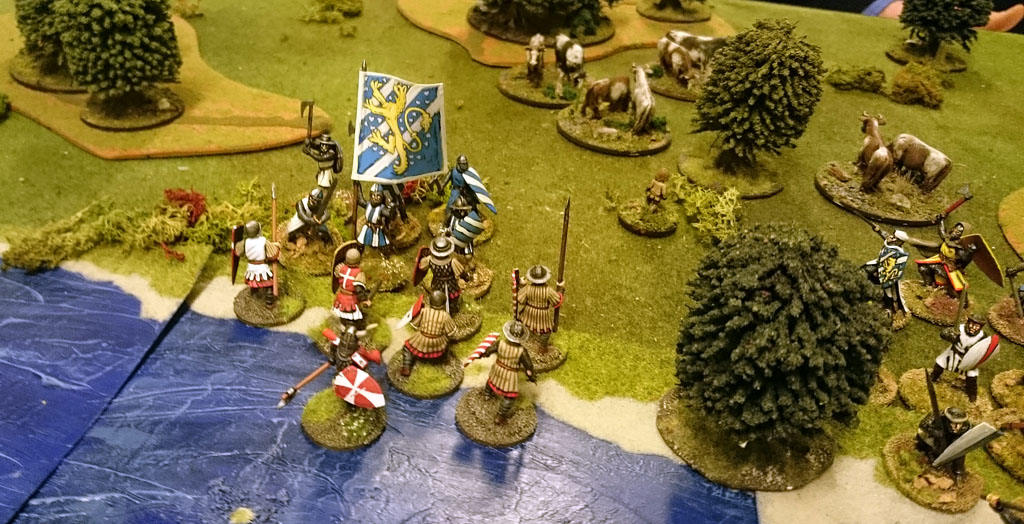
My foot moves up to the bridge and pre-pairs to form a shield wall to stop any advances over to our side.

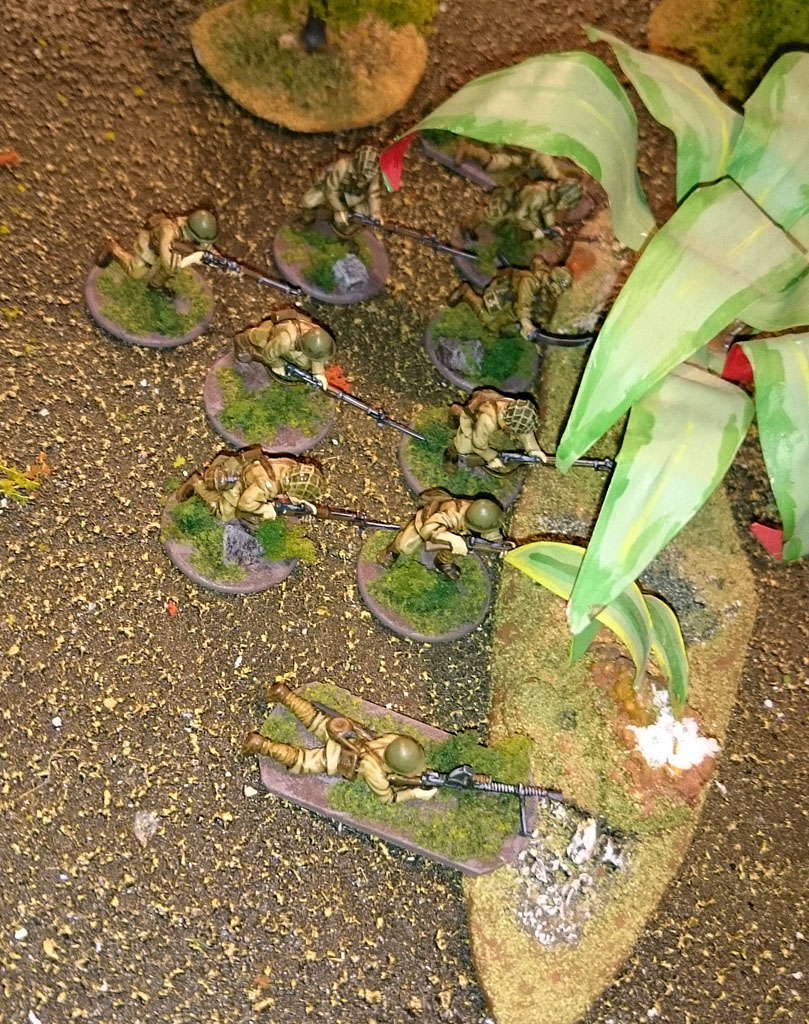
The rebels moves up with all forces

Me and Trolle are stopped a bit by the fence, but makes ready to move on next turn

Still the both our forces are taking it slow, and watching each others movements

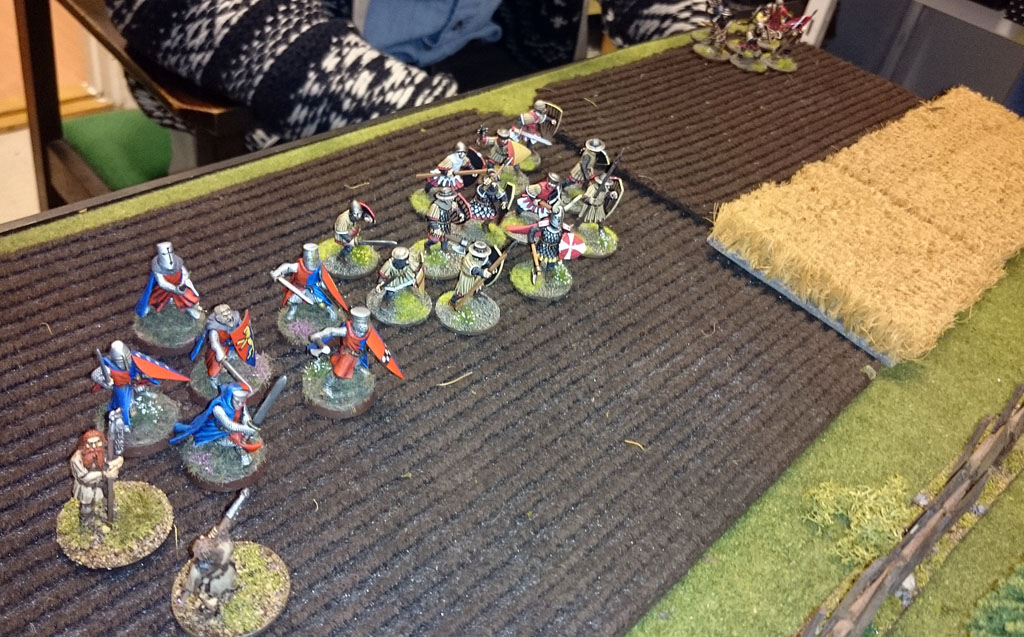
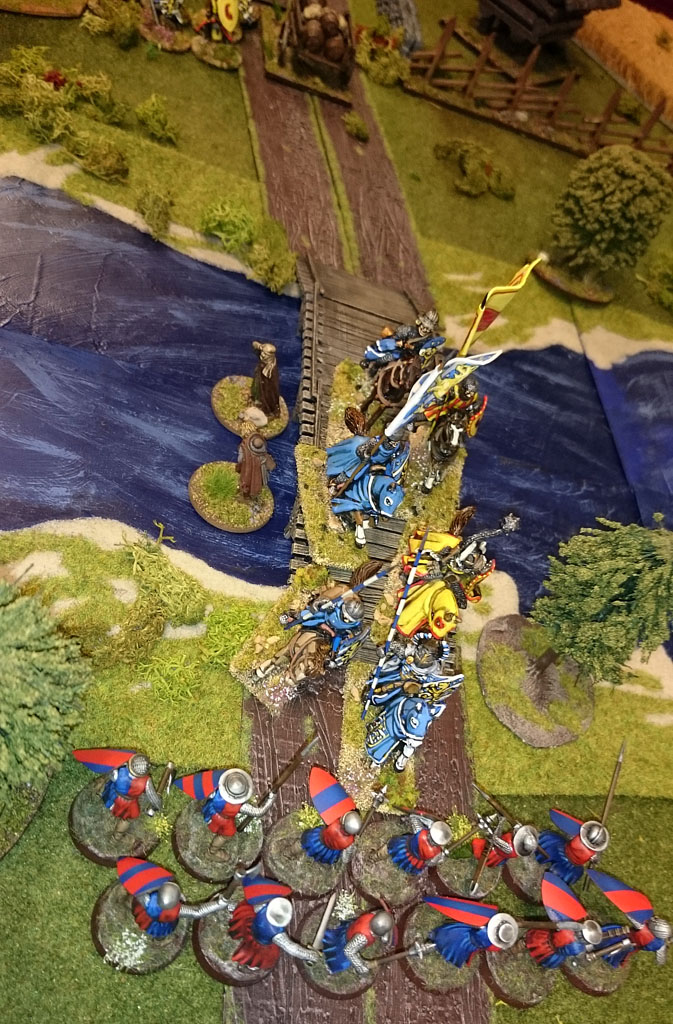
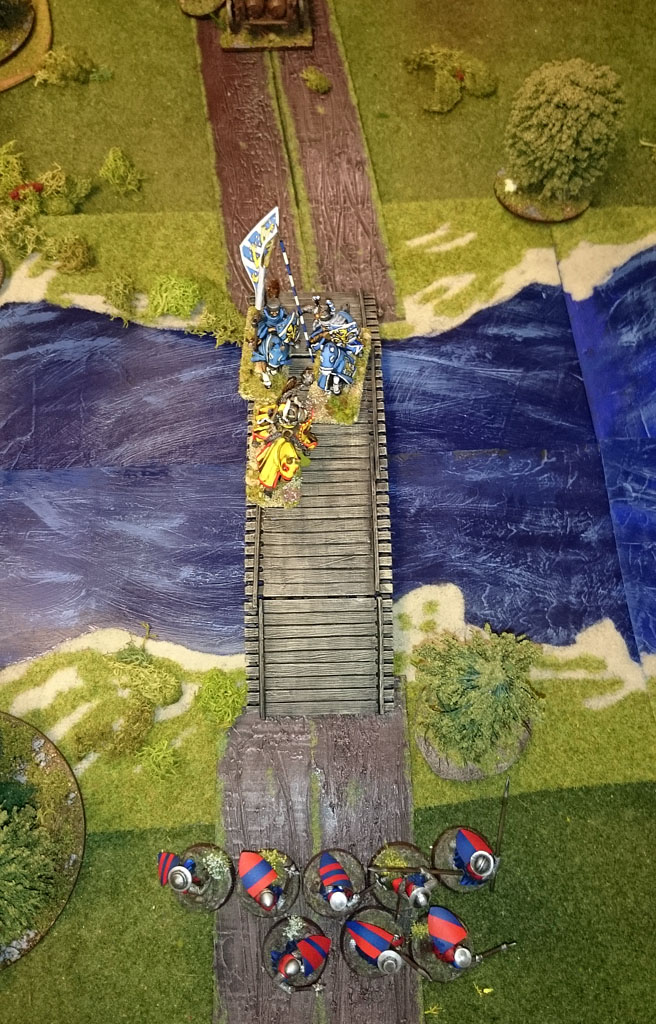
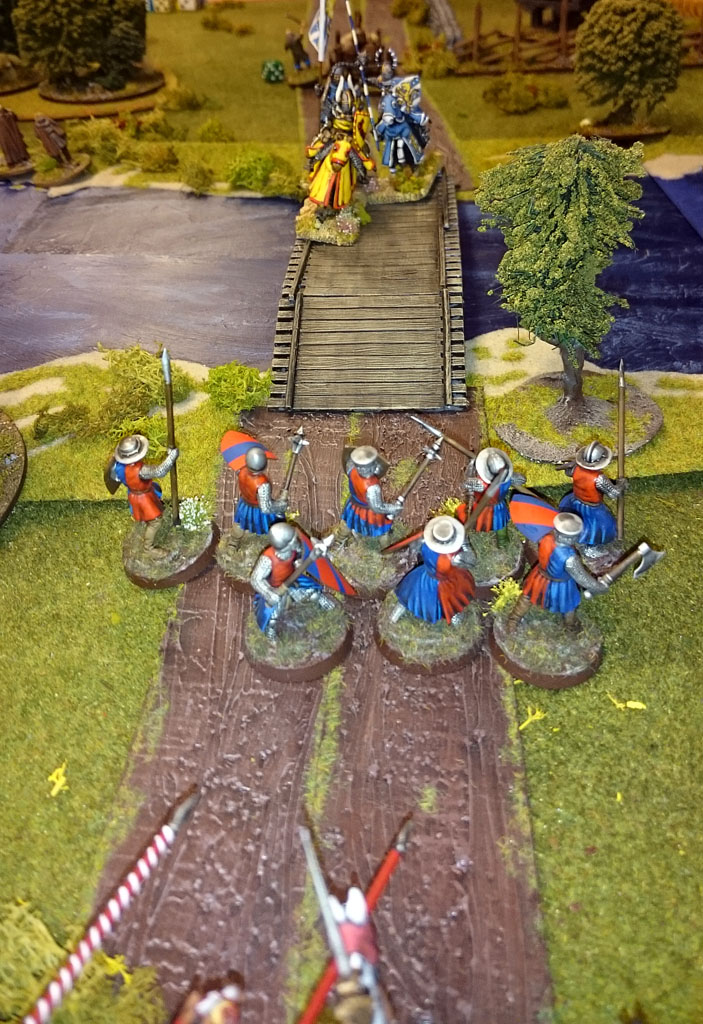
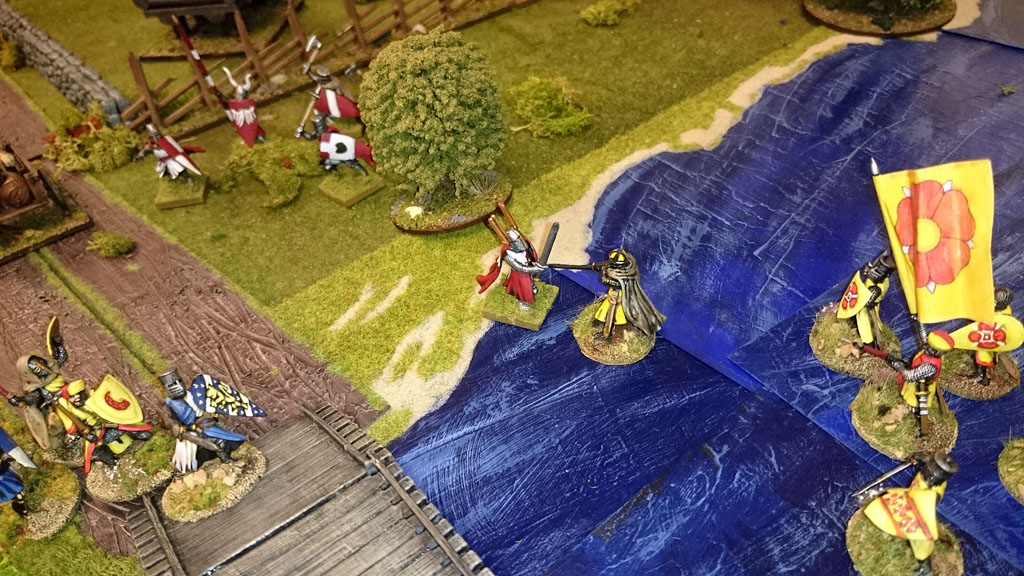
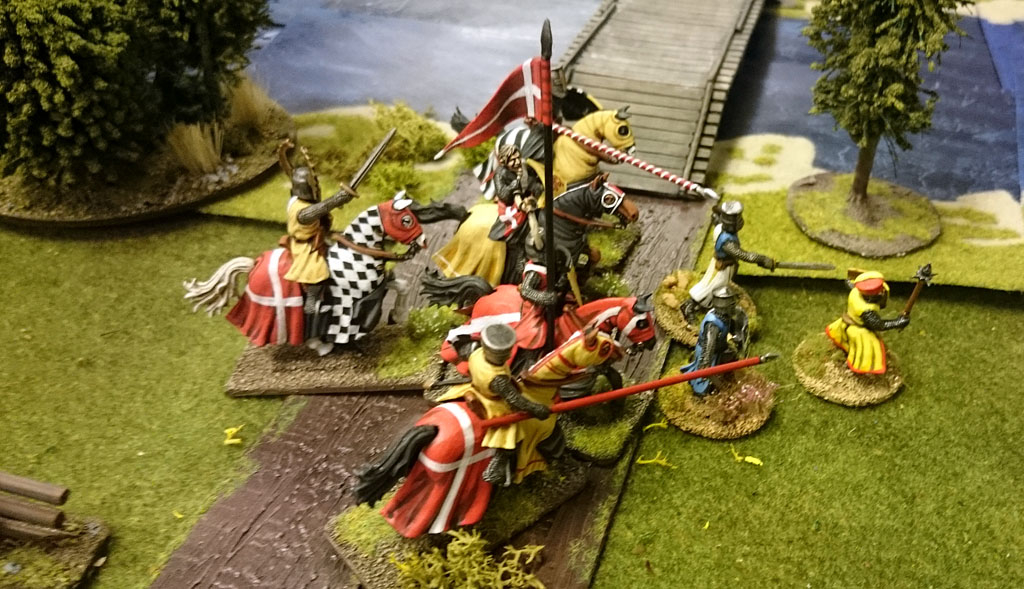
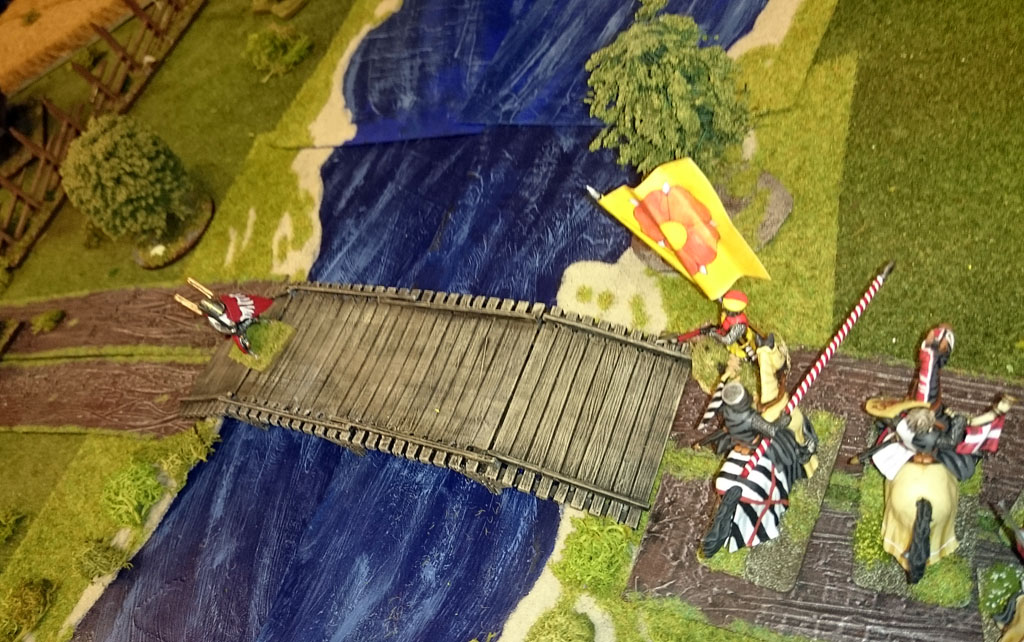
The shield wall has been formed and ready to receive the impetus knights with Valdemar in the lead.

And they are not slow to move up to take the bridge, the peasants on it are quite scared now, and contemplating jumping into the water to get away...


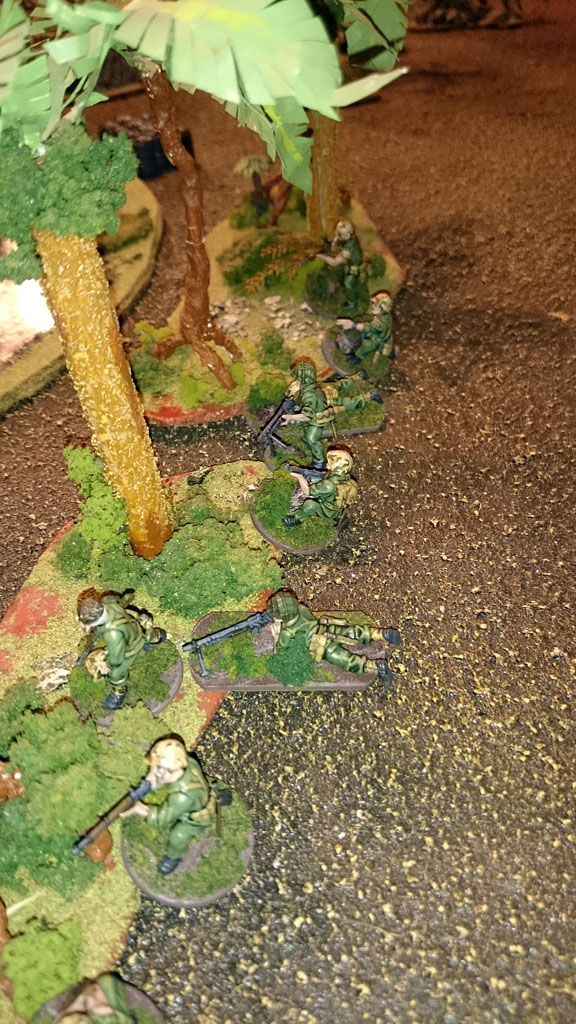
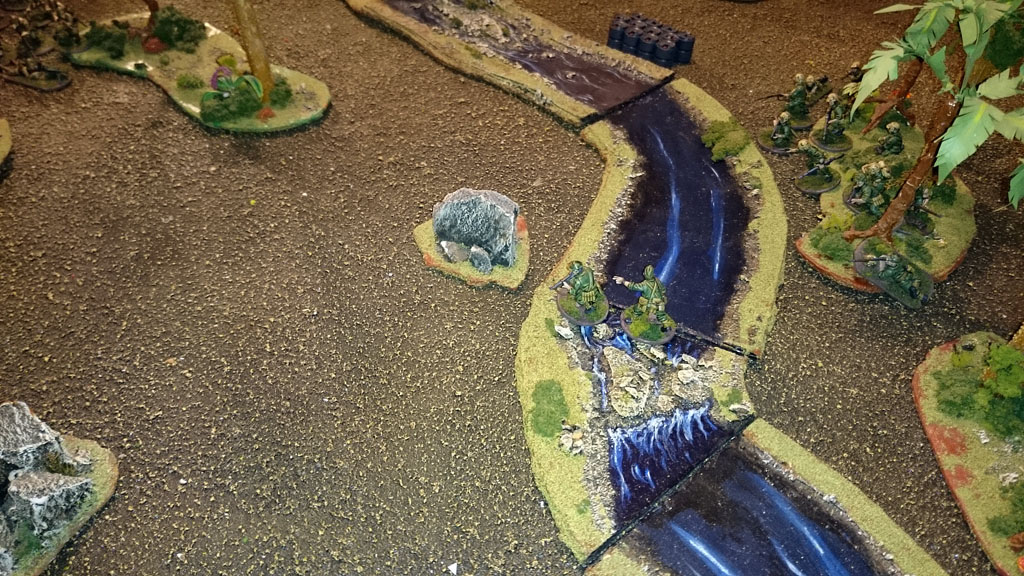
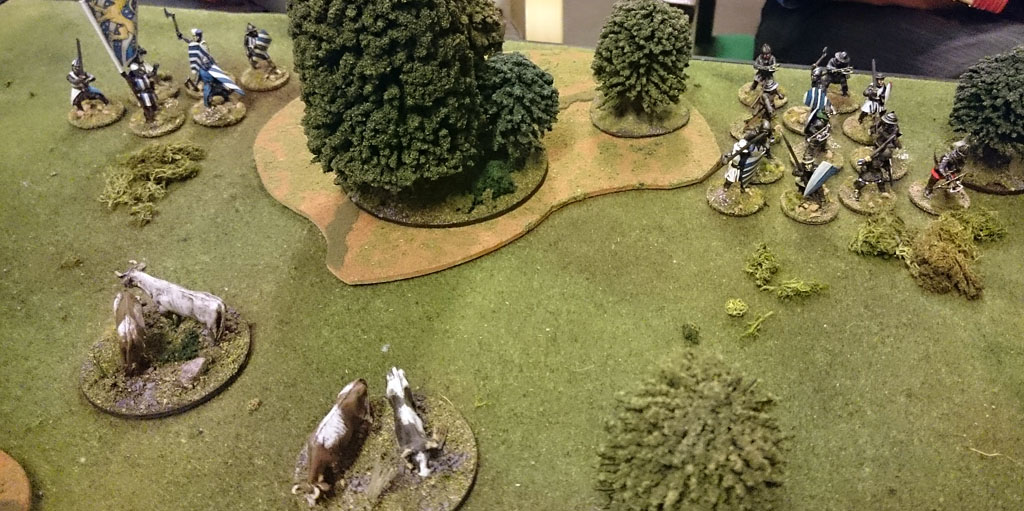
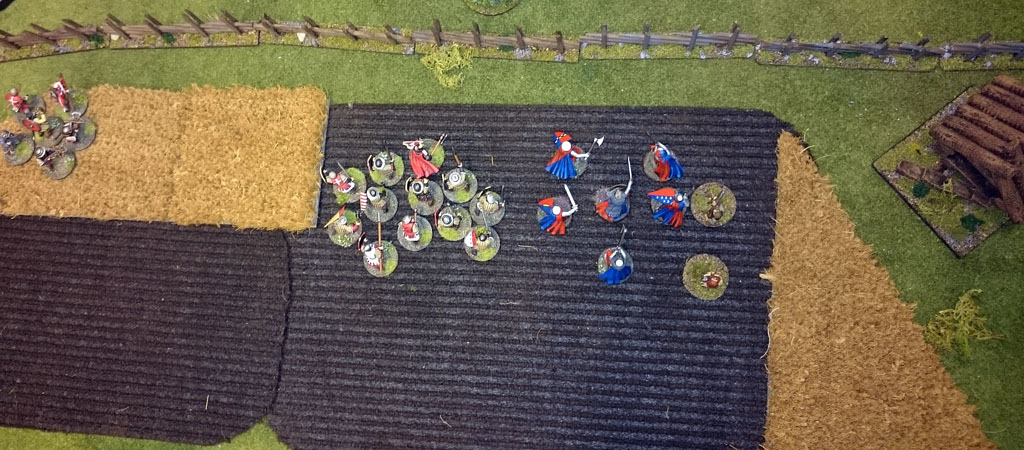
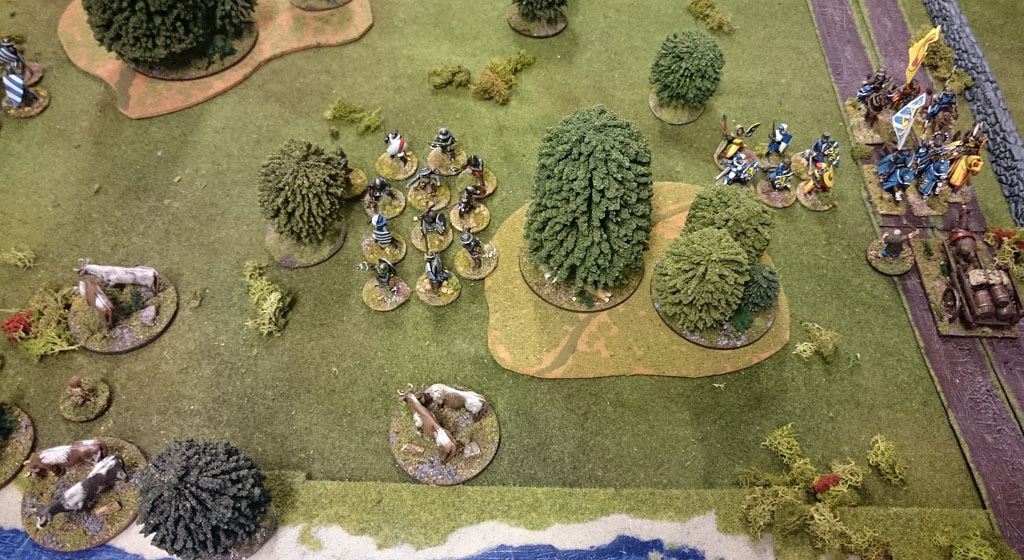
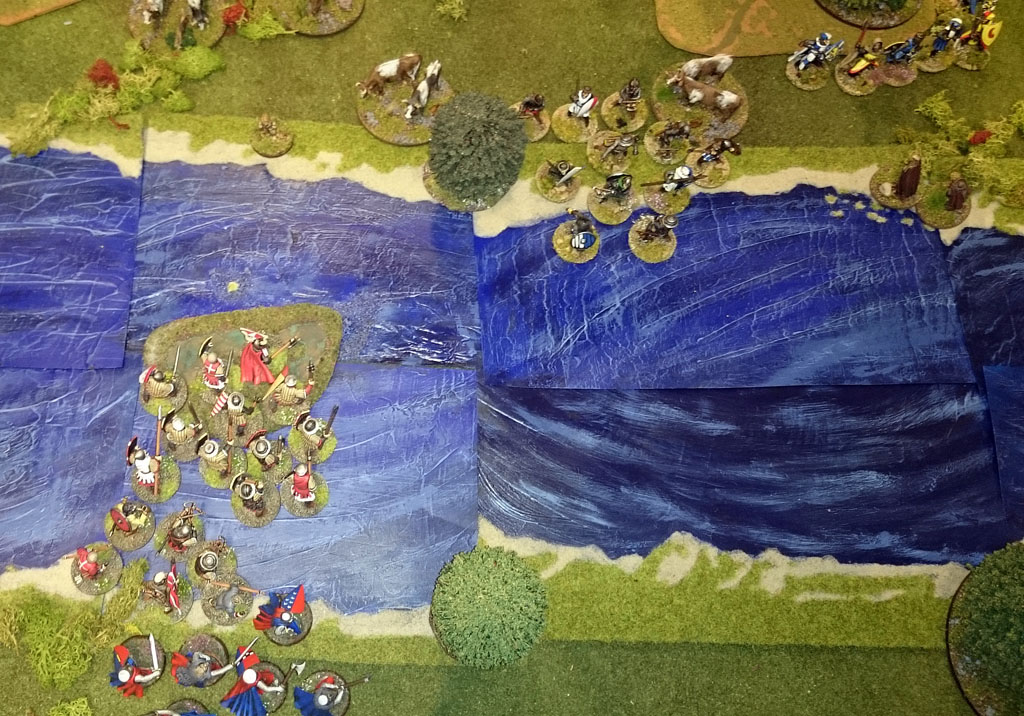
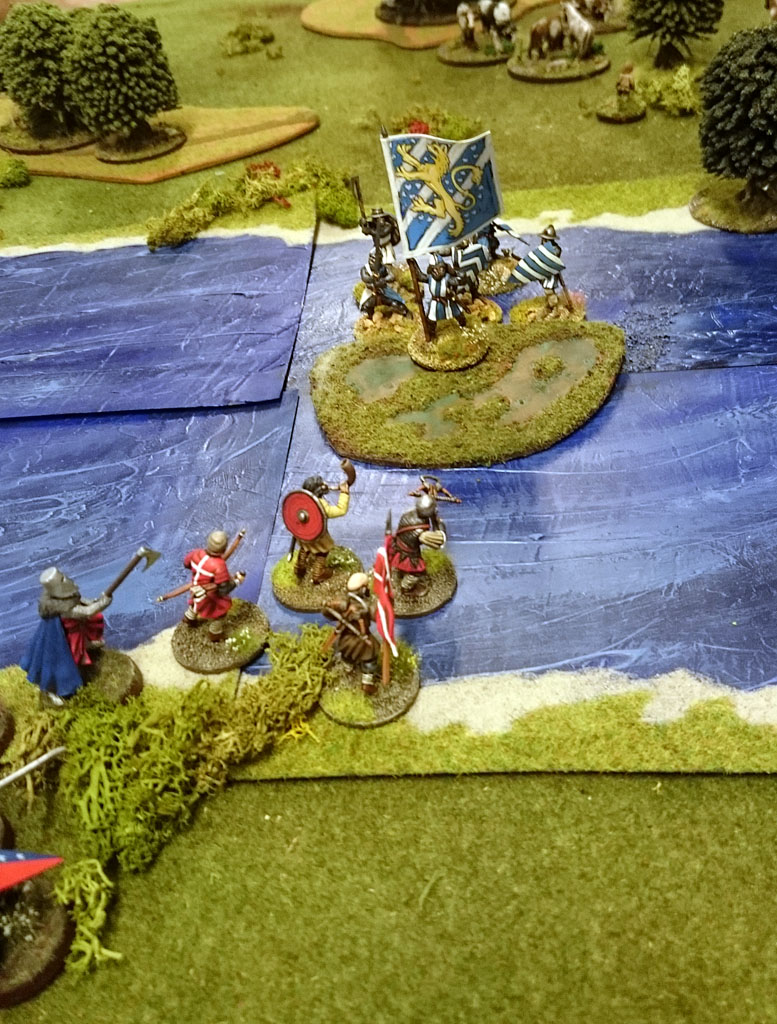
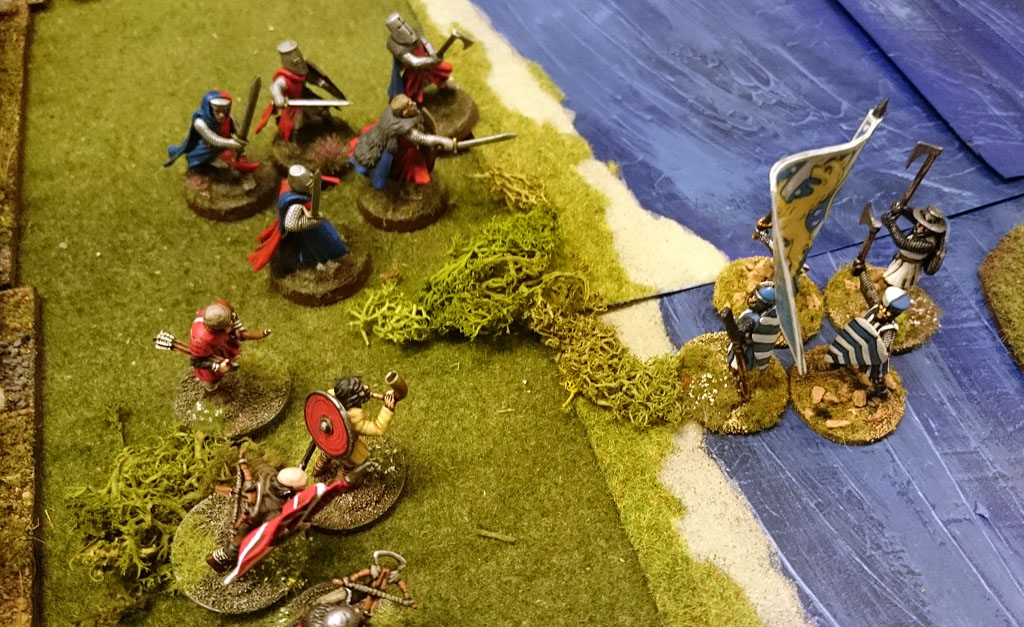
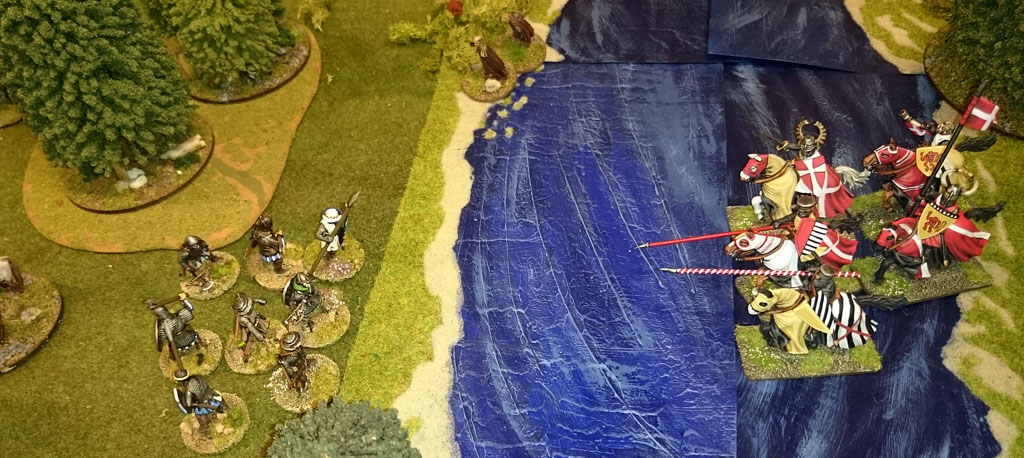
The left ford has been reached by Torgils himself as well as Trolles sergeants and crossbowmen, we are ready to take it on.

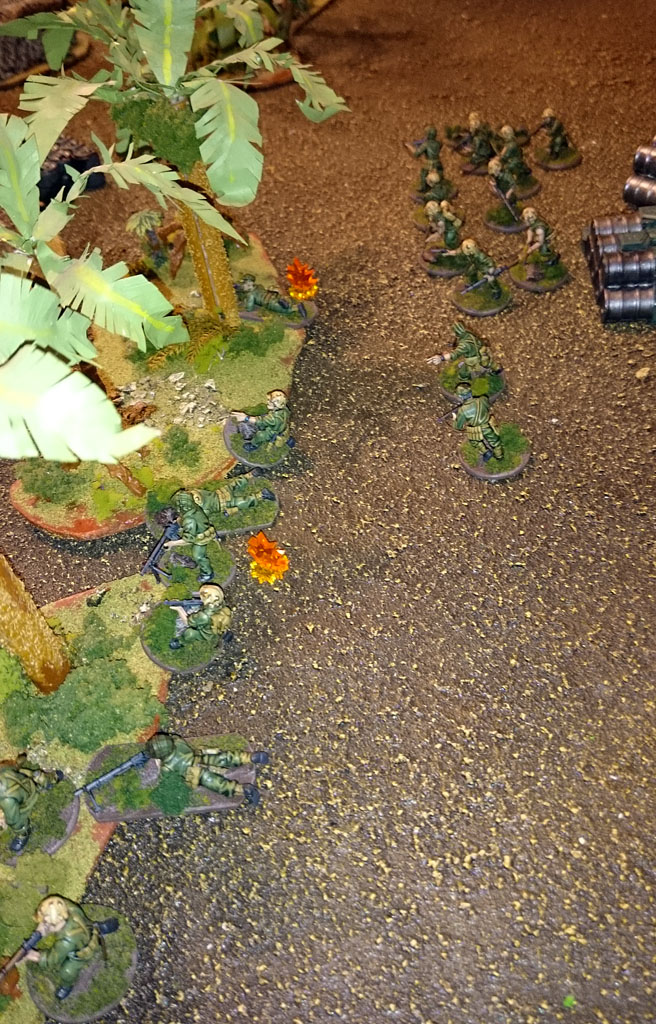
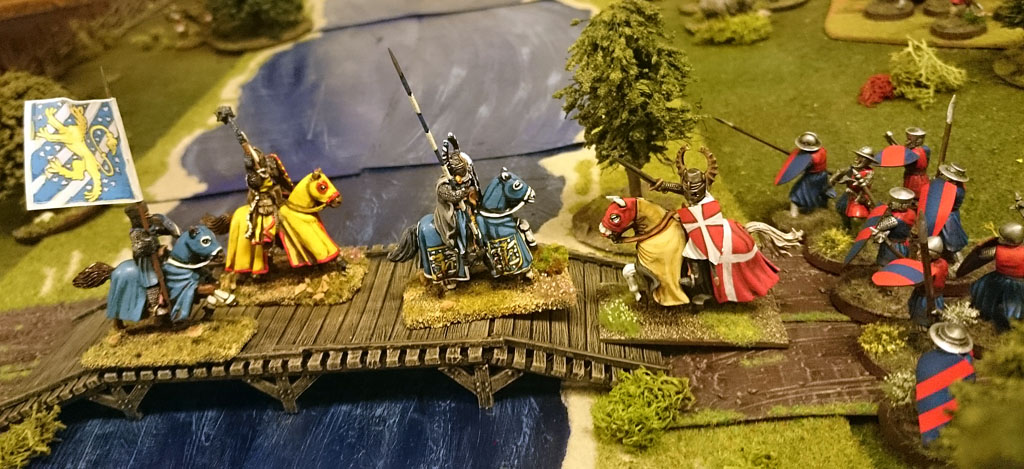
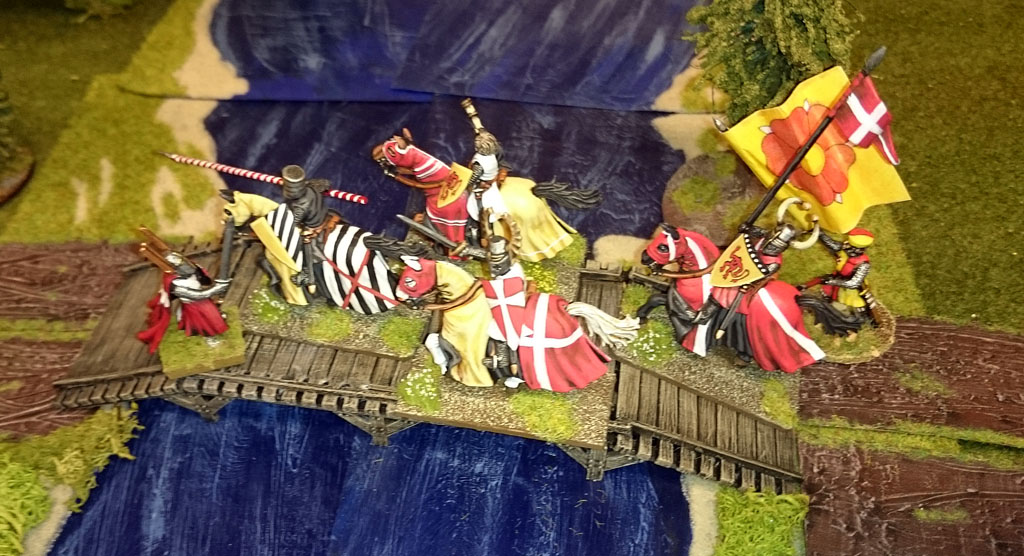
At the bridge Valdemar can't contain his anger any longer and charges headlong into my wall.

At this time the peasants jumps of the bridge to get way from the thundering horses 

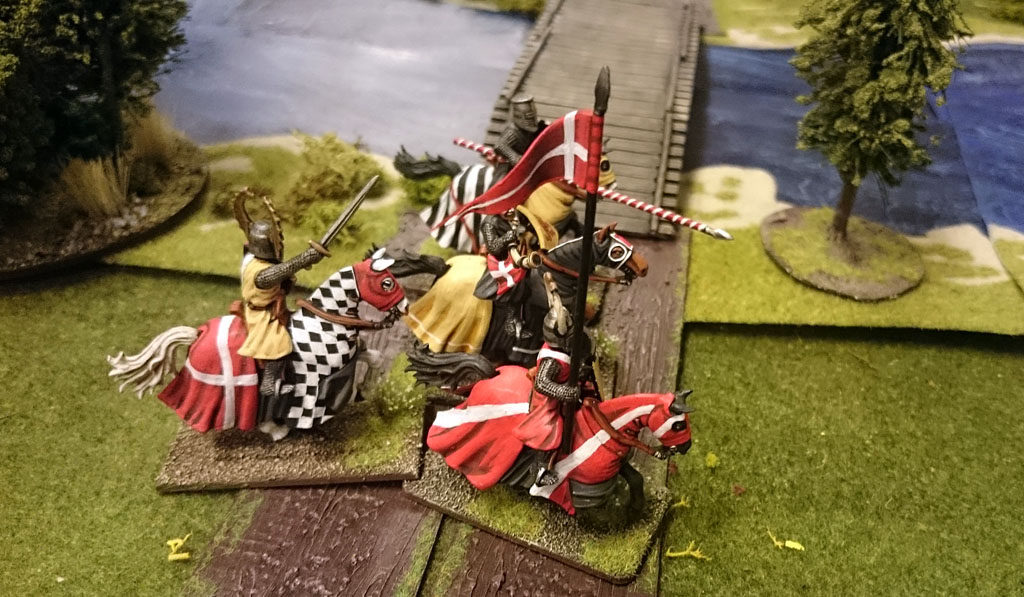
Valdemar has to retreat, leaving two of his knights behind with spears jammed though them

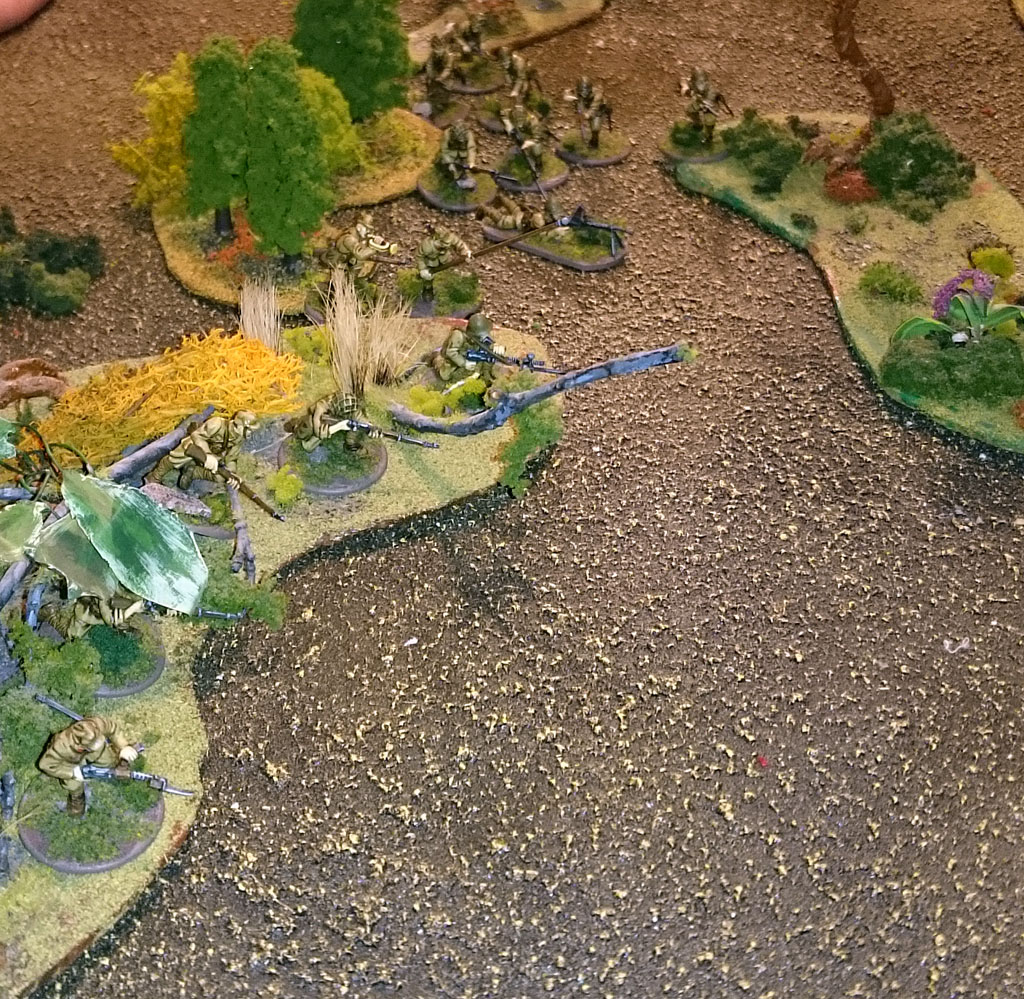
At the left ford things are heating up as the first of Eriks forces falls to some crossbow bolts

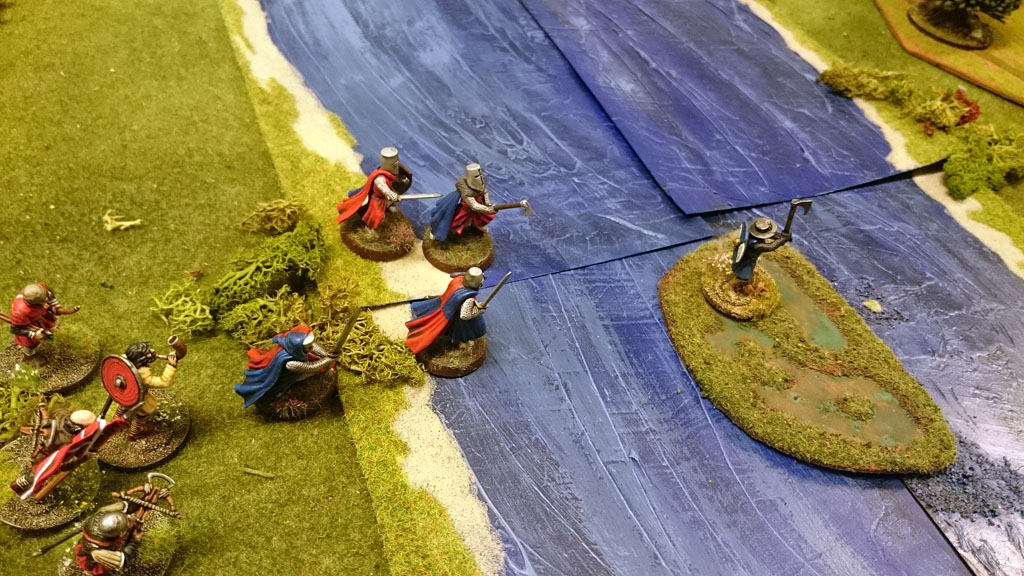
The men are not slow to start crossing

Valdemar redirects his foot knights to help contain this intrusion as Trolle surges forward

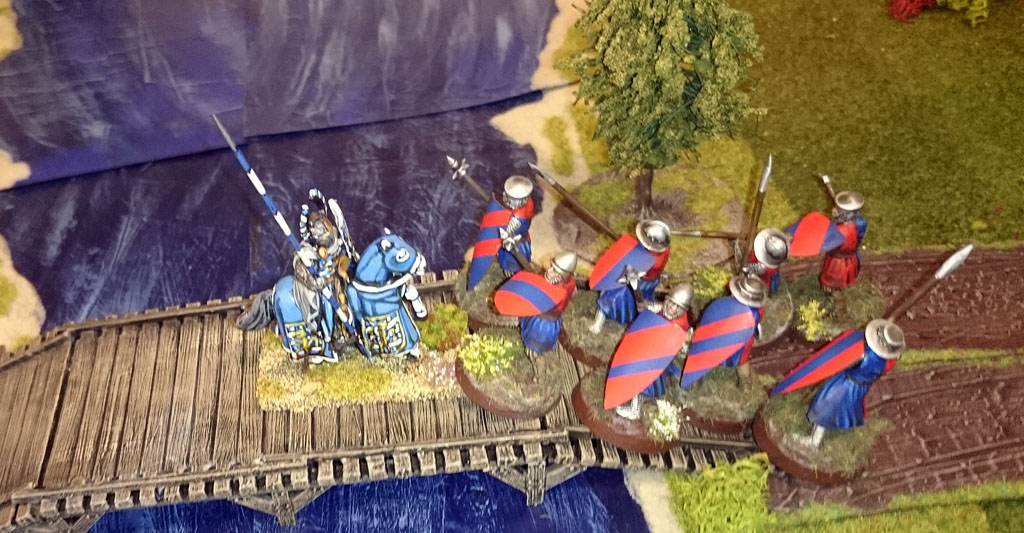
At the bridge my sergeants taunt the failure of Valdemar

At the ford then, what happens there? Well, Erik got his act together and charges the sergeants, taking a bloody toll, and pushing them back in disorder.

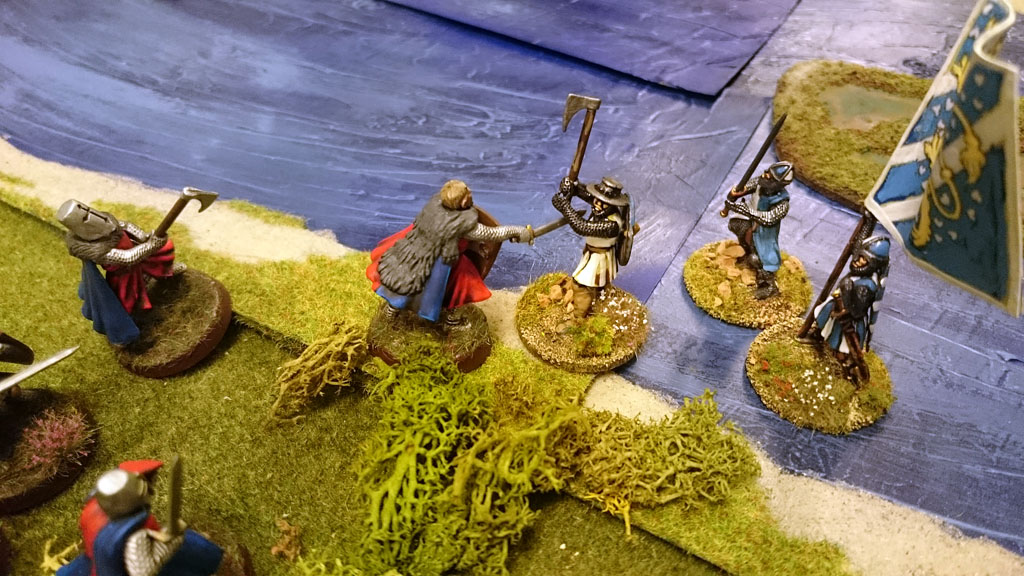
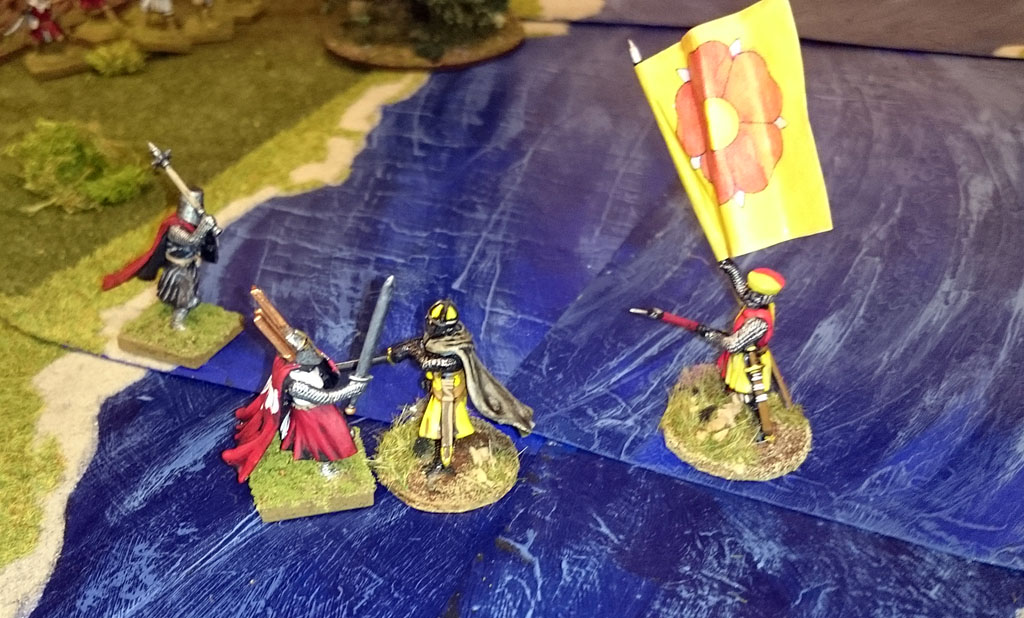
The the bridge Valdemar bellows a challenge to Trolle, and he is not one to stand down a challenge.
In the end though, blows are exchange but no victor could be declared and they both retire.

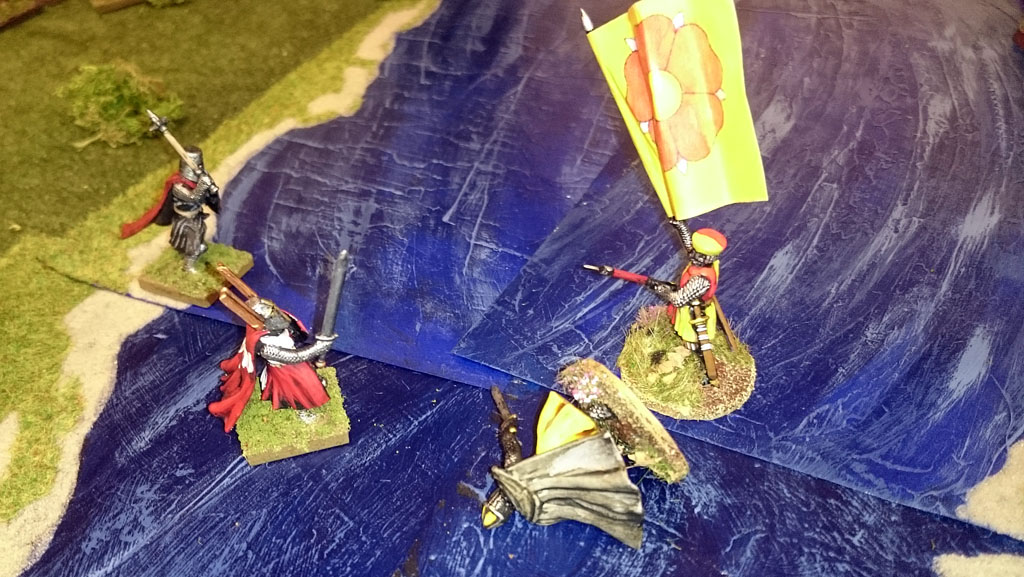
After this, my bidowers gets a great shot on Valdemar and his knight, killing the two remaining, leaving Valdemar alone, and my sergeants takes the opportunity to revenge the marriage and charges..

Throwing him from his horse into the cold river, bleeding and immobile he drifts away

There is more or less a stand off at the right ford

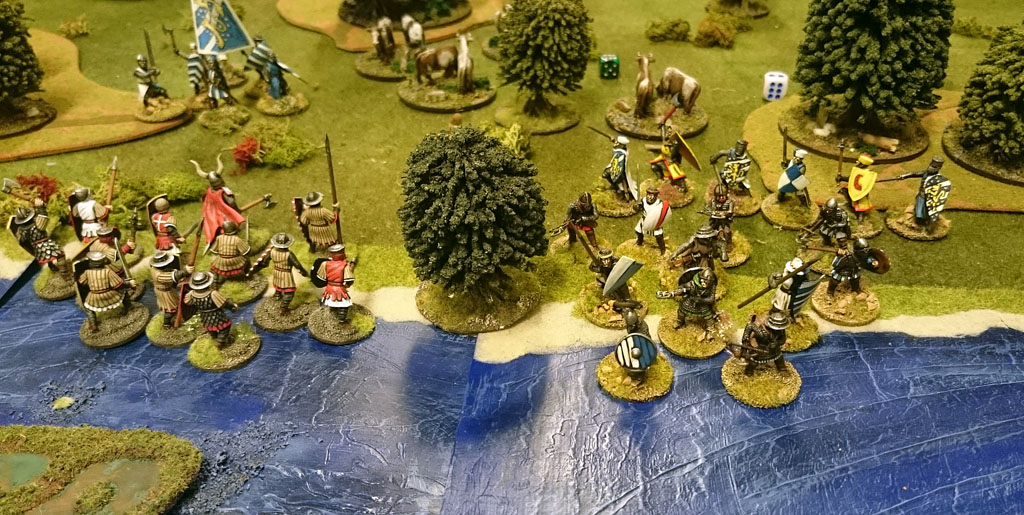
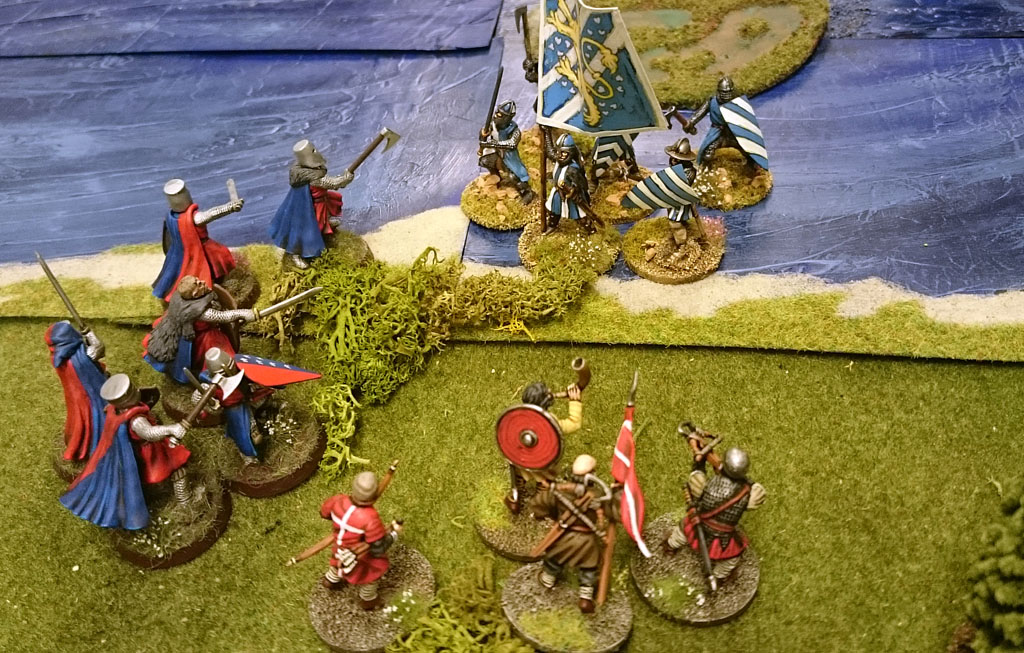
Back to the left ford, where Erik advances though the bodies of the sergeants, getting close to our side of the ford

Chasing away the bidowers

But getting counter charged by Torgils and his knights

Trading one to two, Torgils retires a bit, feeling a bit smug.

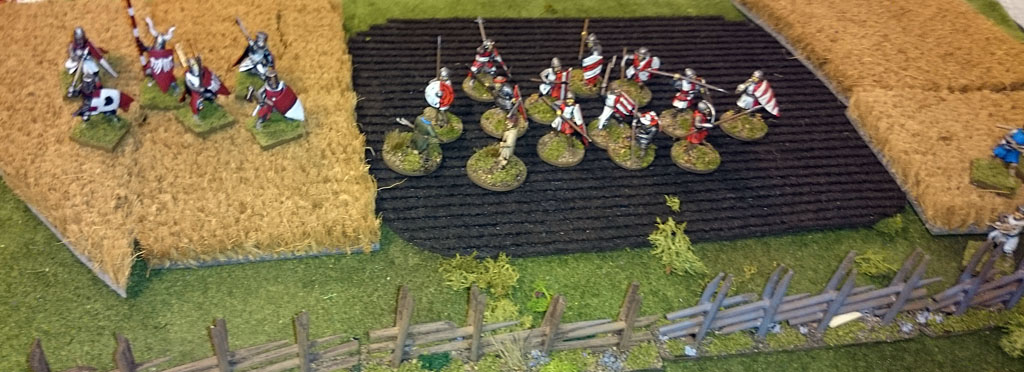
By the bridge things are heating up again as Tre Rosor and Finsta duke it out in the cold waters, but no winner is found.

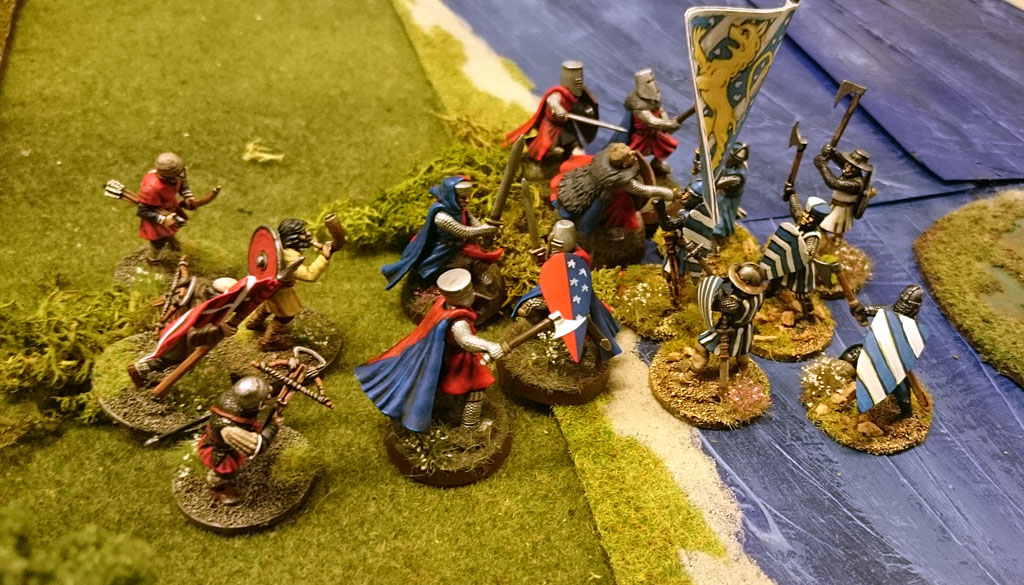
Torgils on the other hand gets challenged by Erik

But doesn't fare well and has to be carried of the field again, I thing I should decline challenges in the future... Single combat is for younger men...

My remaining knights gets a bit upset on Erik and charges into him and his knights. Giving them a good whooping, leaving only a fleeing Erik

In the meantime Trolle and his mounted knights splash into the waters right in front of Eriks now VERY nervous sergeants

So they retreat a bit, so that they wont be ridden down

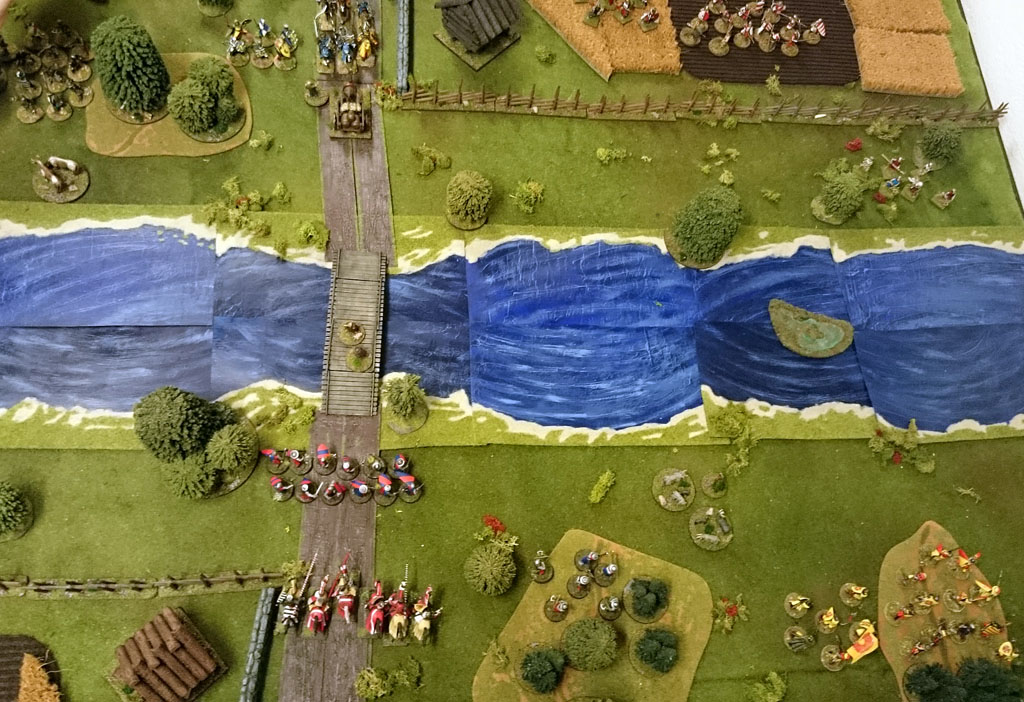
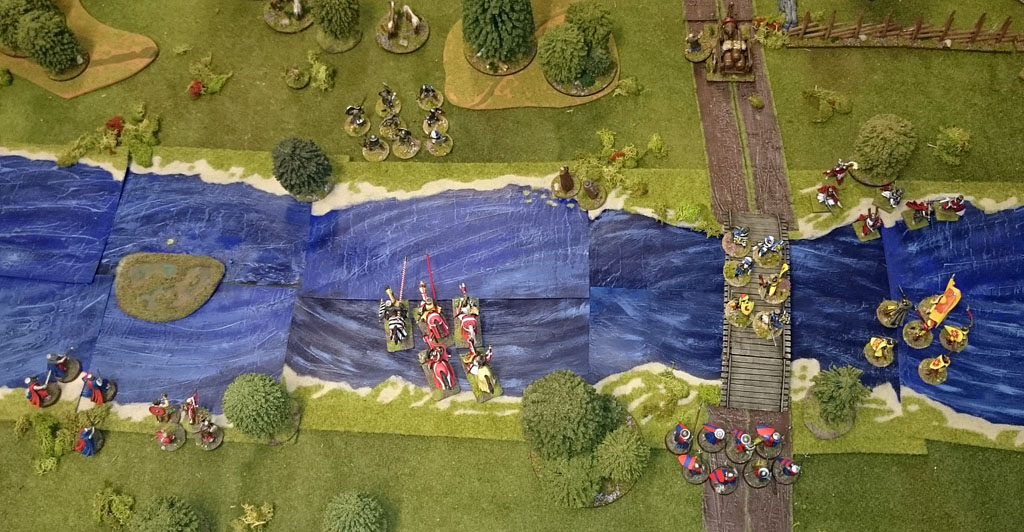
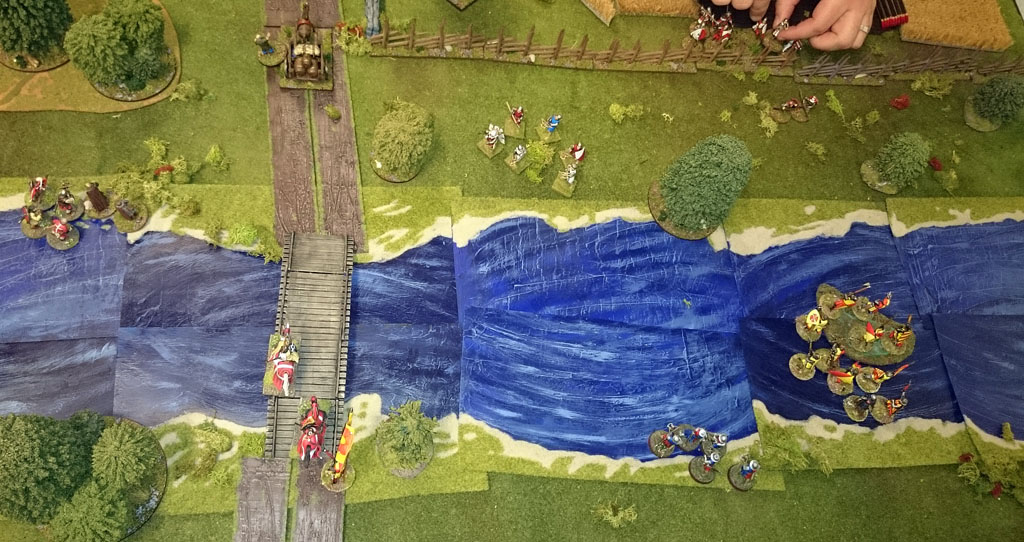
A little overview where you can see that Valdemars remaining forces advances over the bridge to avenge their fallen leader.

Then Finsta and Tre Rosor has a little duke out in the waters, when this happens Dalauppror that GMs the fight remembers that you accualy get reduced armour when you are in rough going as the waters are and well the result of the combat is quite bloody.

This did not however stop them from having another challenge...

...But this time the result was not one to favour Tre Rosor.

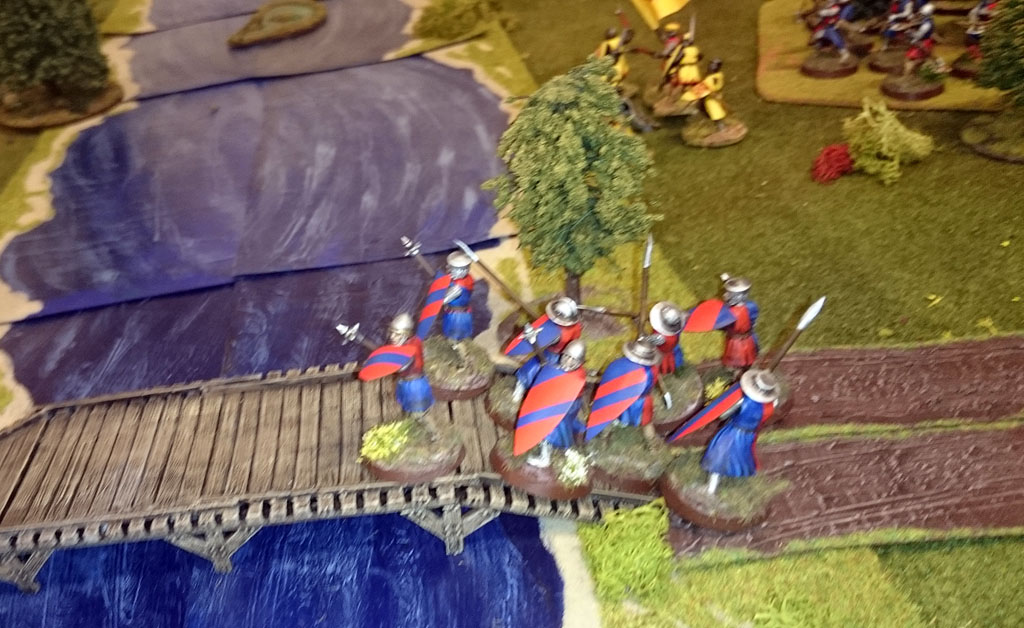
In the centre my sergeants was run over by Valdemars remaining knights, leaving them in control of the bridge, netting the rebels first points to this scenario.

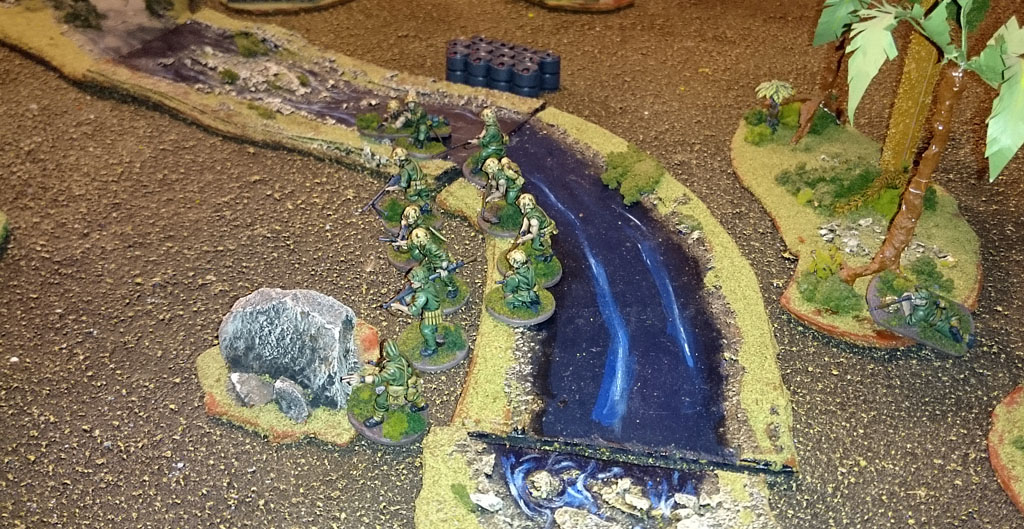
My knights moved over the ford and gained our first point as well. My knights was to remain here for the rest of the battle, gaining points each turn.

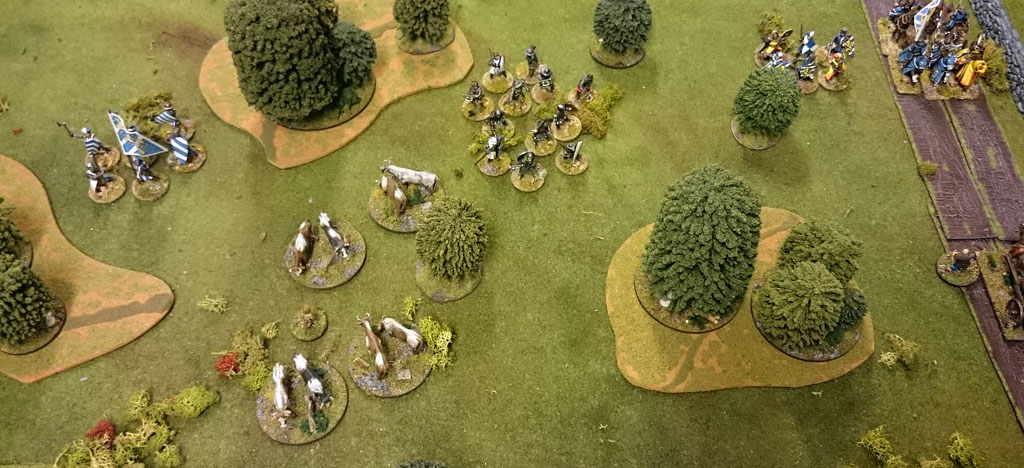
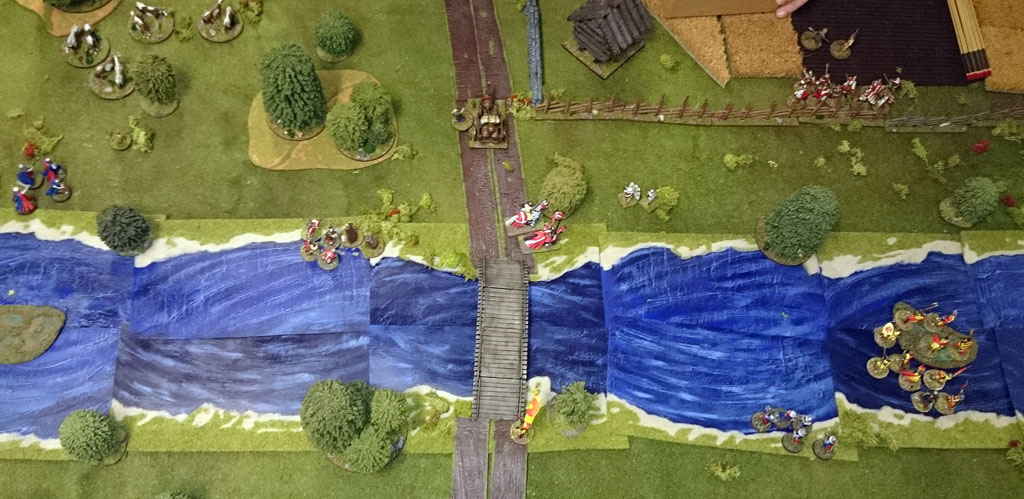
A bit of an overview, on the rebel side Eriks sergeants took a devastating volley from Trolles bidowers, forcing them to retreat, at the same time Trolles knights changed direction and rod back towards the bridge to take care of Valdemars troops. At the right ford we have shoot out with no real casualties.

Trolle has his way with Valdemars last troops

Leaving none alive

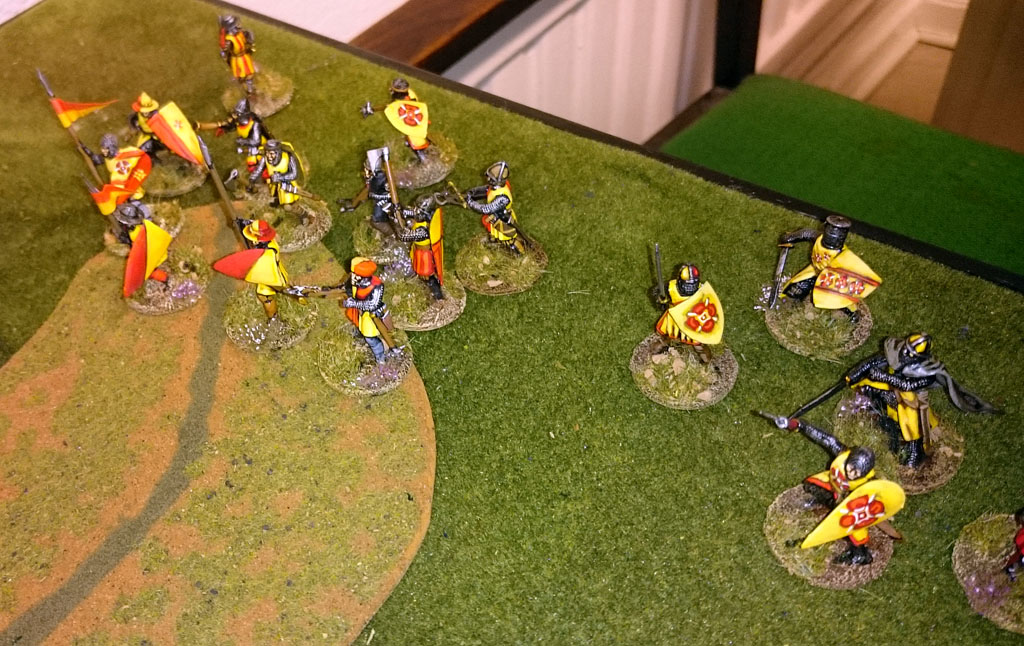
Tre Rosors knight still has some fight in him and advances towards Finsta on the bridge

Not that he had any time to show everyone how brave he is

With this the rebels army are beaten into the dust, all that remains is Finstas sergeants and bidowers, and they are ridden down by the remaining knights from Trolle. So here the game ended with a long overdue victory over the rebellious brothers and their pawns.


The game itself was excellent, and the fortunes swung back and forth several times, and just a few lucky rolls here and there made all the difference.

As usual Dalauppror who set the game up did a great job of setting the terrain, managing us players and if you look at his blog, took some really good pictures as well.

I look forward to the next time that I can tag along to a game.