2016-09-12

Bolt Action: Imperial Japanese Army - Type 2 Ka-Mi

So it's been quite some time since I showed something of my Japanese army, and even though there has been mostly napoleonics miniatures on my painting table for the last year, I've painted a small number of miniatures even to my IJA force. First I'm going to show of what I think is the coolest tank of WWII, the Type 2 Ka-Mi amphibious tank.
This little thing was produced for the Japanese navy to accompany their marines, or Special Naval Landing Forces as they was called, on amphibious landings to provide some armored support. Something that had shown to be a necessity after a few more or less successful attempts at landing from the seas. The navy took the light Type 95 Ha-Go tank as the base and fitted pontoons on it, made it waterproof and added rudders and propellers. This made for a fairly seaworthy tank, but it was mostly hand built, complicated to do and well, built a few years too late. Less than 200 was built and they never got to do what they was built for as the Japanese was on the defense when it showed up in active service.

But it's a cool tank and as I envision me having some Special Navy Landing Forces in the future I needed a cool tank to cruse into shore with them.

As of Painting I based the colors from the tanks page on Tanks Encyclopedia and used some weathering powders on it as well, but my thought was to make it appear as it had just surfaced and gotten just a little ways in from the shore.
I also have the waterline version that Warlord makes, but this I haven’t painted yet. But it will make a great addition to my force as soon as I have a sea to put it in...


That’s all for now, I hope to get back soon with some more pacific action.

2016-08-19

Battle Report: Bolt Action - Somewhare in Europe, August 1944

About a week ago we got together to play a game of Bolt Action, for my part it was quite a long time since I last played, and most of the rules was rather foggy...

But anyway, we got together and I brought US marines and I faced of some German grenadiers, the armies were roughly:

US

  • 3 squads of 7 with 1 or 2 BARs and some SMGs
  • 1 M4 Sherman 75mm
  • 1 M8 Greyhound
  • 3 MMG teams
  • 1 Medium mortar
  • 1 Sniper
  • 1 Flame thrower team
  • Officer and a medic team

All troops were regulars and a veteran Sherman.

German

  • 4 Grenadier squads with loads of LMGs
  • 1 Medium mortar with spotter
  • 1 StuG
  • 1 Sniper
  • 1 Panzerschreck
  • Officer team

Everything but the StuG was veterans, the StuG was regular.

We played the maximum attrition mission. I left the Greyhound and flamer in outflank reserve and the Germans left most squads and tank in reserve, with one squad outflanking.
The table was beautifully set up by our game master that was mostly there to look, drink beer and hand out dice.


The first turn started quite uneventful as the Americans poured into the table as there was almost no Germans that was to enter, only our snipers go any targets, the German could not hit a thing while mine hit the one squad that entered the table, but could only manage a pin on them. My Sherman threw a few shots over at the mortar spotter that was deployed from the start, but could not hit anything.


During turn two a bit more happened, firstly the StuG made its presence known and bombed one of the US squads, killing a few of them and piling on quite a few pin markers, and in the center most of my army that could, fired on the first squad that had entered the table, killing of over half of it and pinning them good. Other than that there was some general advancement on the US side and some ranging rounds fired by the mortar.


Turn three came around and now the outflanking troops started to arrive, first some more grenadiers arrived in the German back field, and they punished one of the US squads that got to far up the right flank, killing of over half of them. The StuG continued to fire on the poor marines and they kept their heads low, still losing men and getting more pins. My Sherman tried to knock it out, but could not hit it. In answer to that the panzerschreck arrived but they weren’t able to hit the Sherman either. The German sniper started to earn his pay and knocked out a MMG team.
In the center one squad and the medic advanced and took aim at the house on the German side. Now this was filled with a German squad that was intent on making life hard for the Americans. But good shooting left the squad severely reduced.


On turn four the luck ran out for the StuG, and a 75mm shell from the Sherman hit the fuel tank and set the whole tank on fire, the crew that was not instantly cooked, bailed out. On the left side, my mortar found its target and blew the sniper up, and arriving from outflanking was my flamethrower that burned the German mortar to a crisp. Some more scattered firefight did happen over the board, but nothing that went to the German favor. So here we called it for the Americans.


2016-08-15

Battle Report: Black Powder - Showdown in Spain, October 1808

A while back I got to play some Black Powder again, this time with 15mm miniatures, not with my armies, but funnily enough with some miniatures painted by me.
I got to control the French forces, with some support of some Spanish troops and on the other side a thin red line of British troops.
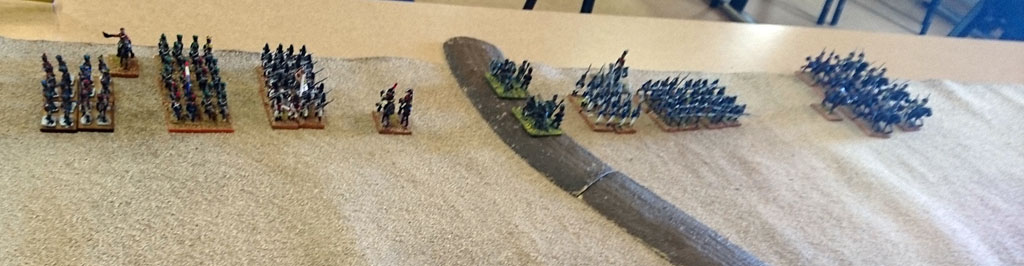
On the French side I got to control two brigades of infantry, each with three battalions and one with two artillery batteries and the other had a large battalion. To this a brigade of horse, one hussar and one dragoon regiments. The British also had two brigades of infantry, each with two small and one large battalion and an attached artillery battery. To this was a horse brigade of two regiments of hussars.

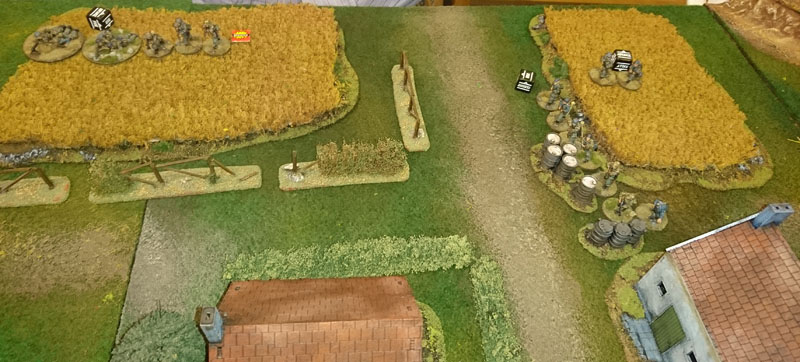
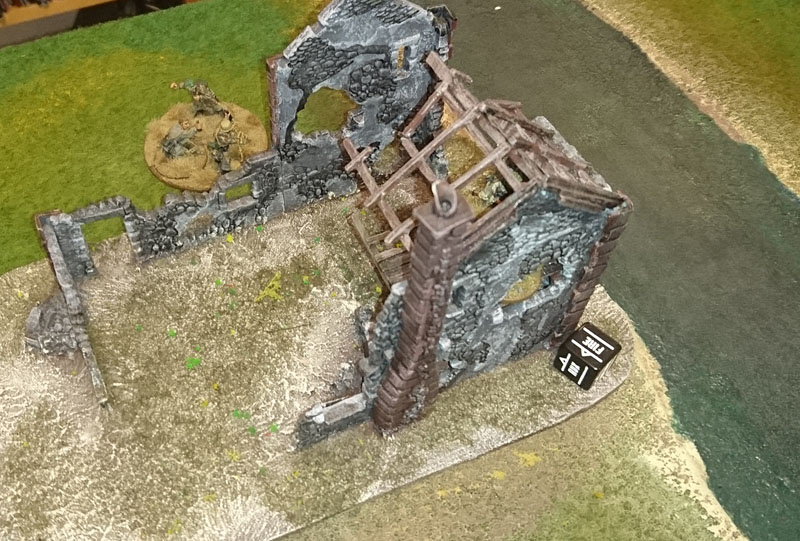
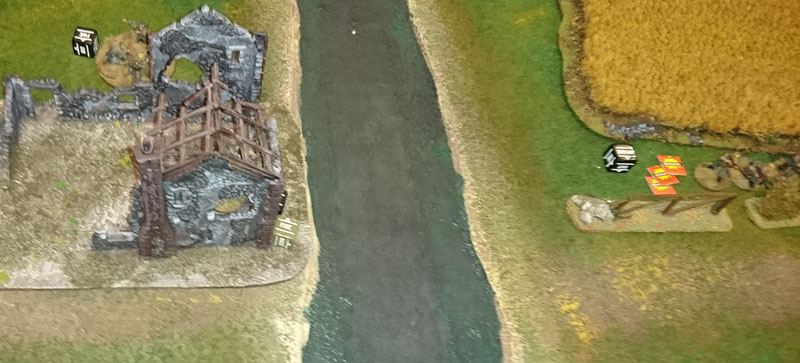
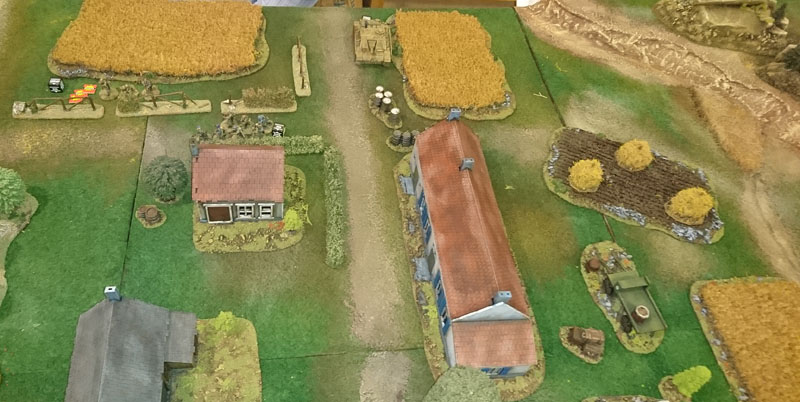
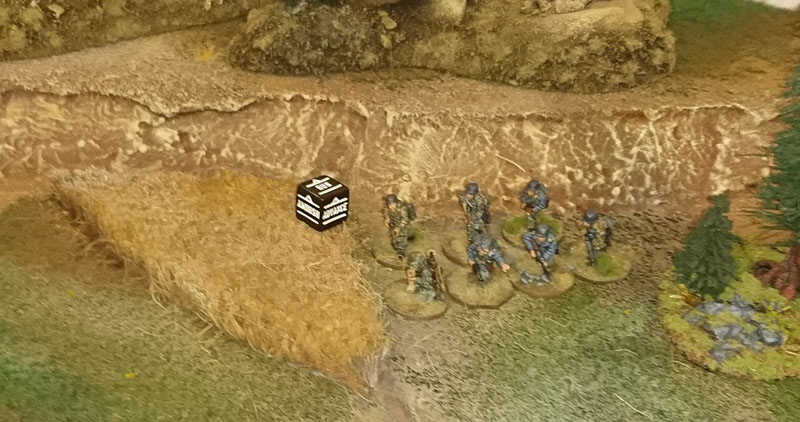
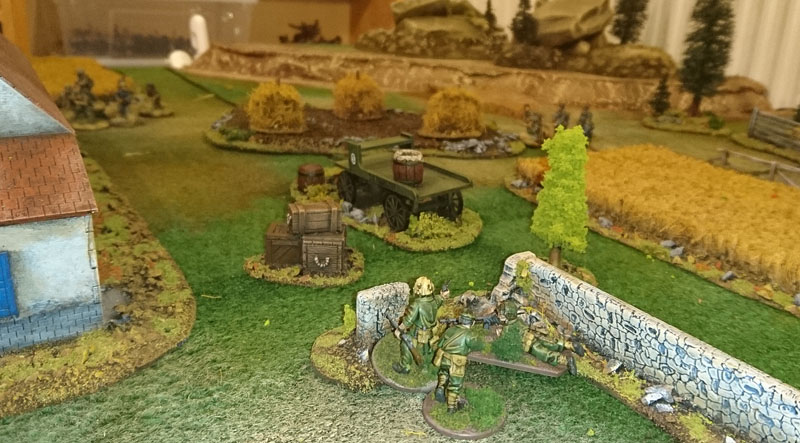
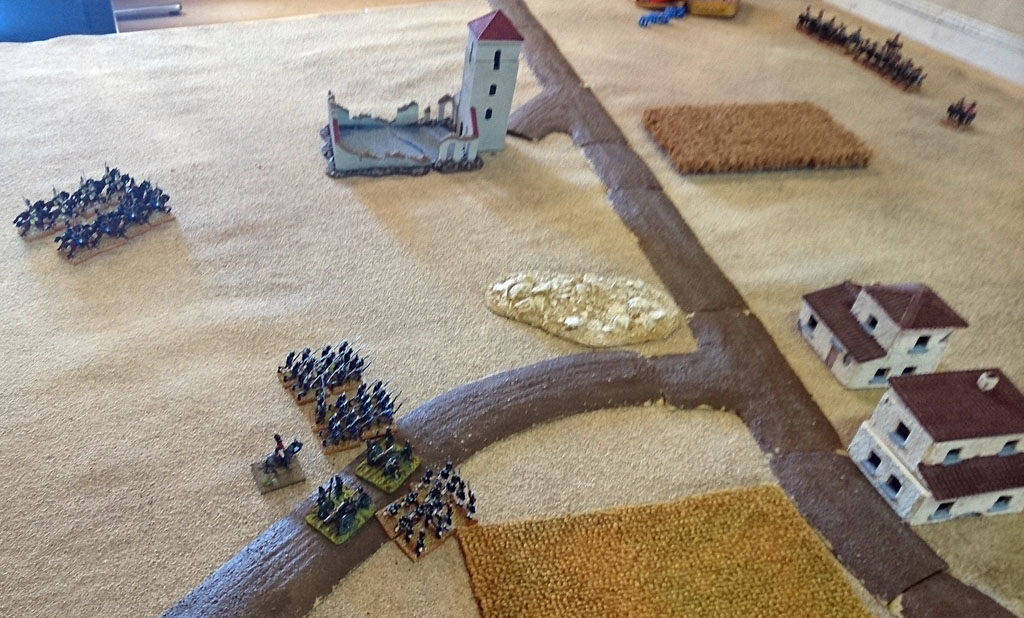
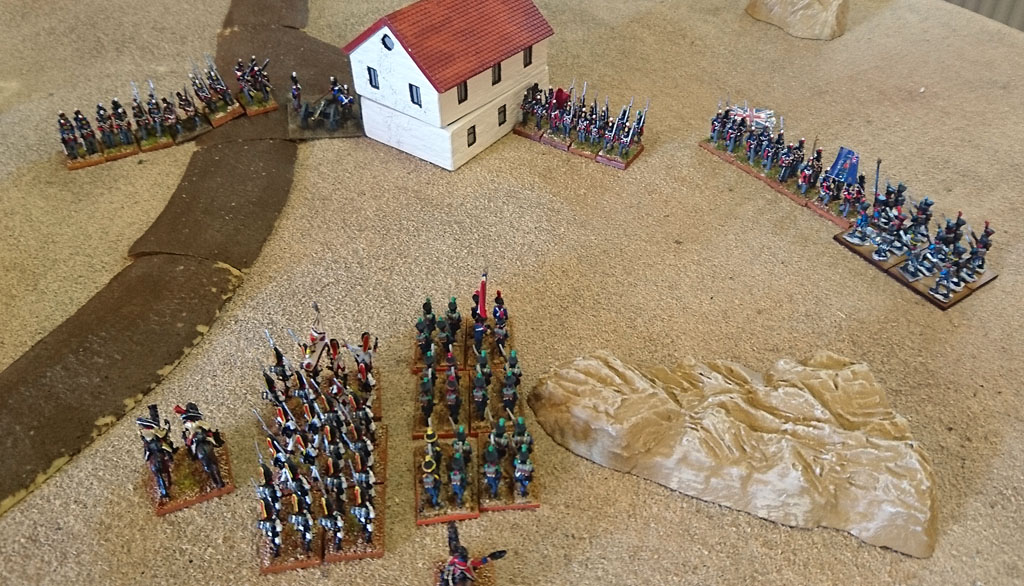
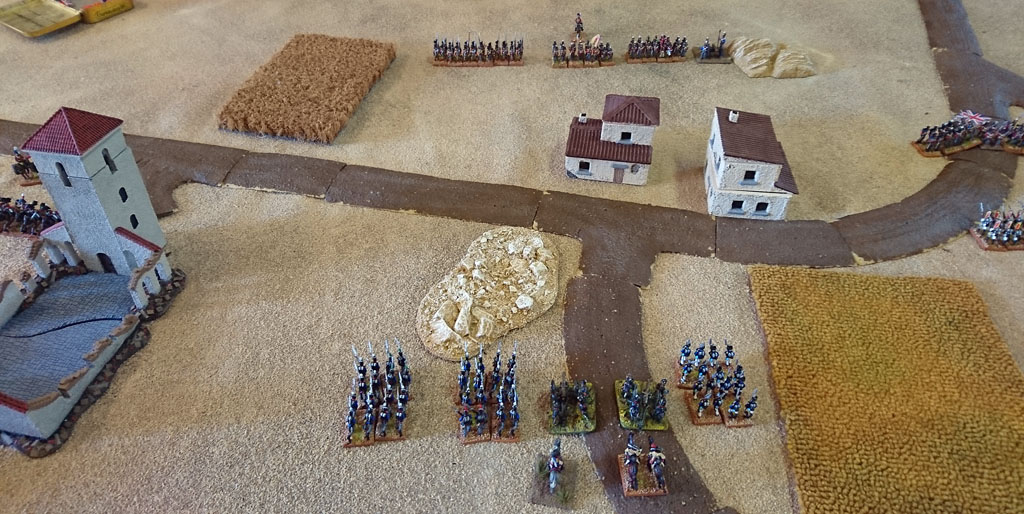
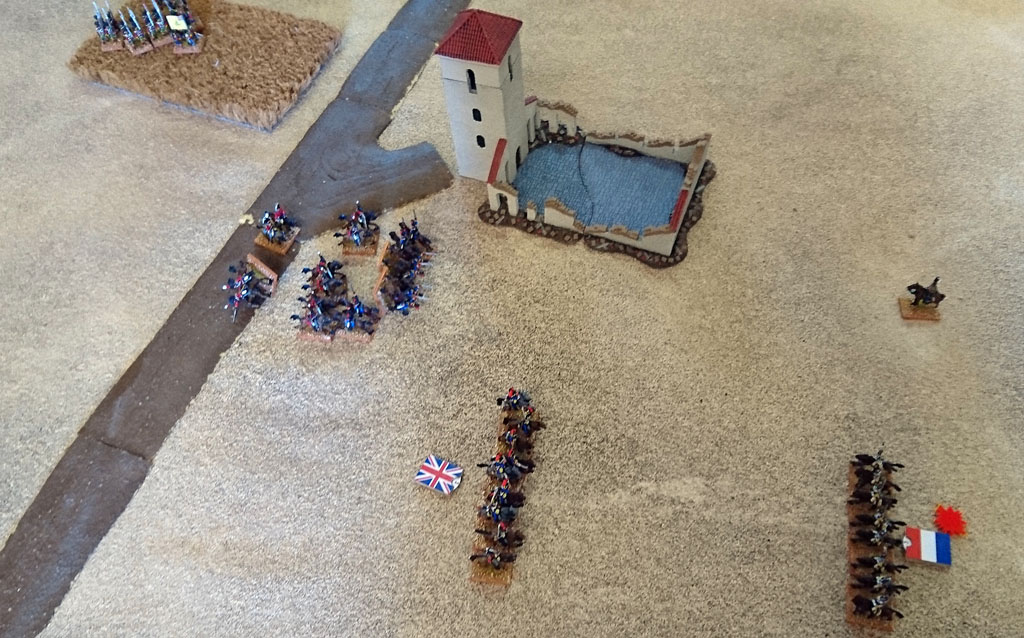
Initial set up can be seen here, the aim was to take control of the buildings on the battlefield, the center cluster was worth one point as was the ruined church and large house on the flanks.


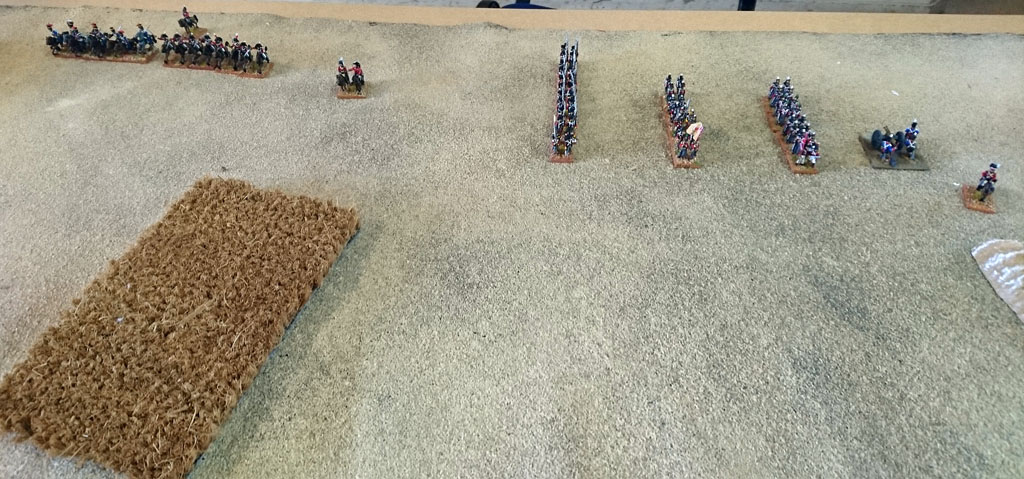
The luck of the dice gave the British the first turn. And got going on the British left flank, moving all the way up to the objective house, while things was a bit slower in the center where failed orders only resulted in a small forward movement, and the cavalry refused to move at all.


For the French it was mostly the same, on the right the infantry got moving as in the center, but not quite as long as the British, the cavalry slowly moved forward, eying the competition on the other side.


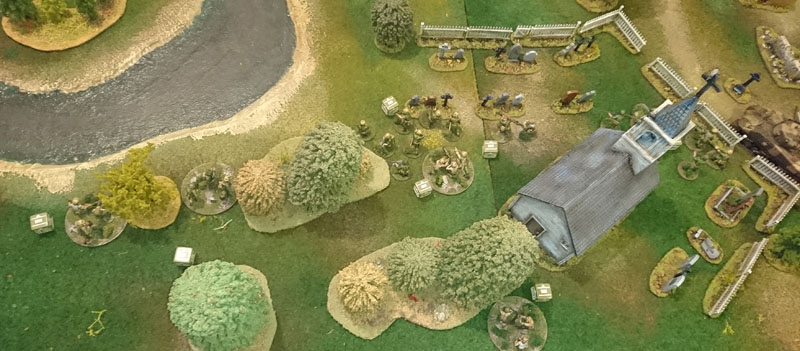
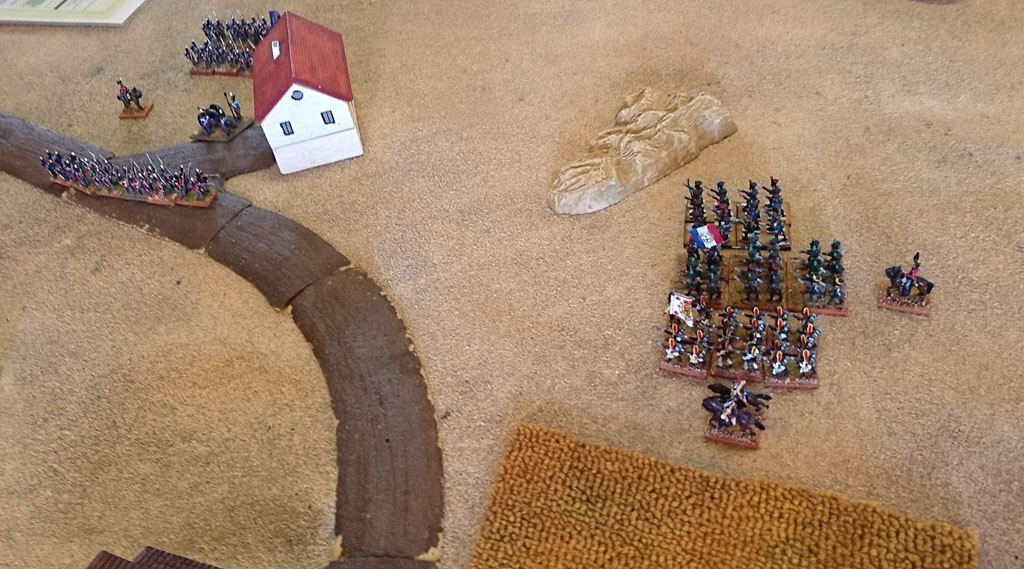
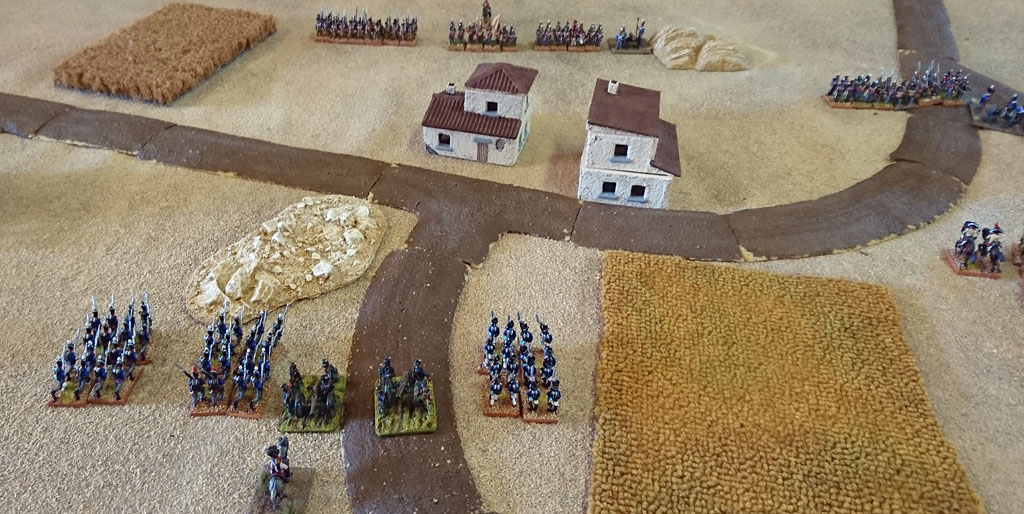
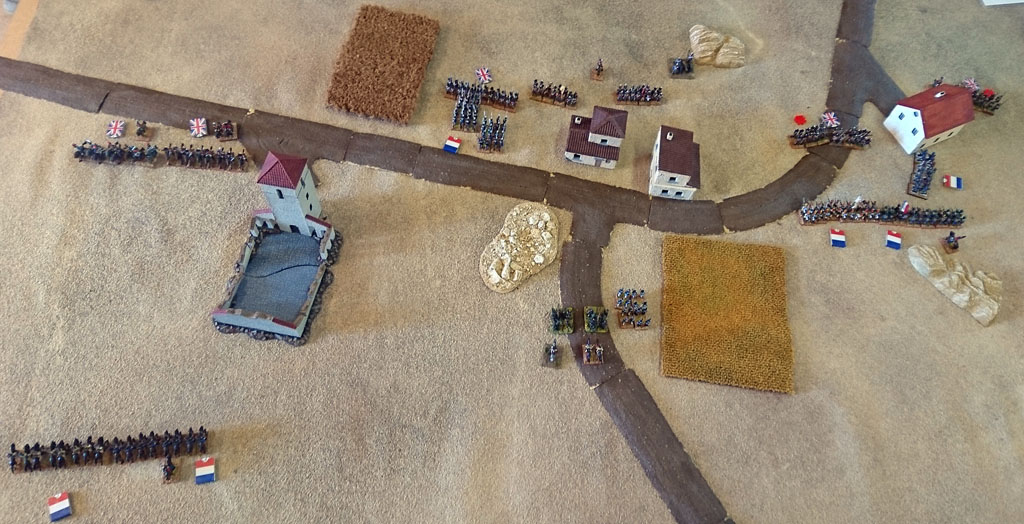
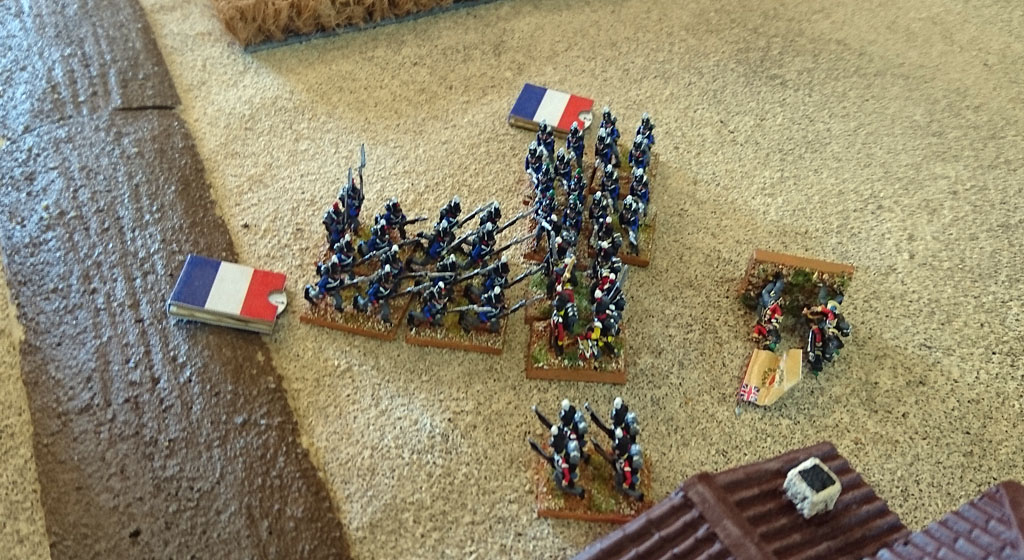
The next turn started on the British right, where they got into lines around the house with the intent on boxing the French in, but things did not quite go to plan and one unit was stuck marching into position, still in column! The French took advantage of this and sent one battalion to assault it while the rest resumed its advance straight to the house.


In the center both sides tried to get in order for an assault on the village, but both was reluctant to get anything done.

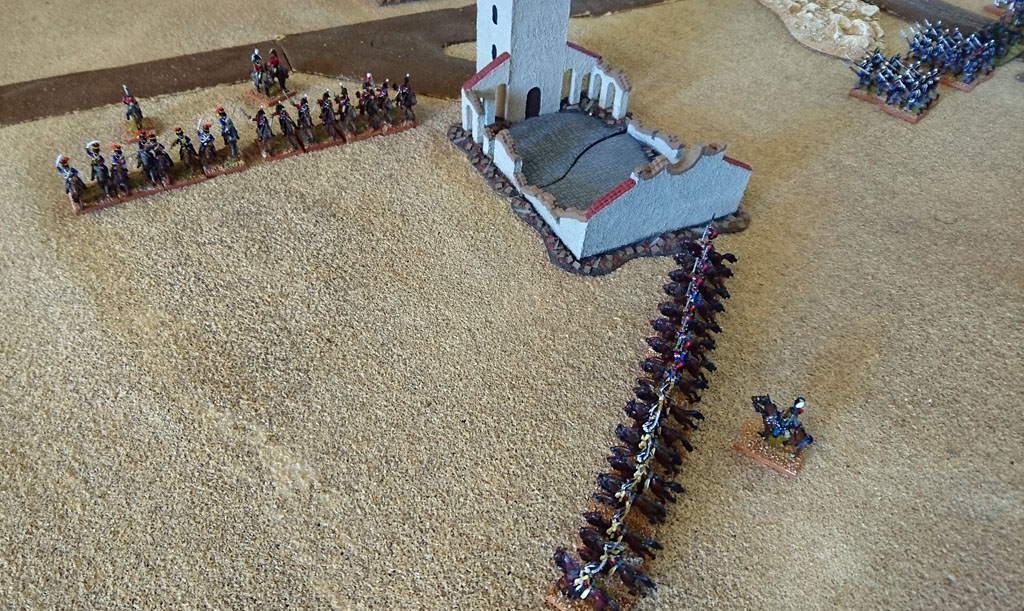
The cavalry was also a bit reluctant, both sides commander tried to get some charges in, but no one heeded their wishes.

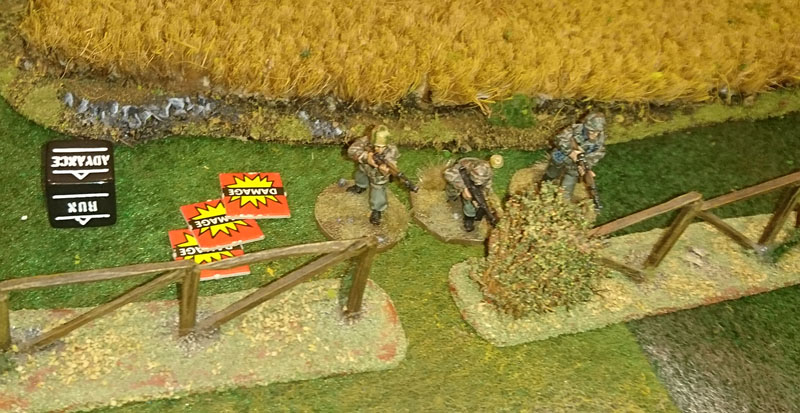
The next turn started badly for the British, as the battalion caught in column got run down, and the victorious French got in the side of the next battalion, they did have some success in getting hits in on the other two battalions that tried to deploy in line to handle the last battalion.


The center was still and nothing much was happening on either side.

The same with the cavalry, they still was just eyeing each other, but all in all not doing a single thing.

But on the following turn things got going.

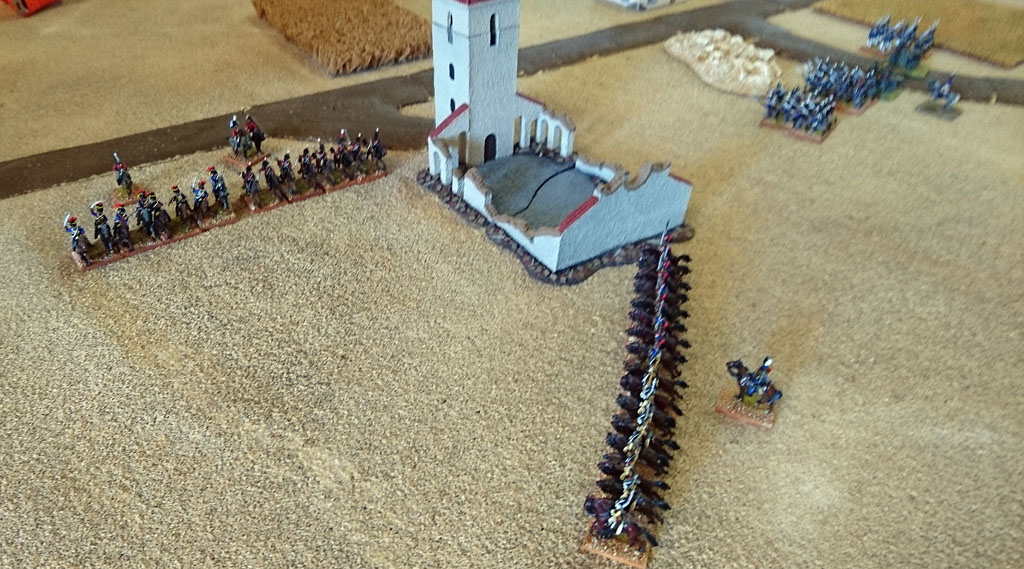
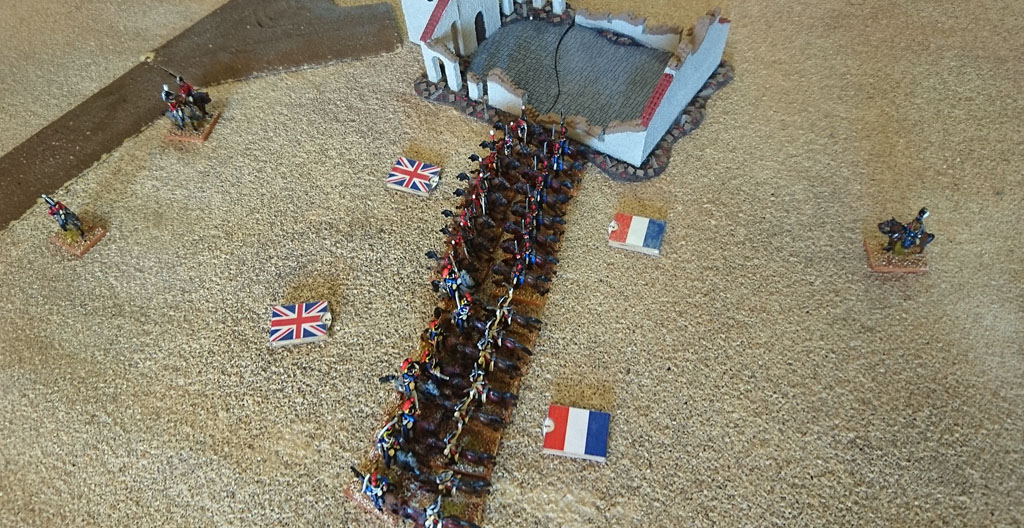
The cavalry finally stormed into a wild melee fight, where both sides took casualties, but the French was in a little better shape than the English before all regiments fell back.

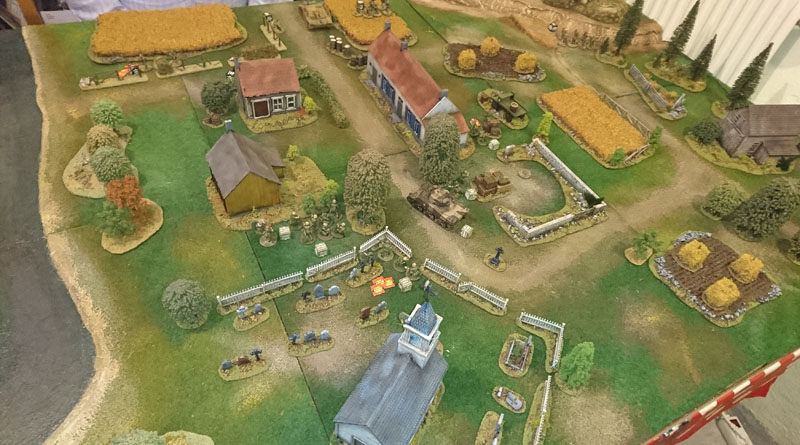
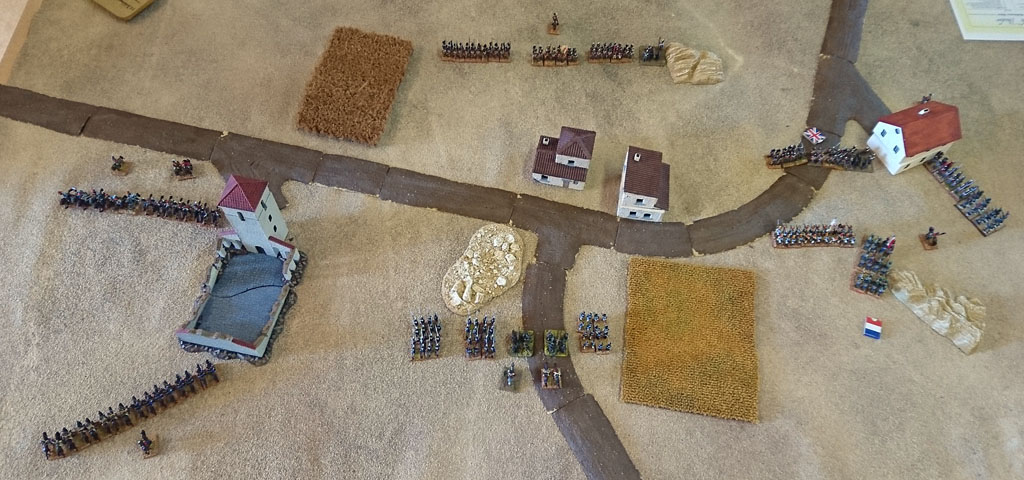
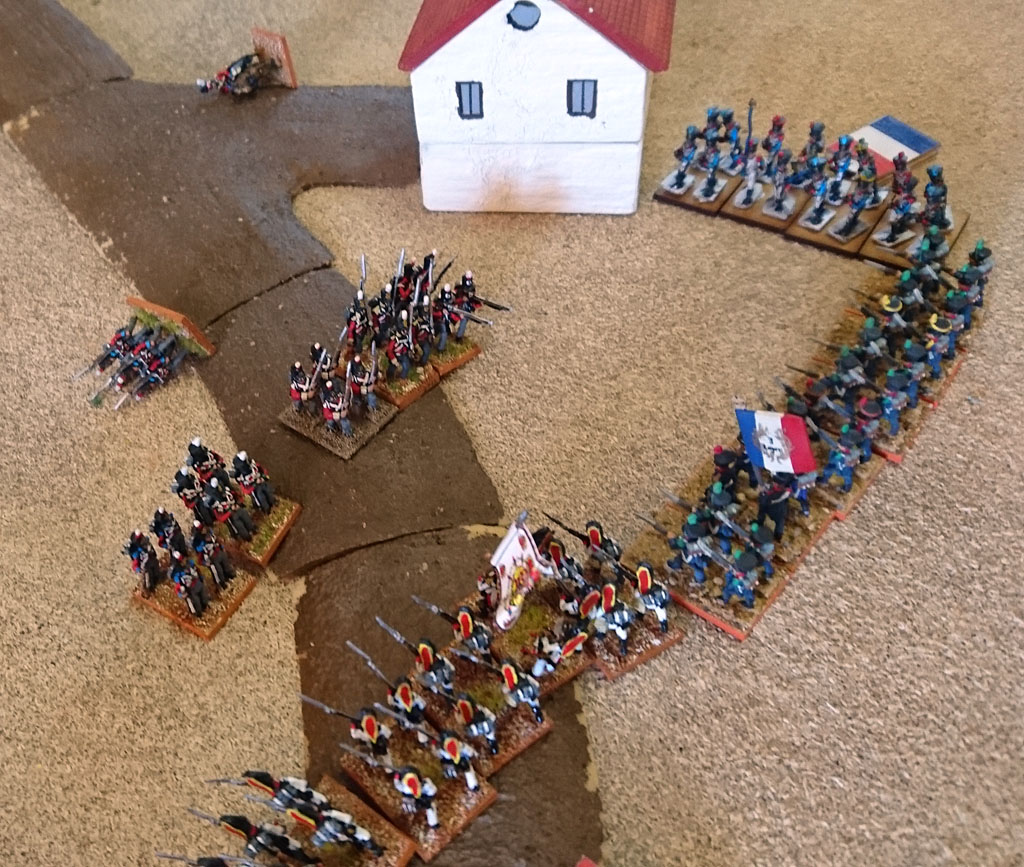
In the center the British moved up in line to the village, and the French columns stormed the line, the fight was inconclusive and both sides took casualties as the fight continued.

On the right the English fell back in hand to hand, and all French formed lines and poured fire into the remaining British, destroying the artillery and mauling the infantry.


On the next turn noting much was happening, the fight in the center continued with a small edge going to the French, on the right the lines was still firing into each other and on the left the cavalry was trying to regain some order for another charge.


The following turn saw the end of the battle, as on the left the cavalry got in a another charge, this time with some serious consequences for both sides, as the fight with the dragoons ended up in both units destroying themselves and the other the French fell back in disorder but also shook the British, breaking that brigade.


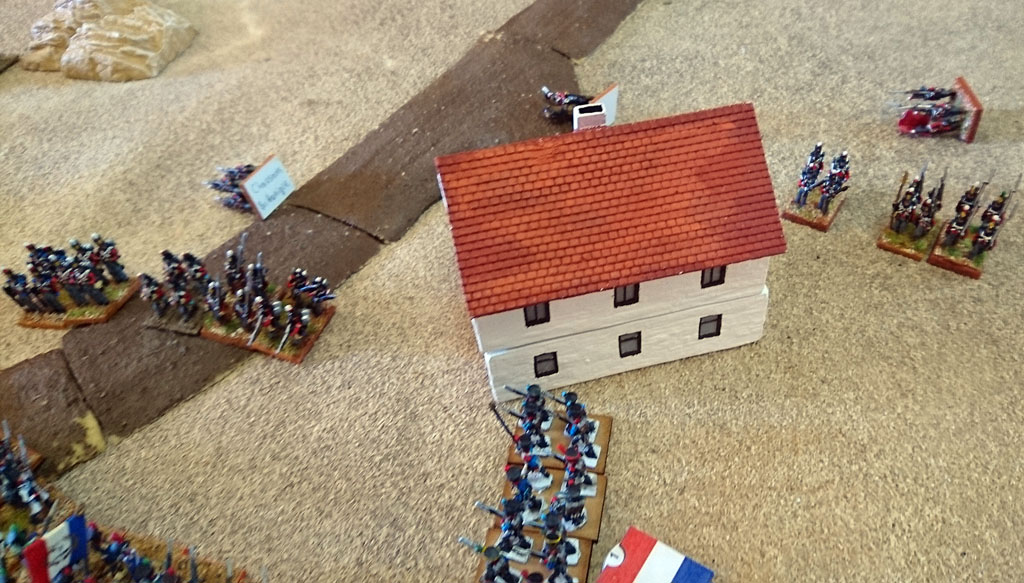
In the center the large British battalion broke and the victorious French got into the next one in line, both in the side and front, also breaking this.

On the right the large British battalion broke under the intense bombardment, breaking the brigade here as well and taking the entire army with them in their flight.


The French did also get dangerously close to breaking, and another turn of British bombardment would probably have broken them as well.

So concluded another great BP game. And big plans are in the making for more and more armies to get bought and painted during the fall. And I hope we will have a big fight or two before the end of the year.