The
other night I got to play Black Powder again. This time I took on the role as
scenario fixer, and miniature provider as I introduced one of my local players
to the rules.
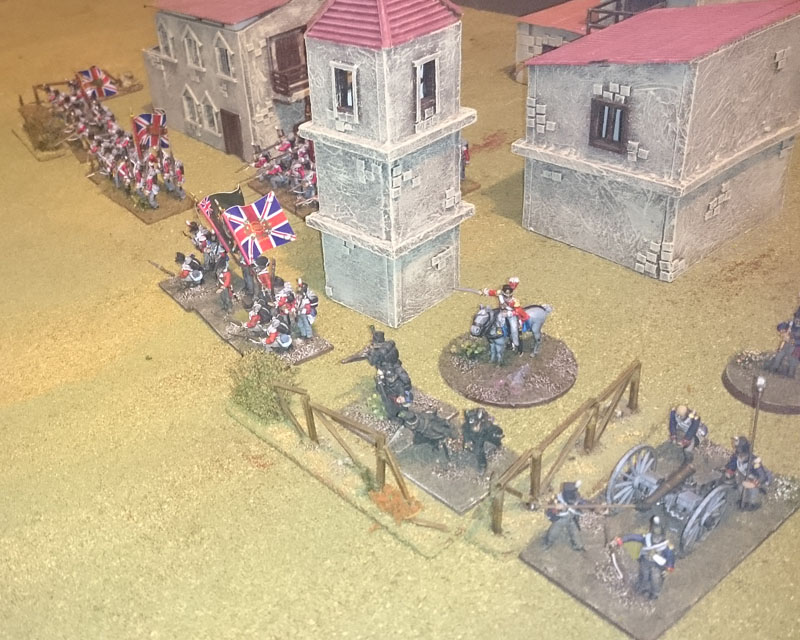
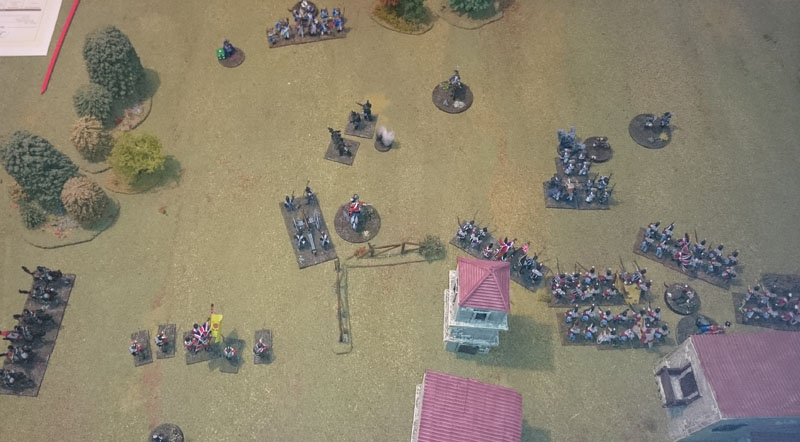
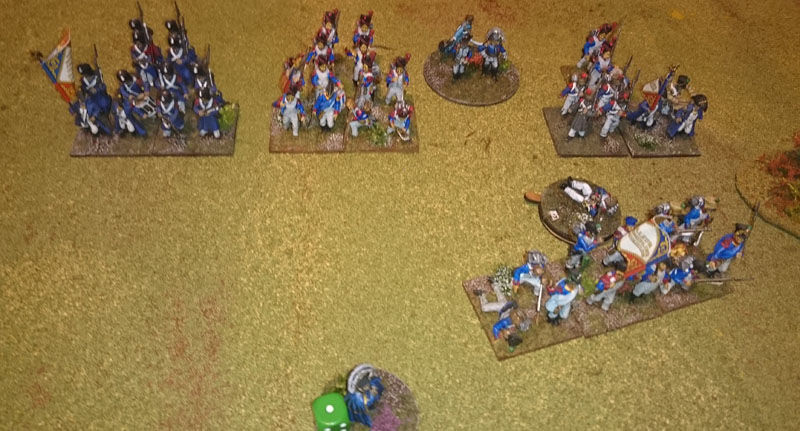
The Scenario is
based on the battle of Vimeiro August 21, 1808, as the French attacked the British led by
Wellington himself. The scenario was the attack on the village and the French
had to take and hold the village.
The forces was as
follows;
French
·
Commander-in-Chief – SR 8
o
General
de Brigade Jean Andoche Junot, 1st Duc d’Abrantes
·
Thomieres 2nd Brigade – SR 7
o
3
Battalions of Line Infantry (1 small)
·
Charlot's 2nd Brigade – SR 7
o
2
Battalions of Line Infantry
·
Reserve: Kellerman – SR 8
o
4
Battalions of Combined Grenadiers
·
Maragaron's Cavalry Division – SR 8
o
1
Squadron of Chasseurs à Cheval
o
2
Squadrons of Dragoons
British
·
Commander-in-Chief – SR 9
o
Lieutenant
General Sir Arthur Wellesley
·
6th Brigade - BrigGen H. Fane – SR 7
o
1
Battalion of Line Infantry
o
1
Battalion of Light Infantry
o
1
Small unit of Rifles
o
1
Artillery battery
·
7th Brigade - BrigGen R. Anstruther
– SR 7
o
4
Battalions of Line Infantry
·
8th Brigade - BrigGen W. Acland – SR
7
o
2
Battalions of Line Infantry
o
1
Tiny unit of Rifles
For the French Thomieres and Charlot's brigades are available from the start, the other arriving later in the game. The British will have 6th and 7th brigade from the start and 8th will arrive on turn four.
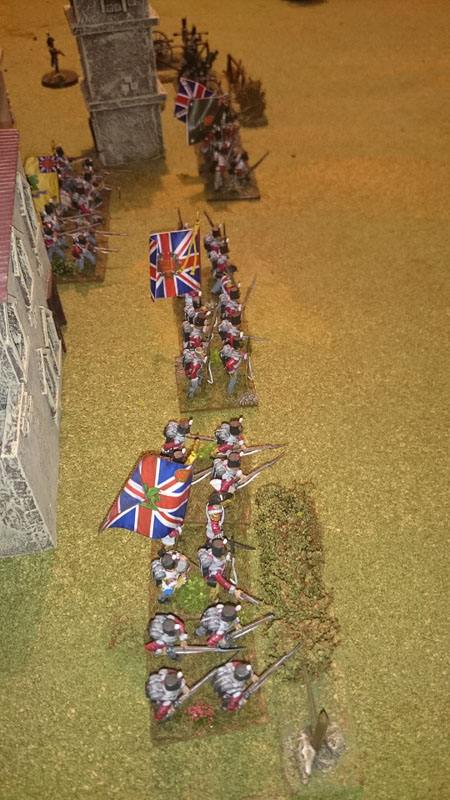
I took command of
the British forces, and set up my starting forces around in and around the
village.
As the first turn
started the French came at me with terrible speed in attack columns, stopping
just short of the village itself, but right in front of my valiant forces, and
while my fire on them didn't do much in the form of casualties, my dice decided
to be on fire, and almost all units caused at least one disorder, this was
something that was to continue throughout the game.
This halted the French attack somewhat and made it possible for my cannon and rifle unit to finish of one unit of French troops, killing Charlot in the process. We played that killed commanders are replaced by a subordinate with one less Staff Rating, so Charlot’s aid took command of the brigade.
On the other side of the battlefield another unit bites the dust after some
horrible rolling for break tests, rolling 3 on 2D6 is not recommended in this
instance…
Over all the first
attack has stalled, most units are destroyed or disordered and have begun to
accumulate quite a lot of casualties, fortunately for the French, this is right
when the cavalry arrives, bringing the hopes up for the French to be able to
renew the attack, and smash a hole in the British defense.
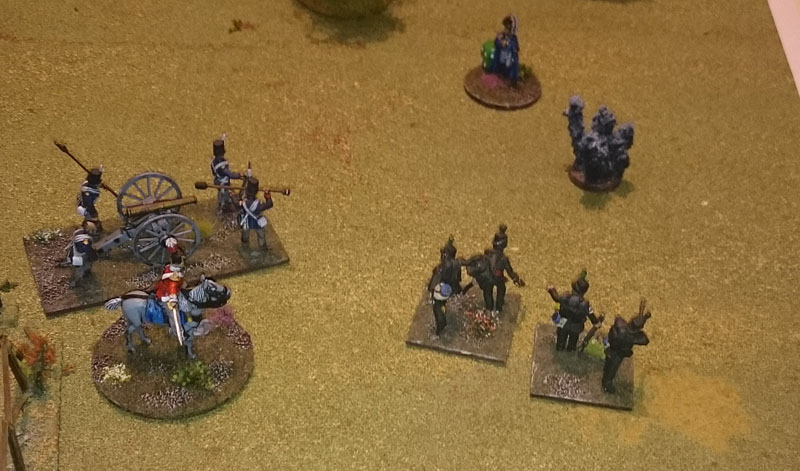
It starts out great
as the Chasseurs dash around the French right flank, threatening the British light
company and most importantly, the artillery. The dragoons then are a different
matter, as they refuse to enter the battle, still standing around a bit away
from the fight, eating frog legs or whatever Frenchmen do. This puts quite a
large wrench in the works for the French and the left flank is still in bad
shape.
The britts then
turn around and managed not only to put a few casualties on the Chasseurs, but
also disorder them, leaving them stranded right in front of the light battalion.
Also the rest of Charlot’s brigade suffers, as more and more fire is put into
them by the roaming Rifles. But all is not well on the brittish side, some have
fallen and with limited capacity in their commanders, movement is sluggish so
units don’t get where they need to go.
Finally though, at
least one of the dragoons arrives at the scene, spurred on by their commander. So
even if the French are suffering, relief is on the way. Also in the distance,
drums can be heard from the Grenadiers that are marching to the sounds of the
guns. But they aren’t here just yet. The Brittish forces hold ground in most
places, and shoots the Chasseurs of the table as they flee the field leaving
many dead and wounded.
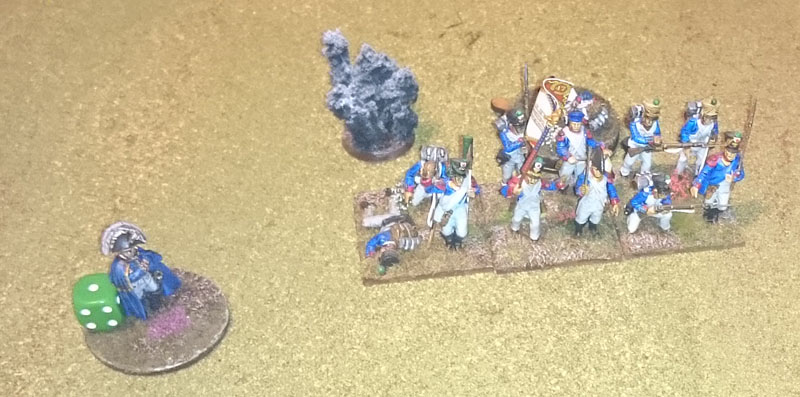
Then not a minute
too soon, the Grenadiers arrives, these crack troops will surly make a
difference. The first battalion smashes into the light battalion in the side.
While another just can’t get far enough though their own troops to get hold of
the artillery, and the last two holds positions behind. Dragoons roam the field
as well, and both squadrons are at last on the field, and the first one rides
right on and into a battalion hiding behind some bushes, but are unfortunately thrown
back as the hedges stops most of their impetus and somehow the infantry can
fend them off with a wall of bayonets.
In the centre the other dragoons smashes a battalion to pieces as they stood
confused and disordered and hardly put up any resistance. Riding though the
scattering remains of the infantry they thunder right into the next battalion,
led by none other than Wellington as he works to restore some order.
Here the dice take sides big time, and even though my opponent hits hard, and
inflicts no less than seven hits, I save them all and manages to put a few
casualties on his unit, making them loose the combat and he promptly rolled a 4
for their break test, scattering them all over the field.
The French left
flank is in ruins, all now hangs on how well the grenadiers can make the britts
pay.
But fortune did not
favour the brave this day, and even though the light battalion on the flank
eventually gets destroyed the British 8th brigade enters the field
and in turn breaks them and the same fate happens to the grenadiers that tried
to get to the artillery and eventually the French retires from the field and
leaves the British in control of the village.
The game ended in a
big British victory, but although the French never really got any grip on the
game, there was several times when if just a few dice had gone the other way,
my britts would have been running to the hills. But all in all it was a good
game, I have a few tweaks to do to the scenario I think, but all in all it
turned out well, and my opponent wants to have revenge in a near future.