Showing posts with label Malifaux. Show all posts

2012-03-16

Adobe buildings - Part III

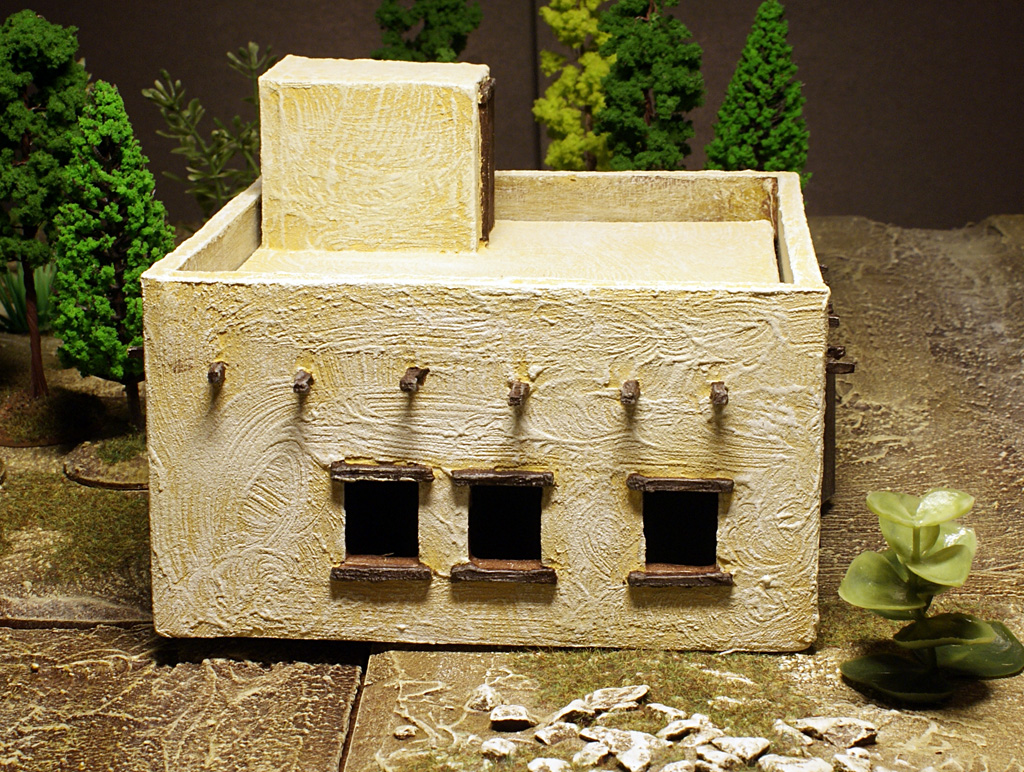
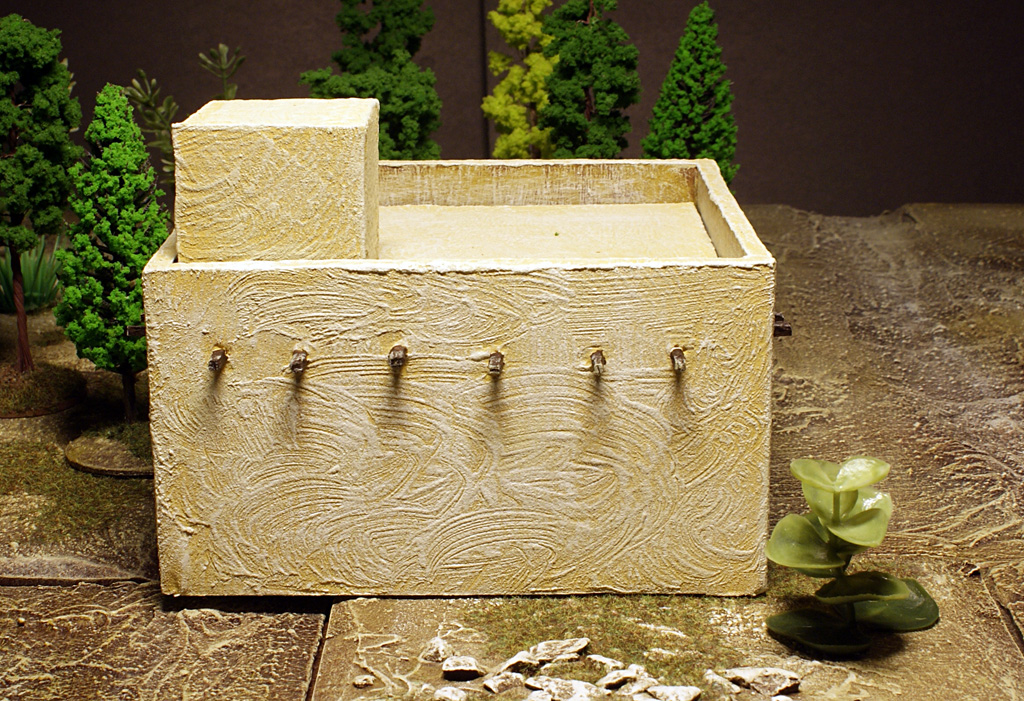
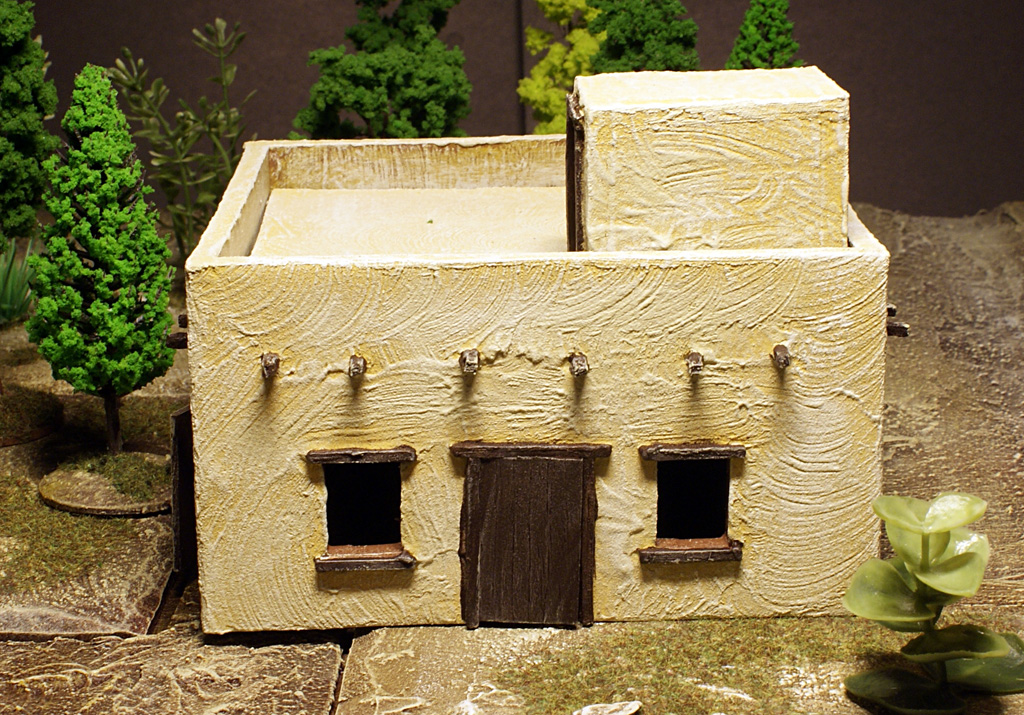
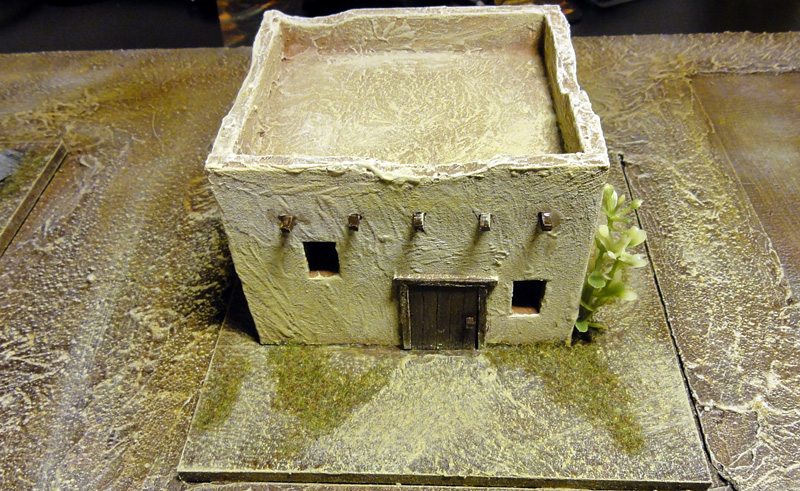
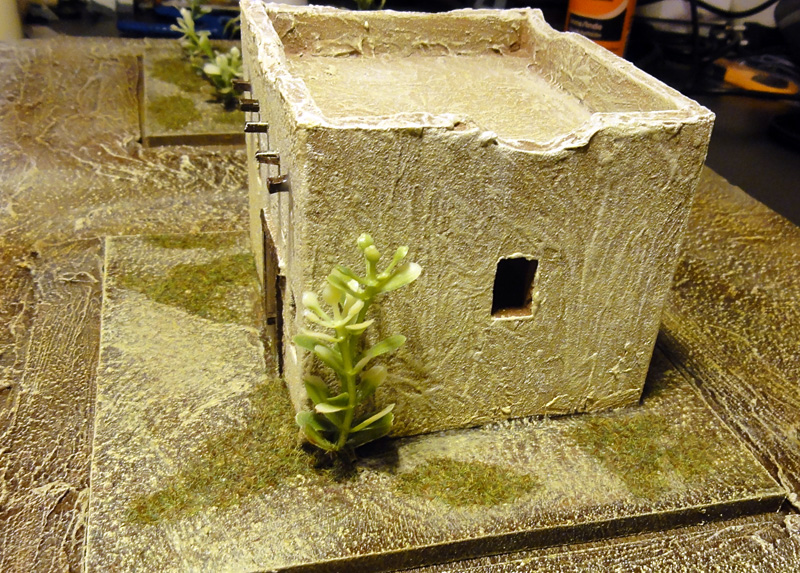
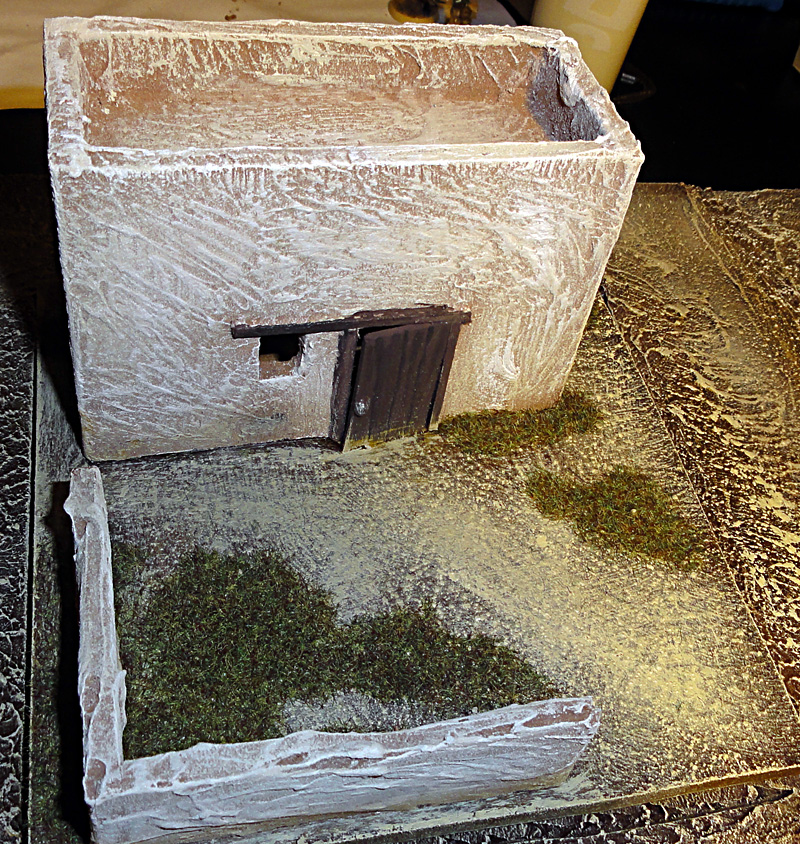
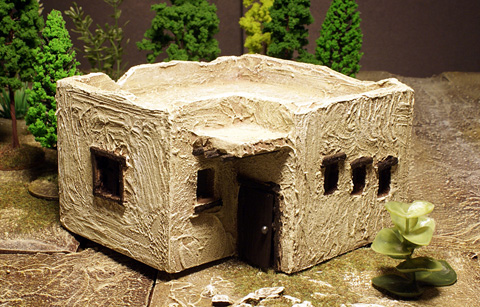
I've gotten some more Adobe style buildings done, I made this batch a little bit bigger so that a 40k sized game should be able to fit a squad, or at least most of a squad into them. I also tried a little thing and made one of them with a removable roof. This also hade the nice side effect that I got some beams pointing out, something I tried on my first building to no great success, as I just glued them on the outside then. No I made a few holes all around the house and stuck them in there with glue on them.
All in all it turned out quite nice.
I also experimented a bit with what color I used in the filler that I cover the entire building in for structure and base color all in one.
I also varied the amount of filler I used to get a feeling of a newer house and a older, more rugged house.

I also just noticed how the new house apparently don't have any door handles… This must be the new thing in anti-theft device, if you can't come in you can't steal anything, brilliant!

Other than that, there isn't much to tell. I'm getting to a quite good little collection of houses, a few more and I can more or less cover a 4' by 4' table in them.


2012-02-19

Table building - part VII

While I'm still painting more miniatures for my Imperial Army, I just got sick of small plastic dudes for a little while, so I started to make a few more modules for my table that has been standing unwanted and ignored for too long now.

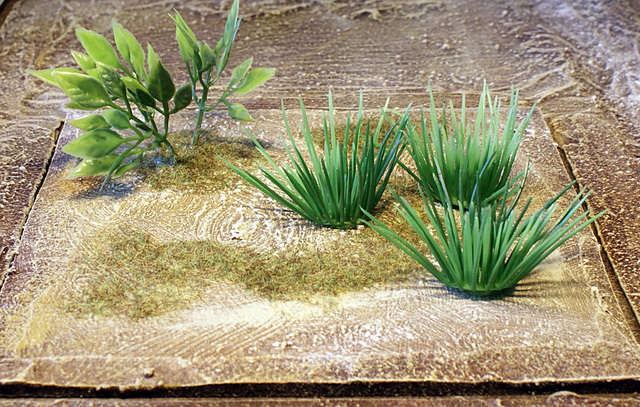
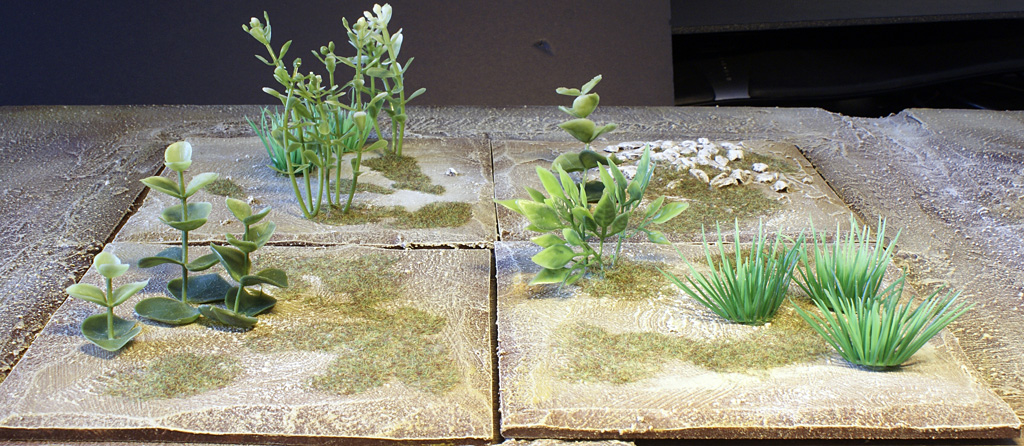
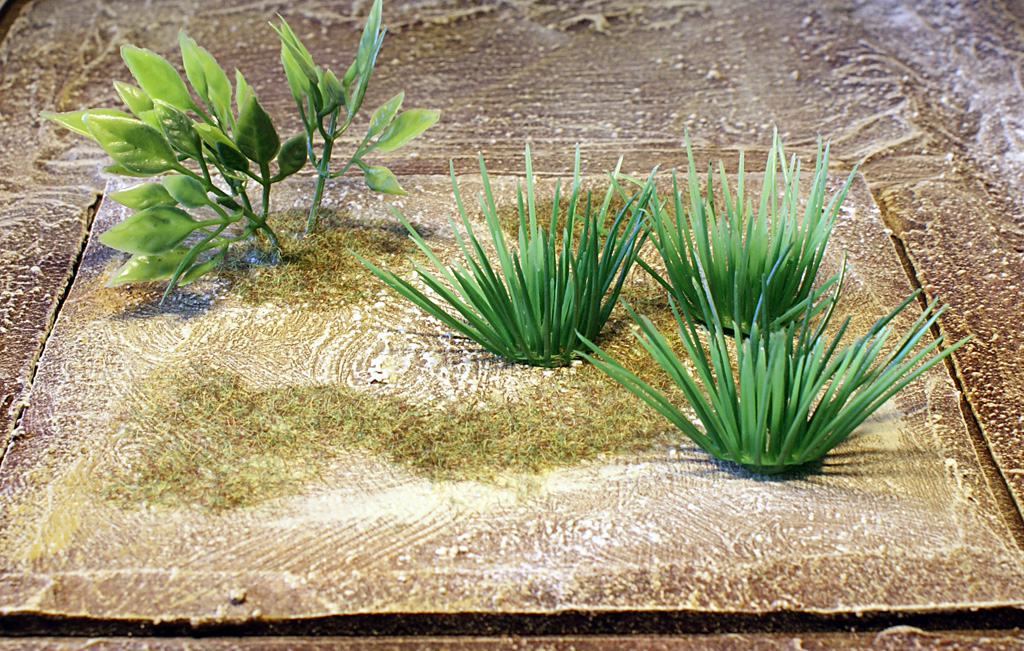
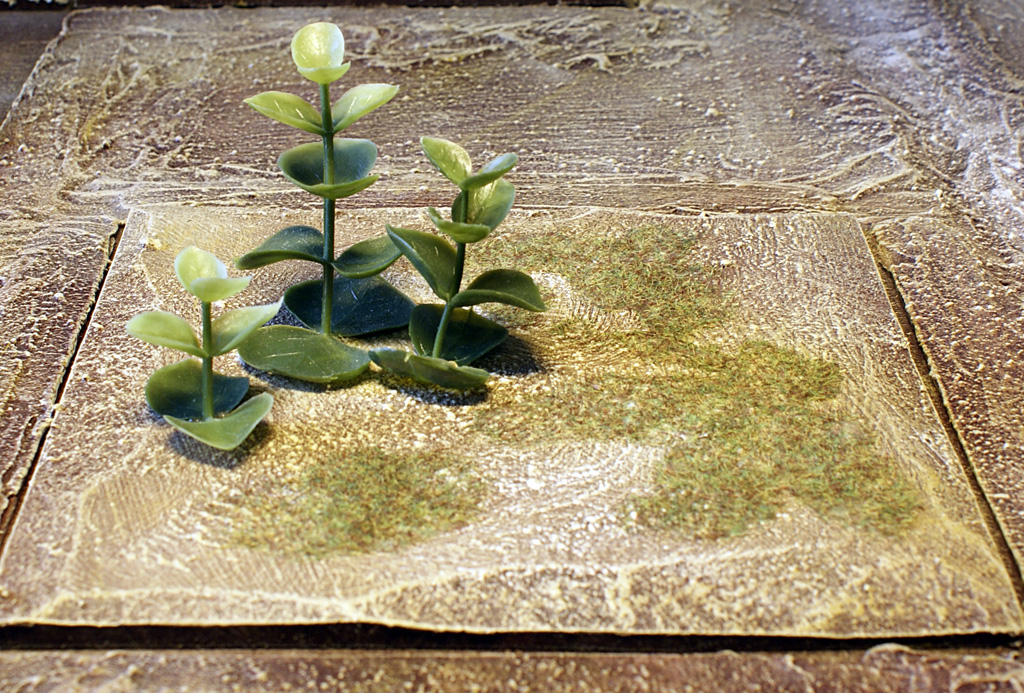
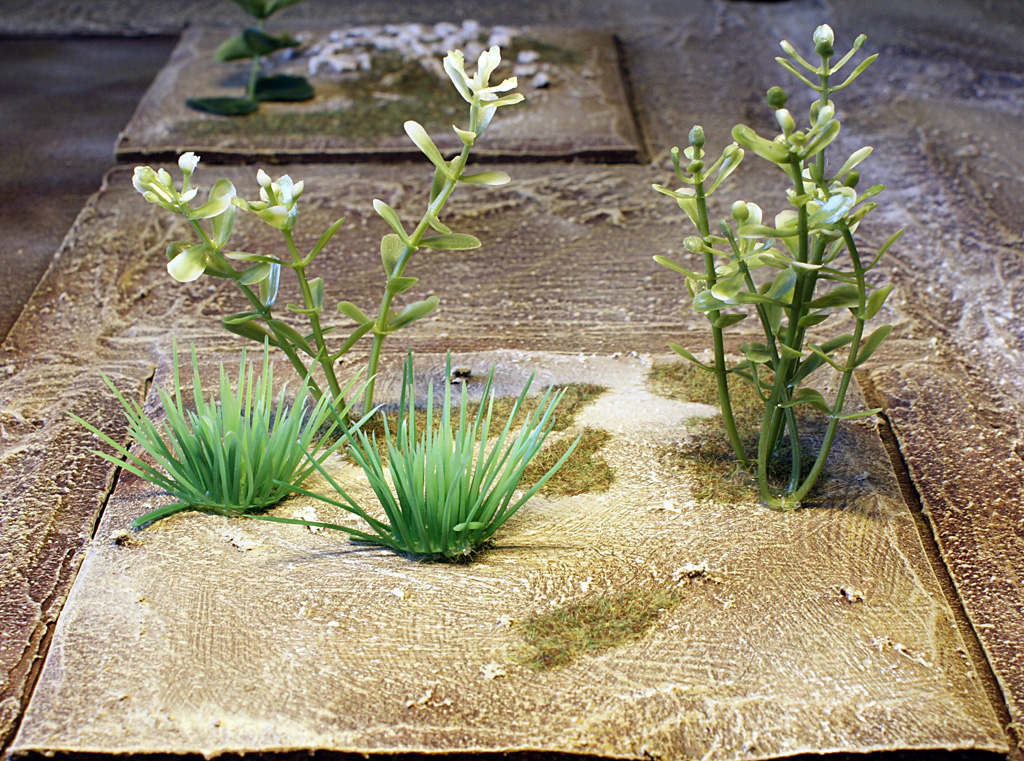
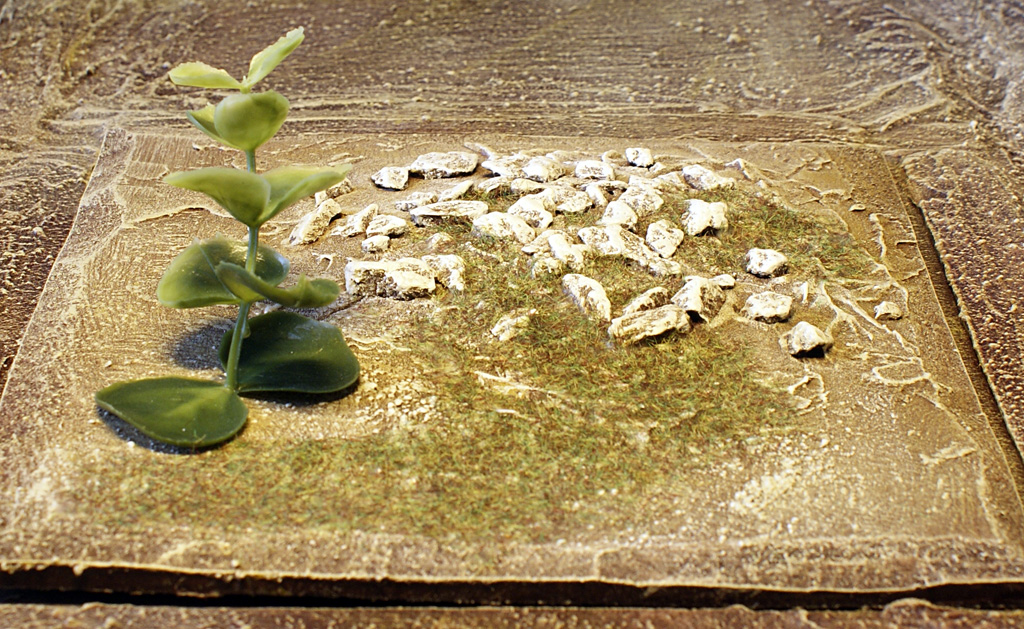
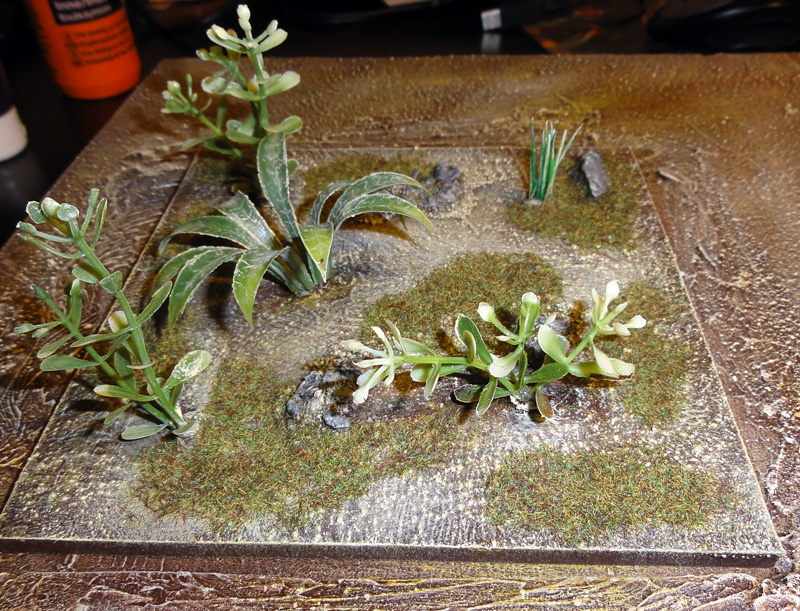
The order of the day was to make some mostly flat modules to fill up the table some more and in some cases be used to place free standing buildings over, this last part I kind of forgot when I got my hot glue gun and plastic flowers so I places a bit too much on some of them... They are still useful and can still take some buildings (or trees for that matter) but I overdid it a bit...

Anyways, they are made just like my other modules, a piece of wood for the base and then some structured paint over and 6 coats of paint, ranging from dark brown to a final small highlight of white. To see everyting a bit more in detail I refer you to the painting of the table itself, here and here.

And some images of the nice little terrain;
Here we have them all four


This last one did get something to look like a pile of rocks, and that mostly what it is, I added some filler and stuck it full of rocks, turned out quite alright in the end, even though it made it a bit more difficult to paint.


I'm also back in painting some miniatures as well, but I also have some more adobe-style houses in the works. But pictures on those when I get them done.

2011-11-11

Table building - part V

Now I've completed a few test bases with terrain for my module board. The board I got for the modules wasn't quite as thin as I hoped and it's therefore a bit of an edge on each module. The good side to this is that warping will be a non issue, I'd like to see the paint that get 6 mm of wood to warp =)
But the downside is that it won't look as nice as in my head, not that basically anything ever does.

The modules I did this time is two of my adobe-style buildings and a module with a bit of vegetation on it, this is to represent some scrub or perhaps a area with some difficult terrain, depending on the game system and mood of the day.

I mostly did the same thing to the modules as I did to the table as a whole, same colour, same textured paint in the beginning, but I have finished them in a way I have not on the table, I've added some patches of static grass on them as well.

So far I'm quite pleased with the result, and I need to get some more of this going, and make myself a few more buildings so that I can make a nice little village on the table, and some areas with trees, and lots of other stuff.

Here's the first house, now with it's own base, looking all nice and done


The base with the vegetation got a bit of paint on it while I painted the base, but it turned out alright in the end as I got a bit more on there to make it blend into the base a bit.


And the last little house with a base, this got to use one of the walls I did as well, I thought I'd use the area that was provided, and I could not get both of the houses on the same base as I had originally thought, so the last house is standing baseless at the moment.


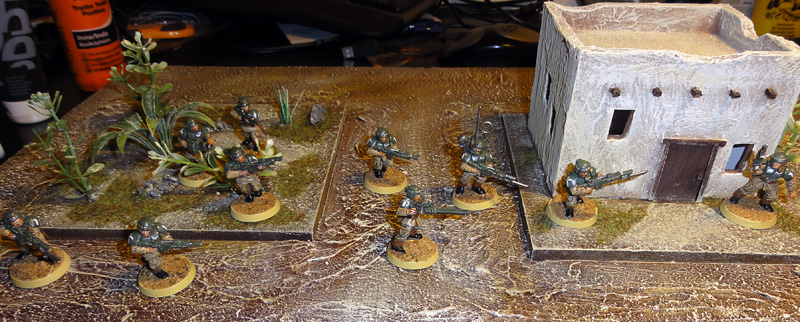
And some shots with my Imperial Guard acting as scale indicators
2011-11-07

Table building - part IV

And so, the table has been painted to completion, well at least the top of it.
I've now added the last few layers and I have to say that I'm more than satisfied with the result. The only thing I have to do now is add some patches of grass onto it, and perhaps some small rocks and such, just to break up the colors a bit. And then of cause I need to do all the terrain to place on the table as well.

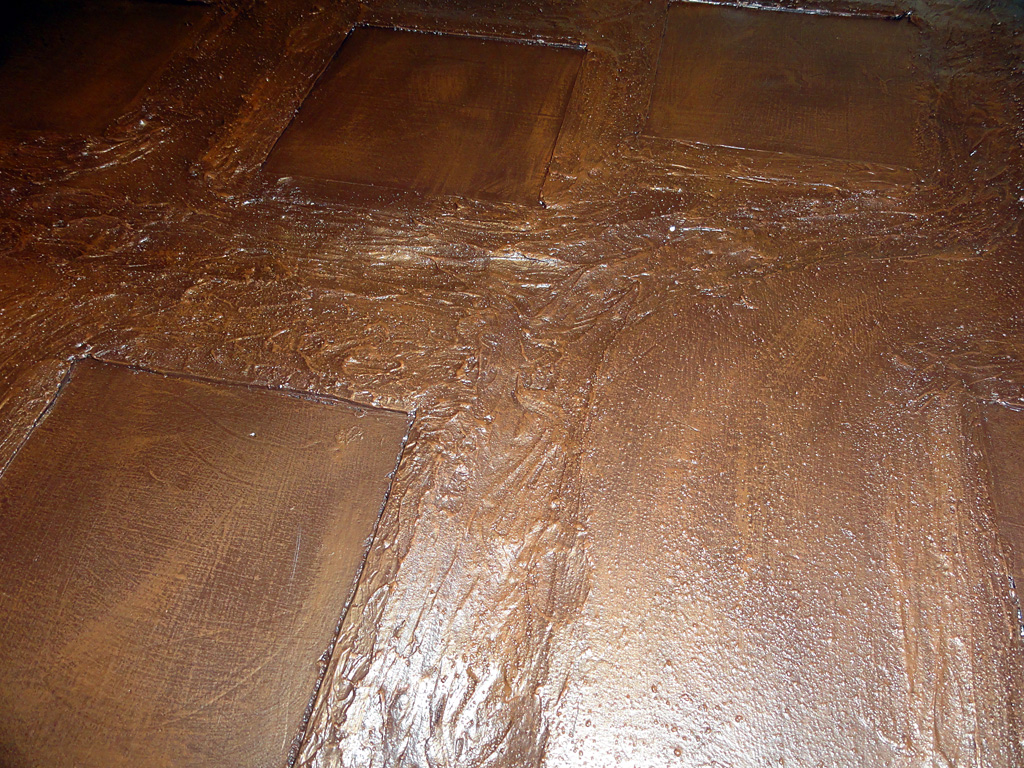
Here is a picture with the difference in colors that the "bubonic brown" gives to the table, it really adds dept to it when the last layers are applied.
And one of the tables after the bubonic brown


Here is how it looks with the bleached bone added on top of everything

I also added a little bit of white paint to the paths, just to make them stand out just a little more and not to confuse them too much with everything else.

Now there is just the little thing of doing everything else, and then perhaps even get a game in on it.

2011-10-31

Adobe buildings - Part II

I have created another pair of adobe houses, this time I did them two at the same time and tried it to see if I would make them faster, and this time I don't think I used more than 1½ hours for both of them, the only stage that took noticeably longer with two buildings was the cutting part. It really takes a long time to cut out all those little windows.

This time though I did some small changes on each house, one got a chequered pattern on the top and the other some beams over each window. Just to at least try to make them different.

I also got some small walls going, got some small pieces over from the walls so I tried to do something with them and they turned out quite nice.

But see for yourself, I once again added some Imperial Guard miniatures in there to give some scale to the buildings.


Next step is now to mount these on bases to fit into my Malifaux/Infinity table.

2011-10-28

Table building - part III

I've gotten some more time to work on my table and things are starting to look like something you could game on.
So far I've painted the first half in my base colour and a first highlight dry brush not only that, but I've made the second half also and painted that just as far.

On the second half I decided that I wanted some lager areas to place terrain on, something that could be a larger forest, house or perhaps just some walls. So I put some of my 6" squares right next to each other. I hope that this will work out in the end, and for the times when you don't want something large and imposing on the table, there is nothing stopping you from placing a empty square in one or more of the slots.

Here is the first stages of the second half

Here it is with some structured paint applied

And with some of the base dark brown paint


Here I've made the first drybrush 


And when they are both put together.


The paints I've been using so far is inspired from another blog I follow Quindia Studios he did a paint approximation to some old Games Workshop paints that worked great together to create your basic dry earth kind of look. I can strongly suggest looking at some of his articles on building a table and also some of his amazing miniatures.

2011-10-18

Table building - Part II

So, I've got a few spare minutes here and there to work on the table, and it's not that bad, since there are quite a lot of drying times between steps I still make some progress.

What has been done then?
Well, I've finished carving up the road thats going though the board, and I've also filled it back up again with filler, well, not all they way but part of it.
The rest of the board has also gotten a second layer of filler in many places, after the first round around the ice cream sticks it didn't cover up as much as I wanted, so another layer was called for.
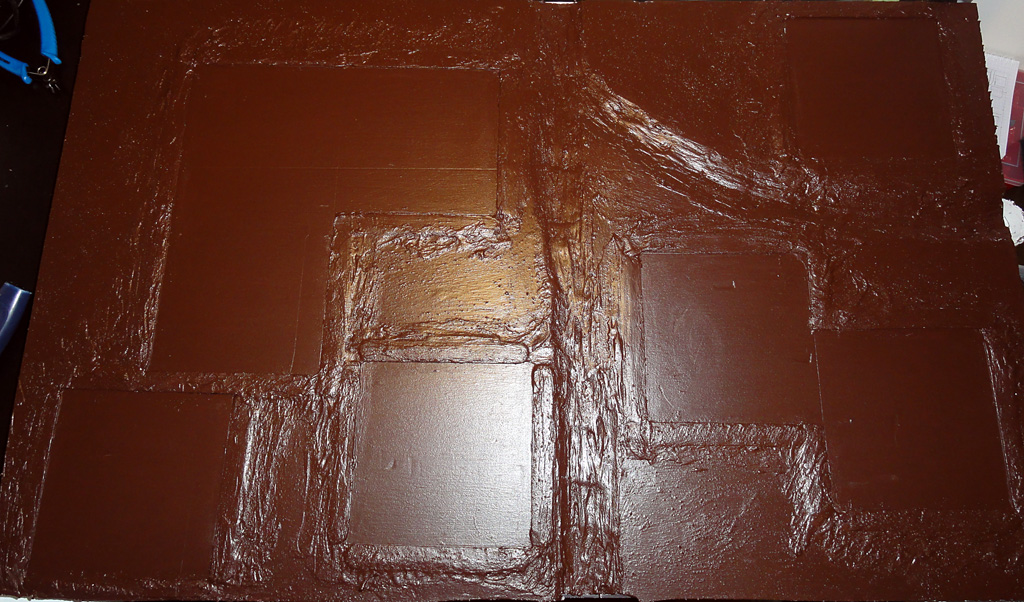
And the last thing done so far is that I've covered more or less the entire board with some textured paint. The textured bit isn't that advanced, I just took a bit of wall paint we had over after repainting more or less the entire house and just dumped a bit of sand in it.

And here is what it looks like right now


If you are keen eyed you might notice that I show the same board in all the pictures, and thats because I only have one board to work on right now. The place I have for this is too small to allow me to work on more than one piece at a time, so I do one half of the board now and then I'll have to do the other.
 I hope this will not make them all to different, but I've already learned quite a few things in the process and I hope to be able to use some of them in the second part, as long as that doesn't make them all to different.

2011-10-16

Table building - the start

I finally got some time to start my project of building a gaming table for Malifaux and/or Infinity. I've had plans for this for a long time now, and even got the boards for it several weeks ago. But terrain building in 1:1 scale has slowed the whole process down until it stopped completely.

But now it's underway!

I started out by cutting two boards down to 3' by about 2', they are about 2" thick and will form the base of the 3'x4' that it's going to end up in, my first thought was to do a single piece 3'x3' board, but after cutting the first board down I came to the conclusion that this would be far more work than I had thought, and the edges would not be as straight as I wanted them. I really need to find a better way of cutting them than using a slightly wobbly knife thats a bit to short...

I'm going to this a bit modular in a way, the boards will have 6" by 6" squares all over them and in those I'll place  MDF bases with whatever I need for the day, some will have houses, other trees and still others will be flat if thats whats needed. I hope this will turn out to be a good idea, and that part of way my first try is not a gigantic 12'x8' board for napoleonics or something similar.

I started by drawing out how I wanted the squares and where I wanted a little road though the whole thing (everyone needs a road right?)


Then I added some ice cream sticks as the base for the squares and covered the edges of them with filler to blend them into the table, I also cut out a bit in the road part to make it a bit sunken into the table, I will later fill this up partway with filler to even the road out a bit and be able to get some texture into it.


And thats how far I've gotten now. I hope I'll get some more time to spend on it during the week, but with work, life and other unpredictable things you can never be too sure.

2011-08-15

Malifaux - Mature Nephilim

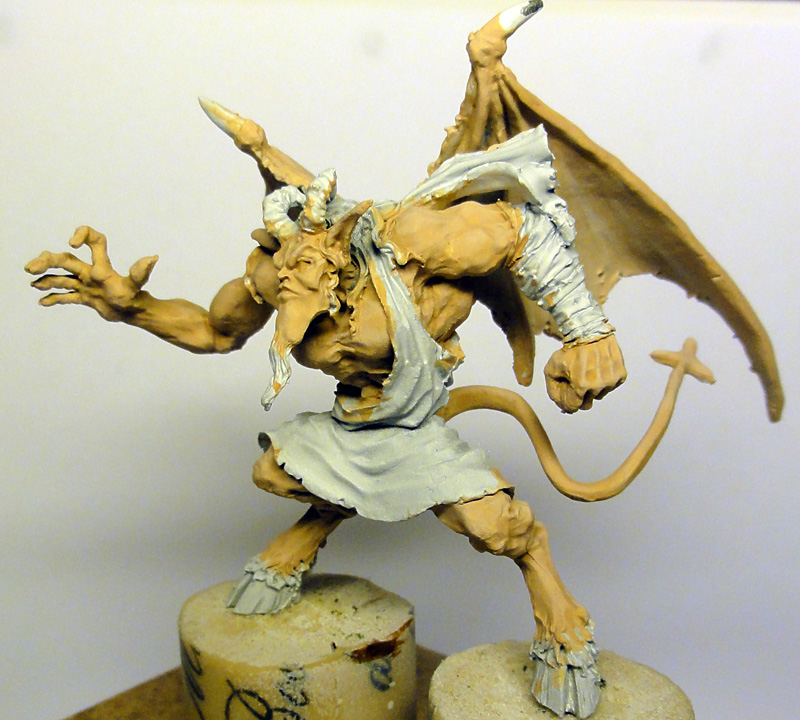
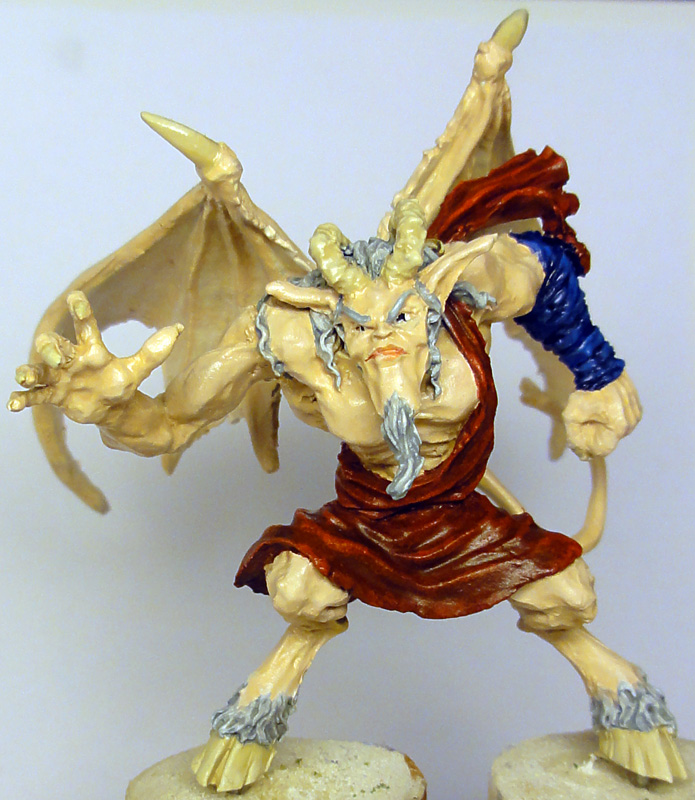
At last he's done, I've had him sitting and looking at me for a few days now until I finally got to paint the last few things on him. Overall I'm quite pleased, things don't look that wrong, perhaps he's a bit on the pale side, but I kind of like it after all.


After this there is just a lot of more models to do, and the bases... I really need to get started on the bases, the bases for Lilith and the Mature is actually ready to paint, but I still need to make them for Lilitu and Lelu and I don't see the point of painting two bases when I need to have all four done.
Ah well, we'll have to see where it all ends up.

I did get my Nekima in the post about a week ago, and I'm quite drawn to painting her up, she's big and really, REALLY evil on the tabletop, but probably to expensive to use for quite some time. Ah well perhaps I should paint something completely different now, just so I don't get to fed up with demons with wings, I've had some TYW figures looking at me in a funny way, perhaps I should complete my two first units of them, or even paint up the last French infantry for napoleonic, so much to do, and so little time to do it in.

2011-08-13

Malifaux - Mature Nephilim WIP 2

So, I've done a few more paint strokes on this rather large fellow, and I did go with colours to match my other models, but there is still stuff to do, I need to do some more work on the hair, it didn't quite turn out the way I hoped, but mostly it's some cleaning thats needed, and a few shadows.

And I need to go over his skin again, I've manage to chip some paint and get some of all the other colors on there as well, it's quite a hassle to get to the areas behind his wings..

Then there is just the rest of him left, and that not really that much.


After this I think my goal is going to be some bases, it's a bit depressing with finished minis without bases.

2011-08-08

Malifaux WIP - Mature Nepheilim

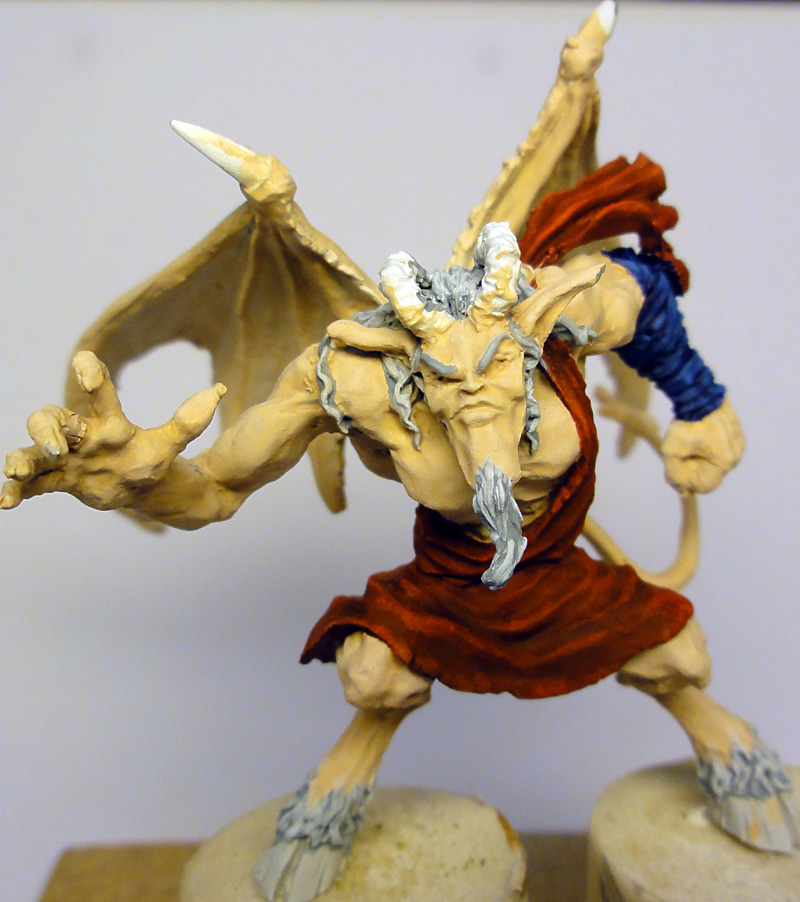
So, I've been throwing a few more paints around, and this time some skin tones got stuck on a Mature Nephilim, its a quite big model and lots of skin (they seam to like dressing up in almost nothing) and even though I'd like my models to keep a kind of human skin tone theme, I kind of like the pale picture of a (probably) mature one in the rulebook, so I grabbed the lightest skin I had and got going.
I also like the idea of the wings being a sort of thin skin, so that got the same treatment, just a bit lighter.

I'm still not sure about the hair, clothes and wrappings, I'm thinking brown hair, red clothes and perhaps blue wrappings to tie him together with my already completed minis, but as I said, I'm not sure yet, thoughts are appreciated =) 


And pictures or it didn't happen:

Front

Back/wings

2011-08-05

More Malifaux

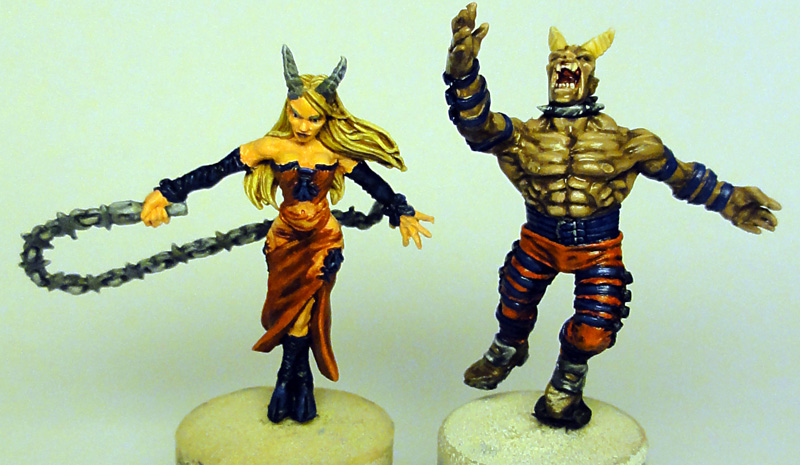
I've been painting a bit the last few days and another mini has seen the completed light, this time it's my Lelu that's been painted, so now the pair of them is done, exept for the bases that is... I really need to do them soon, it looks a bit boring with some more or less nice minis standing on corks on my painting table... Ah well, it's going to get done any week now ;)

In the time to that is done, feast your eyes on one muscular dude with a bit to much sealer on...


And then the completed pair, aren't they cute?

2011-08-01

Completed minis

Now I've finally gotten around to get some photos taken of my now completed Lilith and Lilitu, they are still short on bases, but as the bases I'm doing require quite a lot of green stuffing, I'm going to hold off on that for a while and then do a whole bunch in one go.

I didn't get completely satisfied with the result on Lilitu, my first stab at transparent clothing didn't go as I hoped, and in retrospect, neither did the black/blue clothing parts, but at least she's done and I have to move on and train some more, maybe next time there will be some more success.

But without further comments, here they are

Lilith


Lillitu

2011-07-26

Malifaux WIP - Lilitu

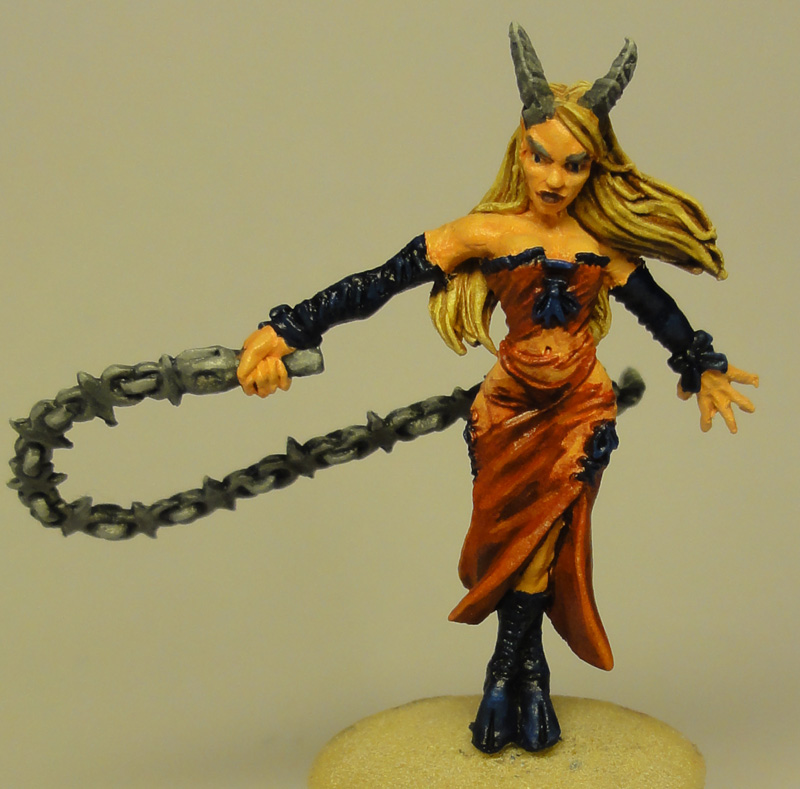
I've been painting a bit again, this time it's been time for Lilitu, a nice little she-daemon. I still have more than a few things to do on her, but at least the basics are there to be viewed now.

The result so far

I do have some work to do with the fabric of her dress, it should be a bit transparent, so I need to go over the shin parts of it with a few layers of glaze or something similar. Right now it doesn't look that good I think...

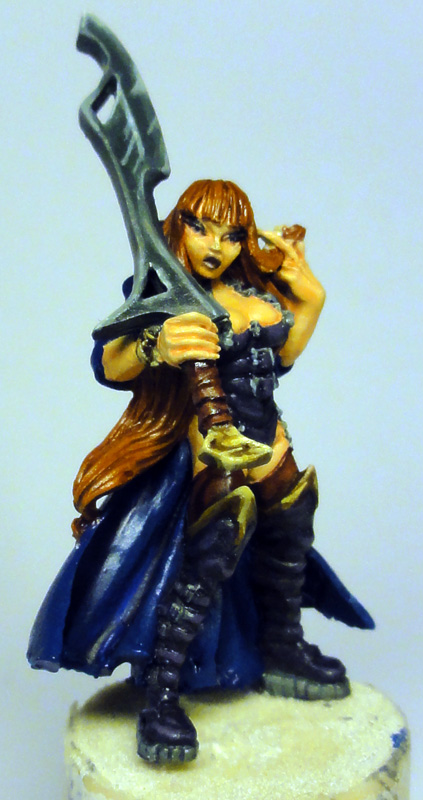
I have also completed Lilith that could bee seen in my last post, but the photo I got of her was horrific, and she's still short one base, so a new photo shoot is planed for when she's got something to walk on.

2011-07-24

Malifaux WIP

As it is, I'm still alive but the summer has slowed down my painting a fair bit.
But at least I have some WIP(work in progress) shots of my latest project, Lilith from Malifaux. There has been some talk in my old gaming club about having a small tournament and even if I'm not able to attend (but I might be) and it spured my interest of getting some more miniatures painted, and the unpainted master I should use.


Thats all for now, next time I'll have something else, but hopefully I'll have the time to fix the last few things on a unit of Ghouls I have in the works for Kings of War.