The goal was to take some strategic positions and hold them until the end of the game.
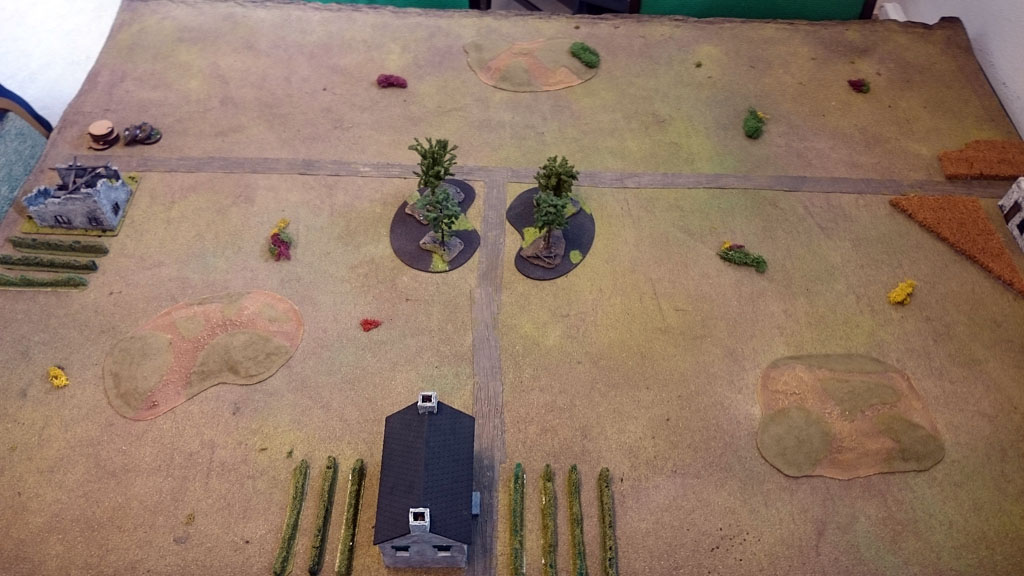
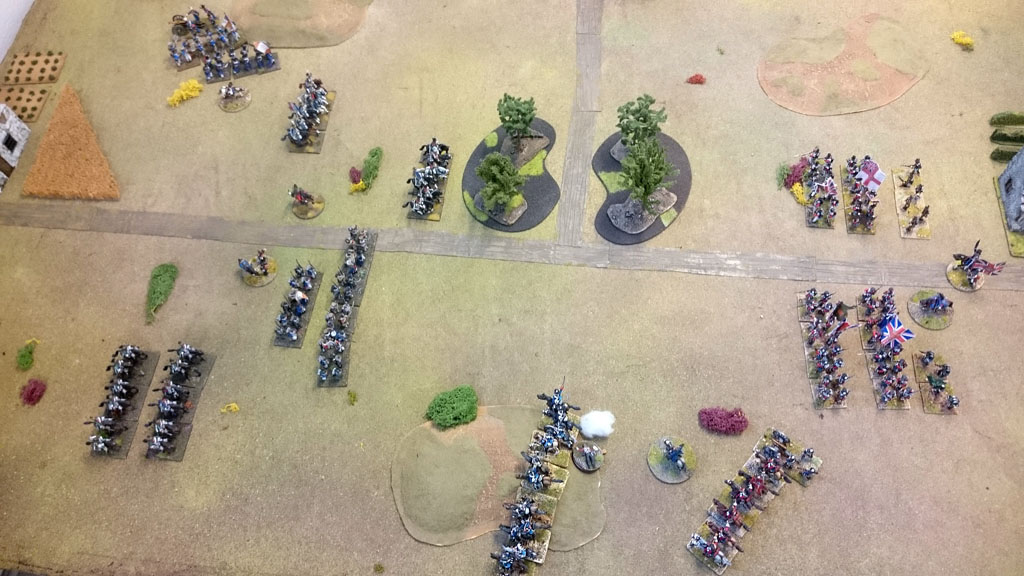
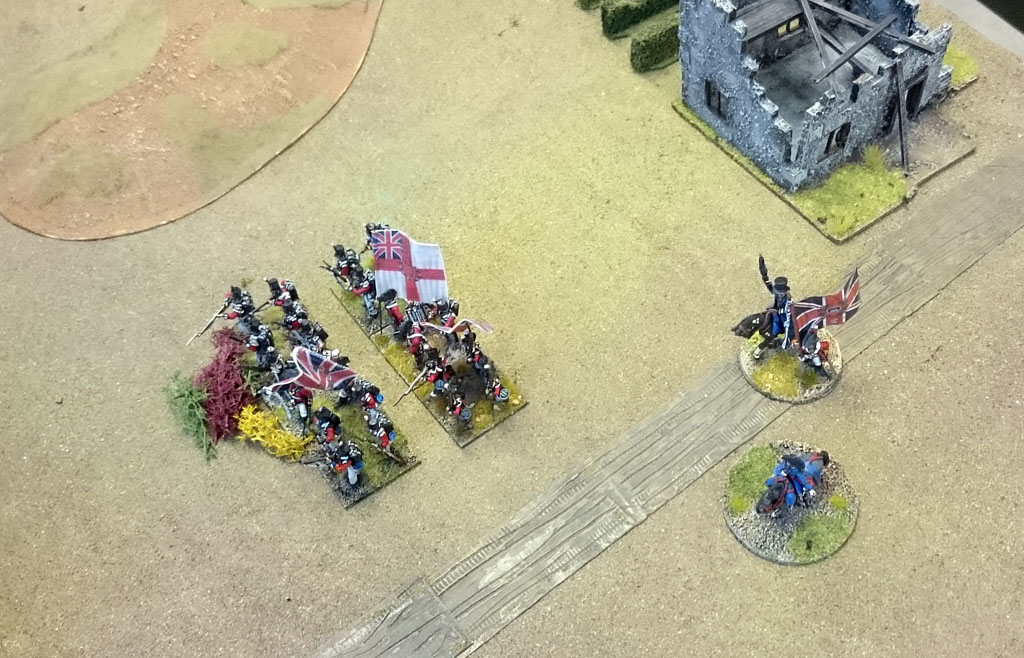
This is how the board was set up, the French will enter on the right and the British on the left along the roads, the goal is to take the house on the enemy side, the farm in the middle and the hills.
I along with a club mate took command of the French forces and built an army using the army list in Albion Triumphant 1 and we ended up with something like this
5 Battalions of line infantry, with one being veteran
1 Foot artillery piece
3 Dragoon regiments, one veteran
1 Hussar regiment
On the other side we faced
4 Battalions of line, 2 large Highlander
1 small unit of Riflemen
1 Cacadores battalion
1 Horse artillery
2 KGL Hussars regiments
1 Dragoon regiment
To this both sides had a total of 3 commanders.
The game started of with the britts only getting on one foot battalion and on the French side all our cavalry got in, but they clogged up the road so only the first foot battalion had room enough to get on the board.

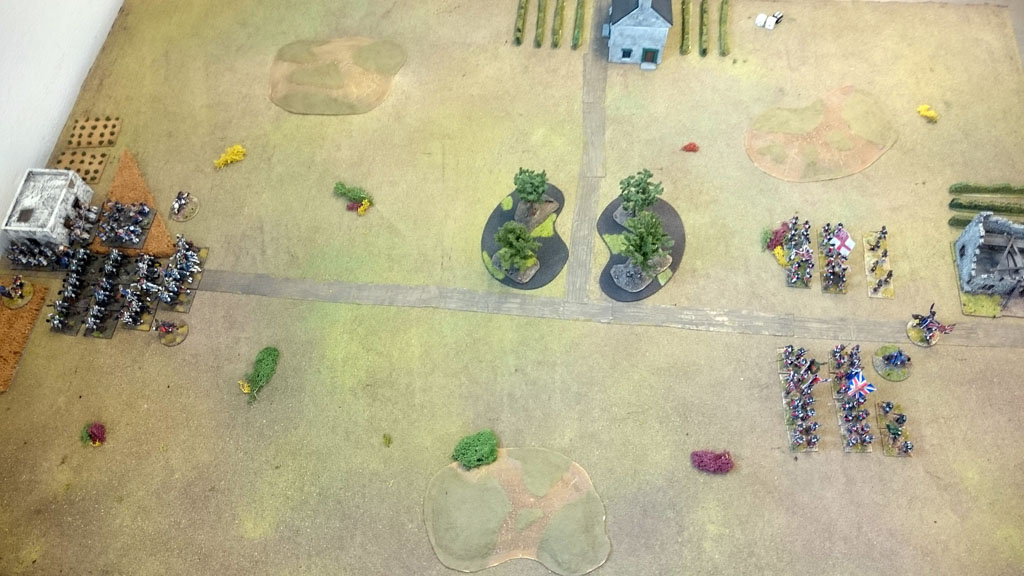
Next turn saw some more action, the British went first and got all forces on the board, taking the central hill with the cavalry, supported by the cannon, the infantry in the centre however got a bit confused as to where they should go and stood for now.
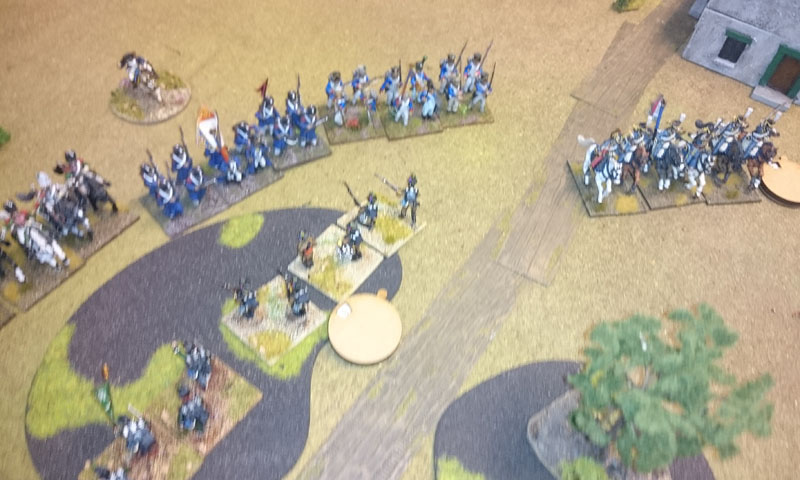
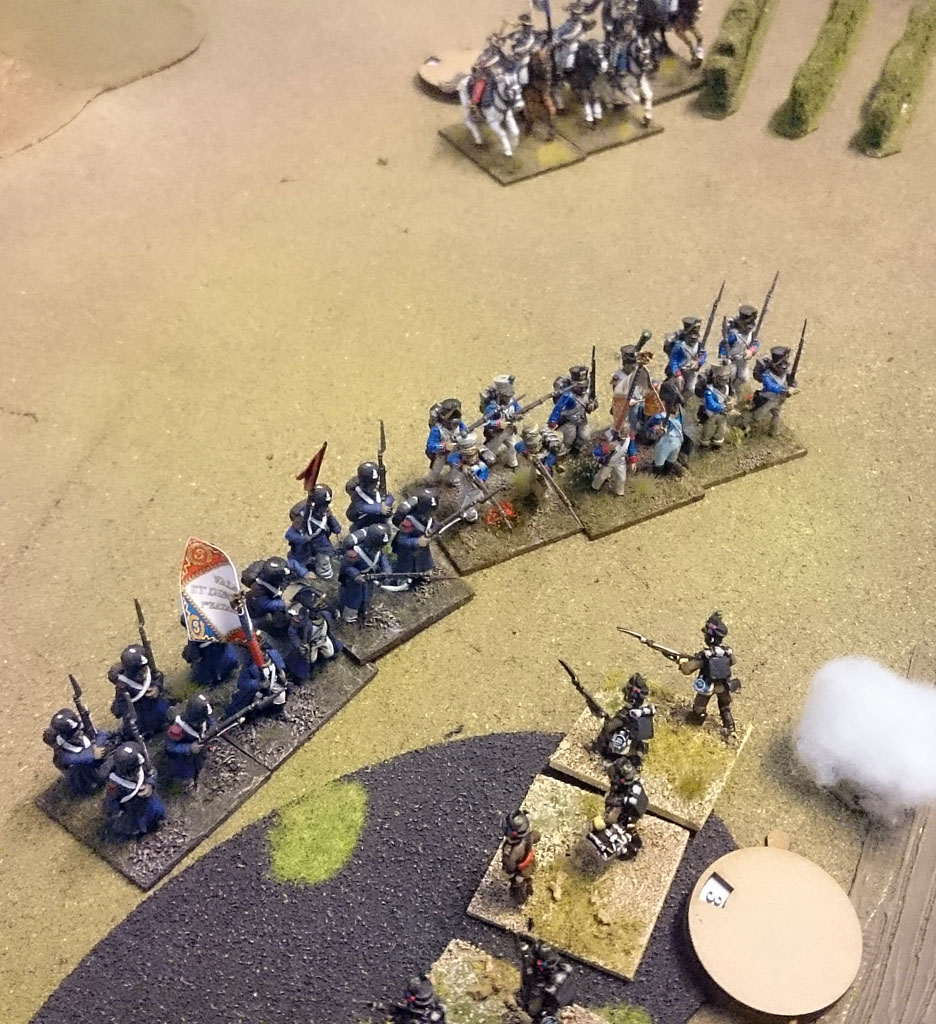
For the French things went a bit better and all units entered the table, but also followed all other orders. The first foot battalion marched to the crossroad, and formed up there, supported by the Dragoons on the right to take on the British Hussars. The veteran Dragoons took cover behind the forest in the centre, ready to go ether way. And the Hussars and the second foot battalion, taking the hill on the other side.
Even got to fire a bit on the British Hussars.

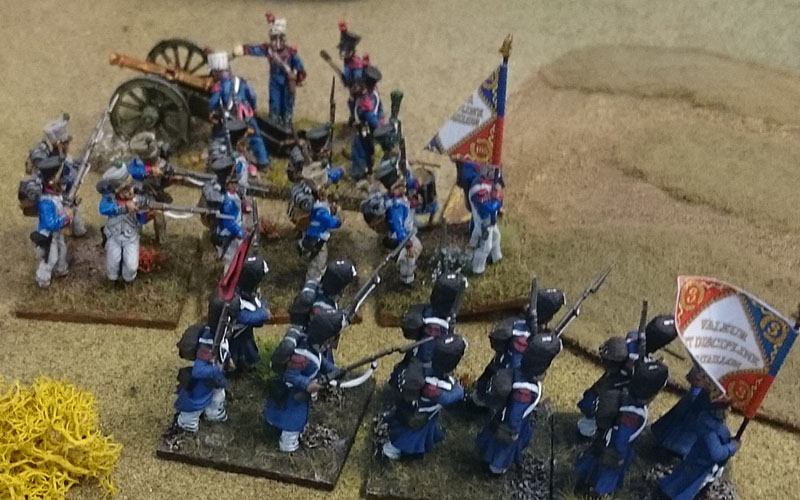
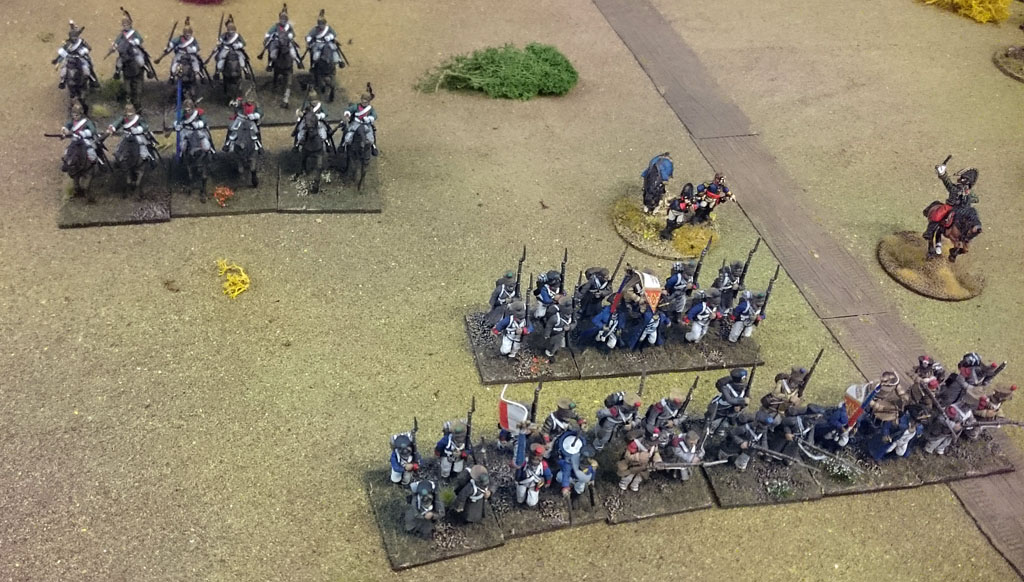
The veteran foot moves up with the cannon in tow.

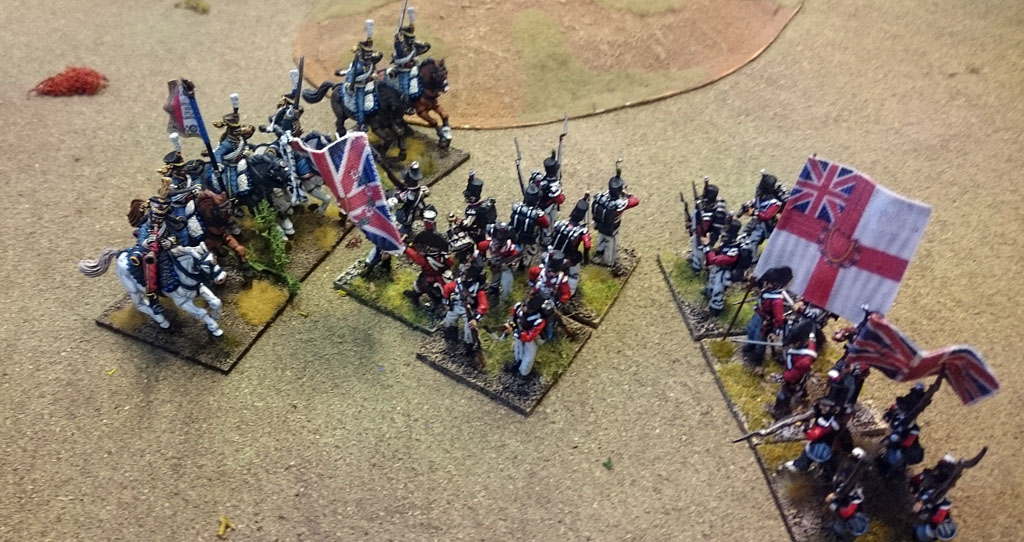
The thin French line.
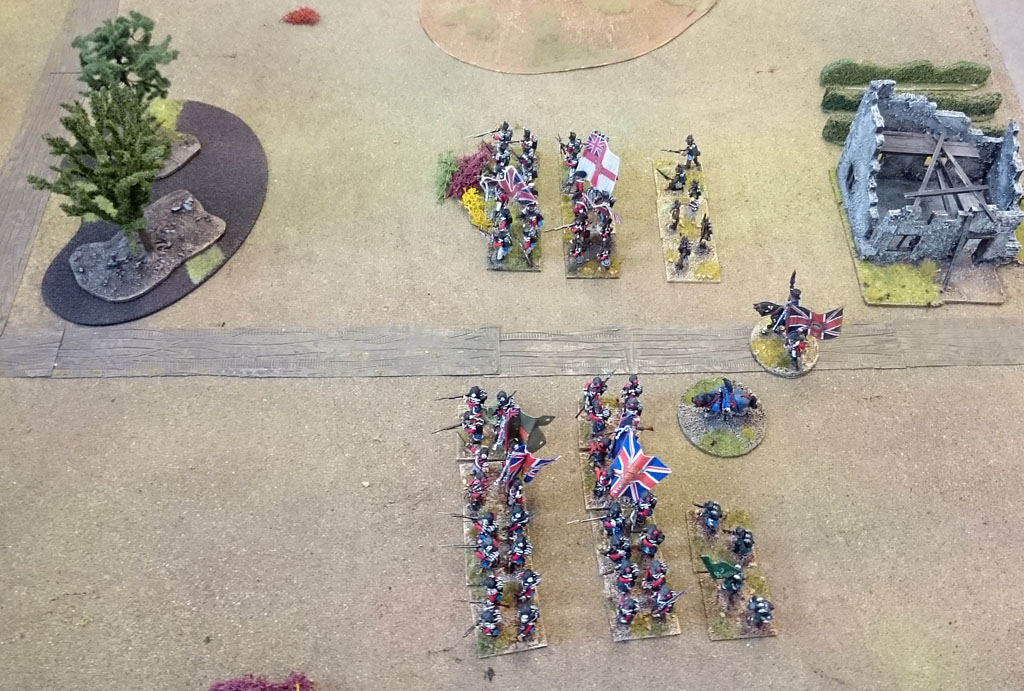
Close up on the British cavalry line.
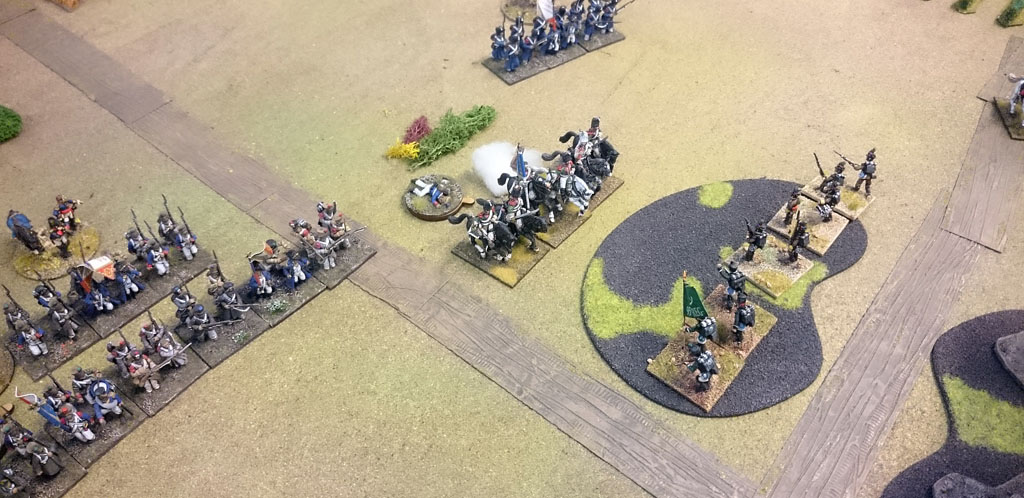
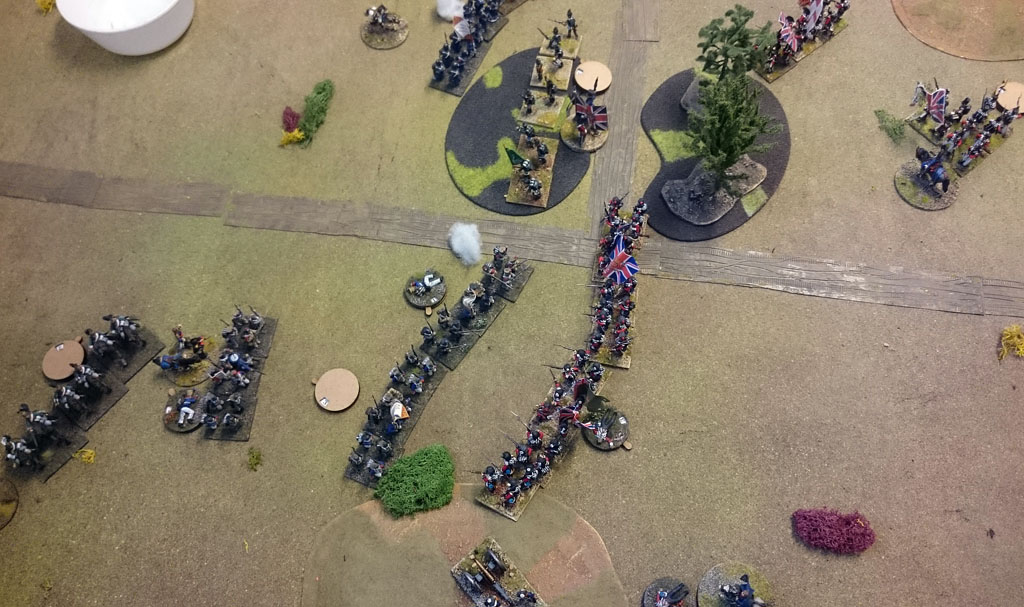
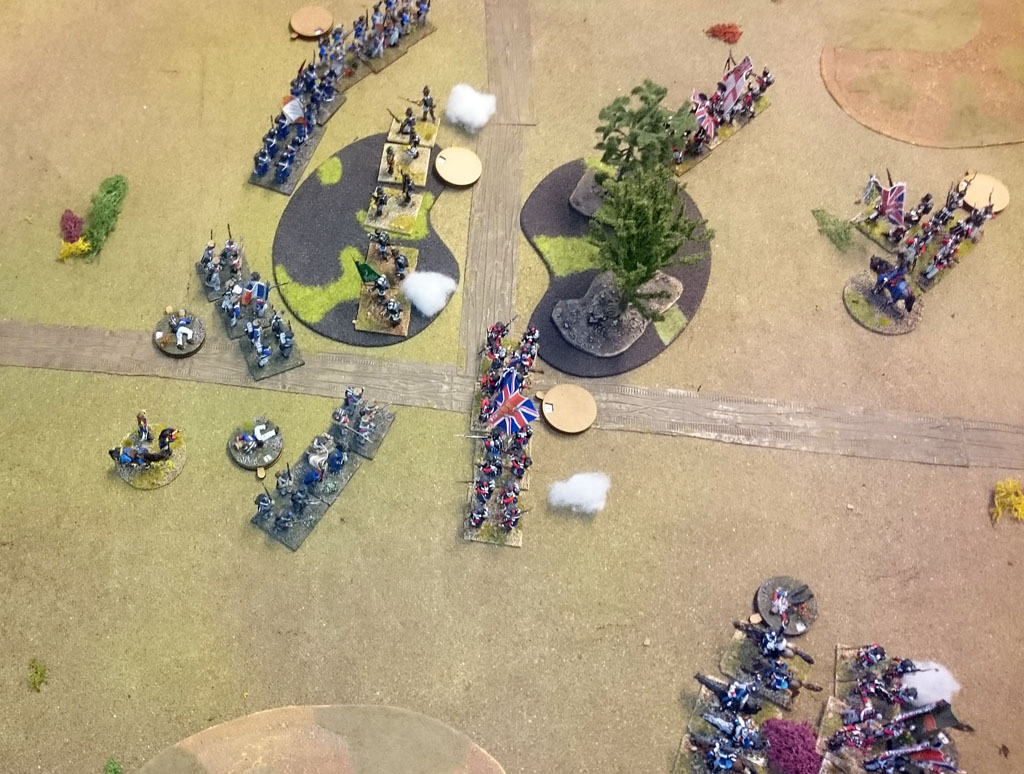
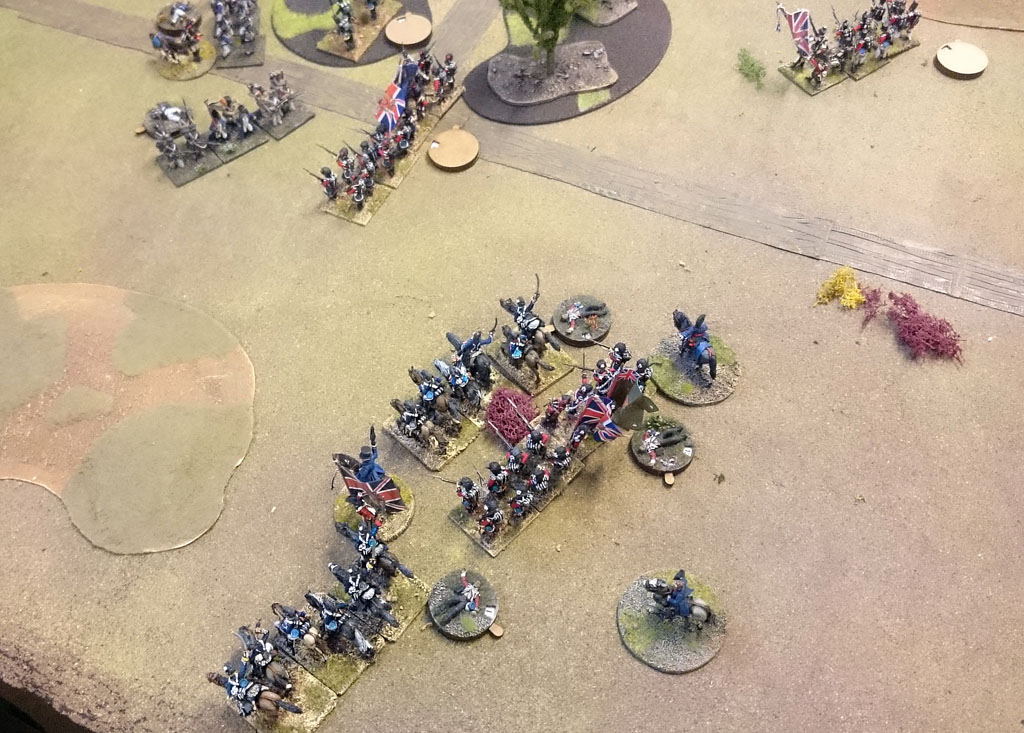
After this the lines really got into each other, the Scott's moved up, taking a firm hold on the crossroad, riflemen and cacadores took the forest in front of our veteran Dragoons and punished them hard. And a fierce hand-to-hand combat took place between the Dragoons and Hussars over the hill.
Both sides took casualties and was thrown back from the hill, but the French was in better condition than the KGL, could not capitalise on the success as reserves was otherwise engaged.

Dragoons takes a licking from the riflemen in the woods, while the infantry refuses to move.

The British line was also reluctant to move into the fight
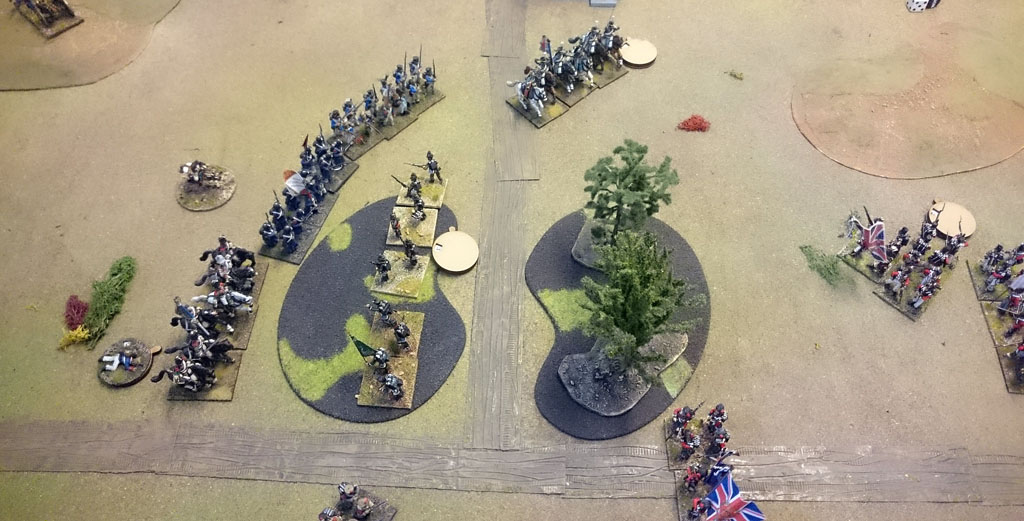
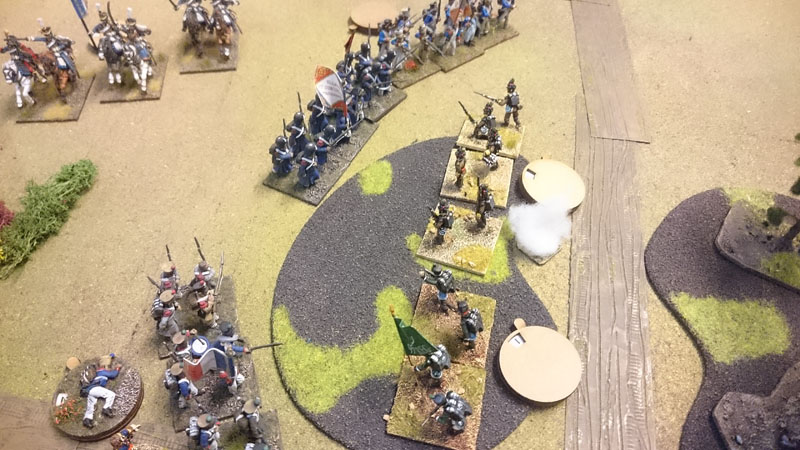
Next was more of the same, the British moved up their Dragoons to shield the battered KGL, and had a hard fight with their French counterpart, with the French coming off worse. In the centre highlanders and french foot fired into each other and the riflemen pinned down the Dragoons. On the far left the gong was slow, and French lines was still forming.

The forest where Dragoons comes to die
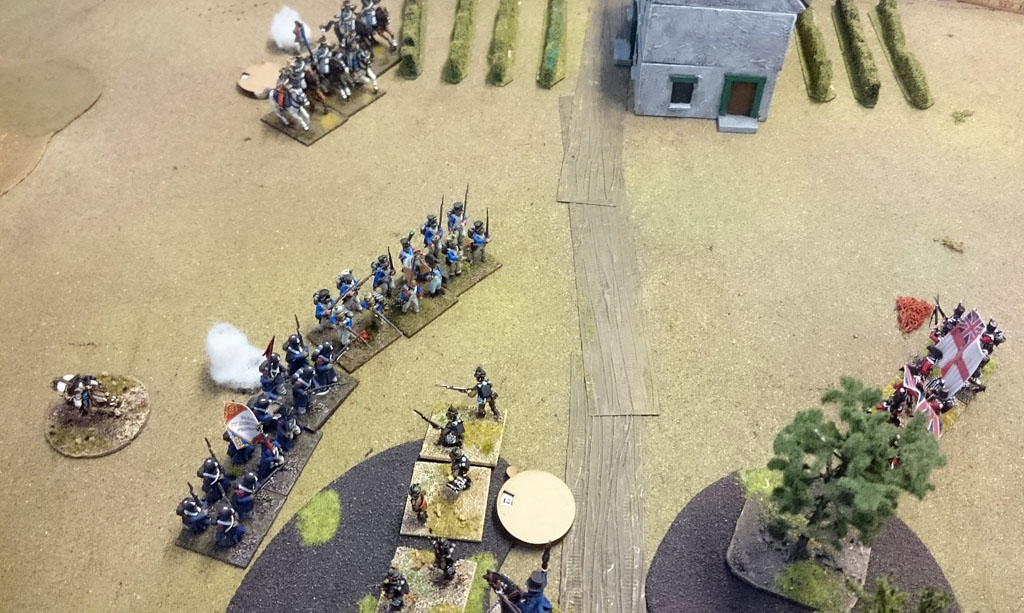
Now the Hussars on the left had enough and without infantry support got into the British infantry, stranded behind the lines, they formed square in good order and threw them back. On the hill the French Dragoons had a go at the British and in the centre fire was pouring in from all directions.

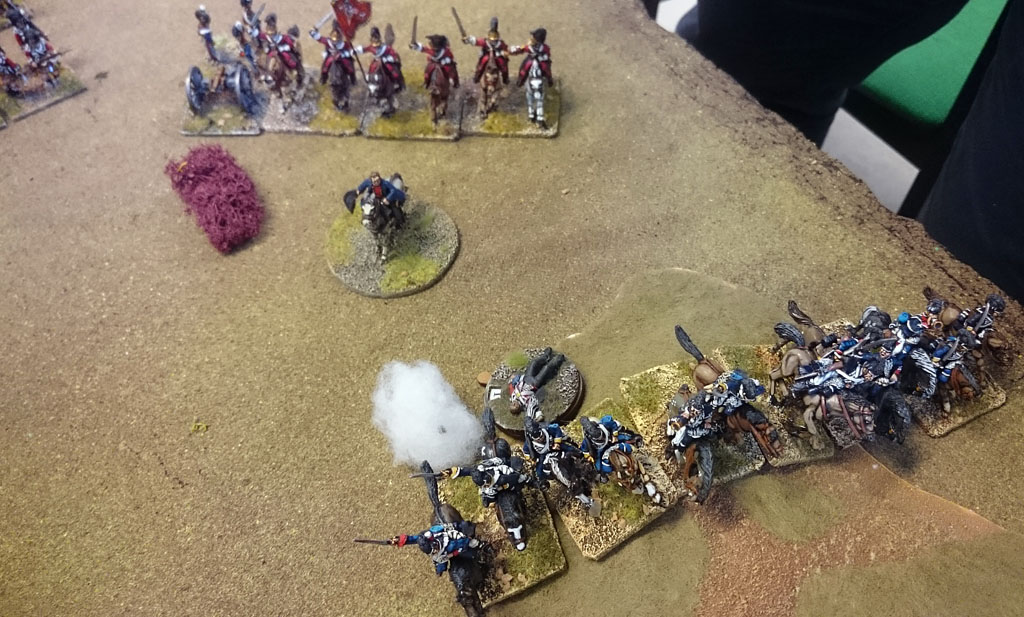
Hussars VS square, not the best odds for the cavalry
On the Dragoon hill, fighting was hard, but British hot headedness won over French steel, and they had to retreat in disorder with far to many dead men on the hill.

Centre, still the riflemen punish the Dragoons, but now the support arrives at last.
Fire is poured into the skirmishers, but they are really good at hiding behind trees and stones and took far to few casualties for my liking.
Now the second highlander regiment reached the crossroad, and the veteran dragoons was destroyed by the riflemen, things was not looking good for the frenchies.
Confusion was sown in the infantry lines as the riflemen changed target, and the Hussars got another volley and was forced to retire again in disorder.
The reserve unit from the centre gets up to try to dislodge the rifles from the forest, but it's a bit to little and to late. But at least on of the highlanders in the centre is forced to retire. But it's not destroyed.
Right outside the picture the British Dragoons charges the French, and routs the regiment, but takes himself out as a small price.
Continued fighting in the forest.
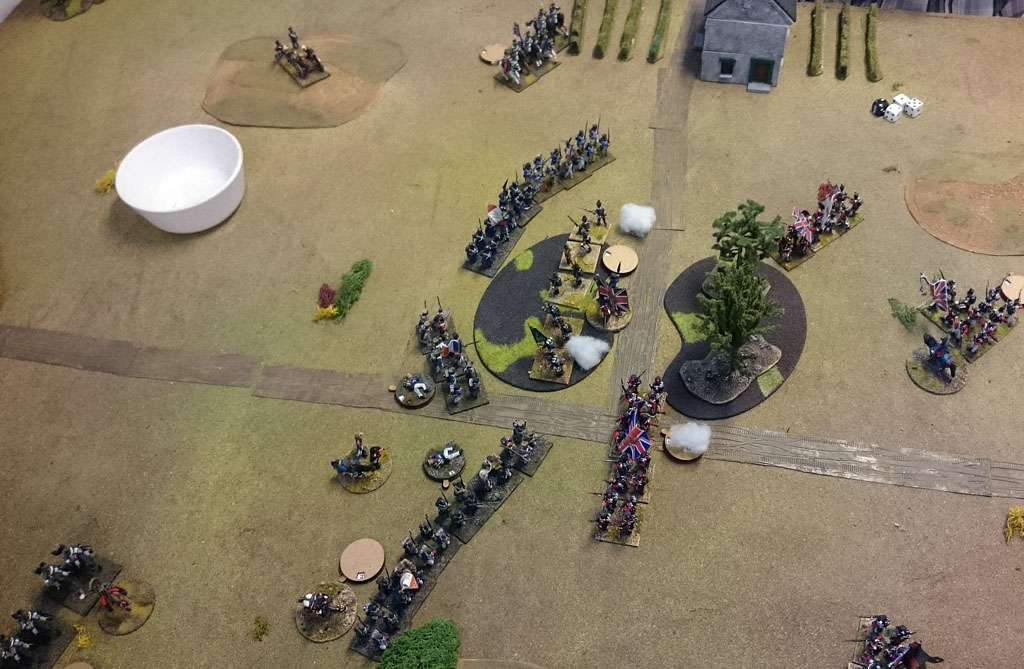
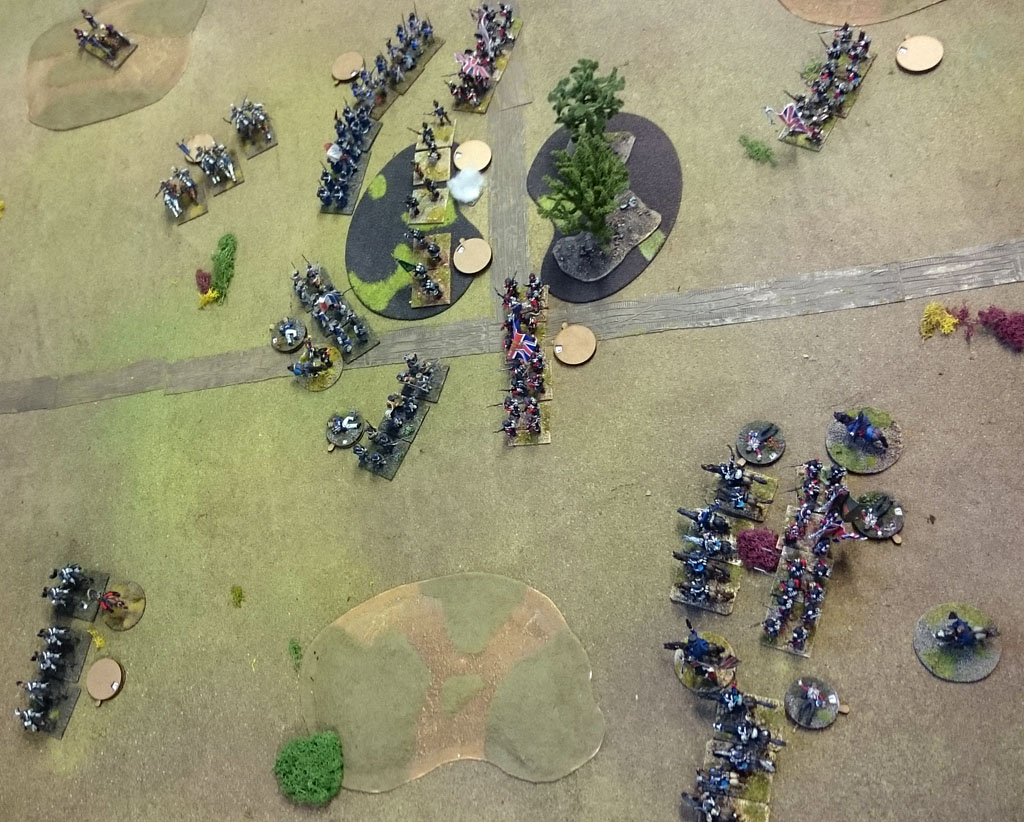
In the centre the French loose not only a infantry unit, but our army commander as well, hammering in the final nail in the French coffin and we concede the field to the British forces.
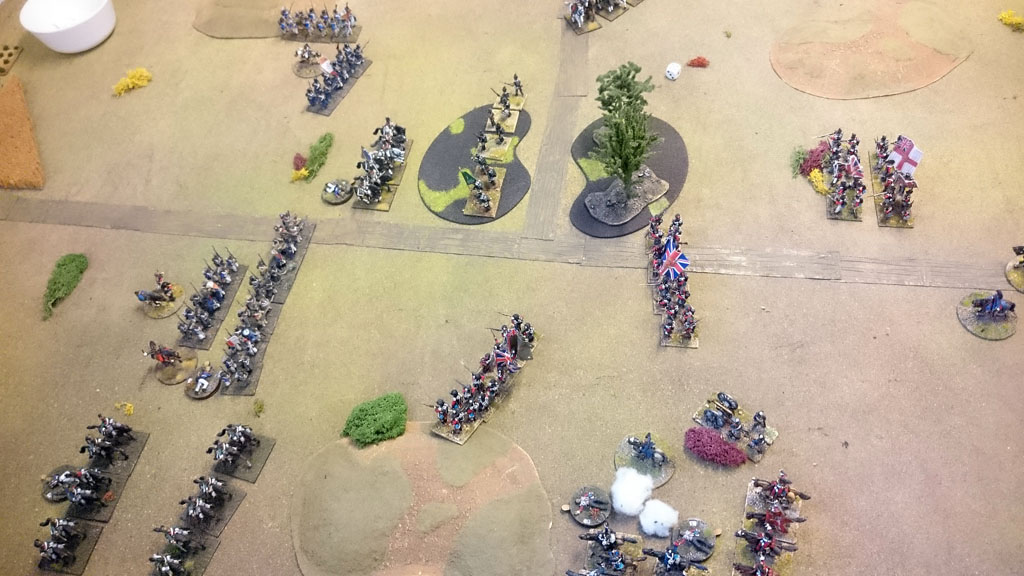
The final positions


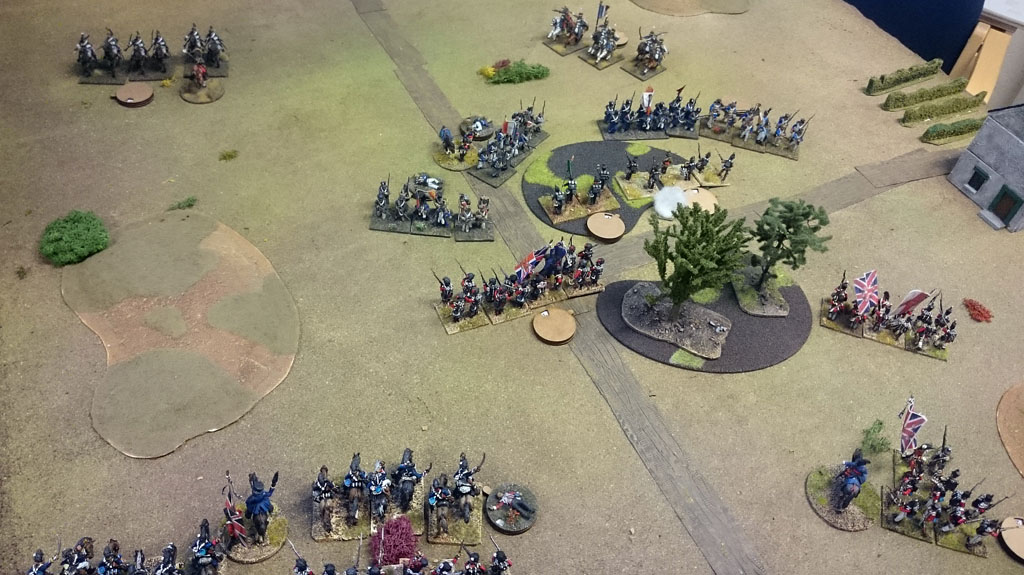

It was a great game, a real nail biter. We did a few big mistakes on the French side, by allowing the riflemen in the forest to dictate our entire battle, and also we should not have divided our cavalry quite as much as we did and we never moved our cannon with our forces, it would have made a big difference in the forest...
Anyhow, it was great to get the napoleonics out on the table again and I even got painting a unit for this game, it did not get quite done, but I'll show it in the next few days.
Great AAR Ulf, a shame that we lost the Elite Dragoons so soon in the game, but Jesper really out-played us with his skirmish infantry, and perhaps also a more balanced cavalry tactic. The brave Frenchies and Monsieur Lasalle will have to come back for a rematch at some point soon :0)
ReplyDeleteThank you, and yes we absolutely need some revenge, the Emperor is not pleased so we need some revenge! =)
DeleteGreat report of what seems like a fun game! Thanks for posting!
ReplyDelete/Mattias
Beautiful figures and nice batrep!
ReplyDelete